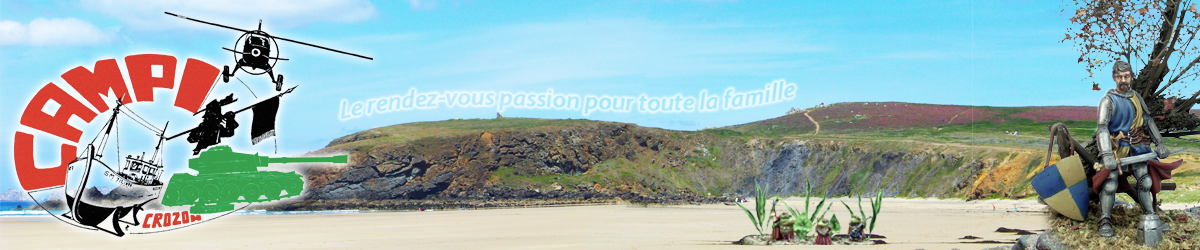
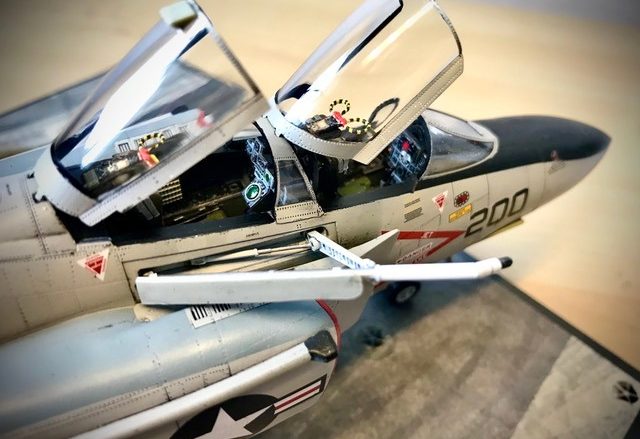
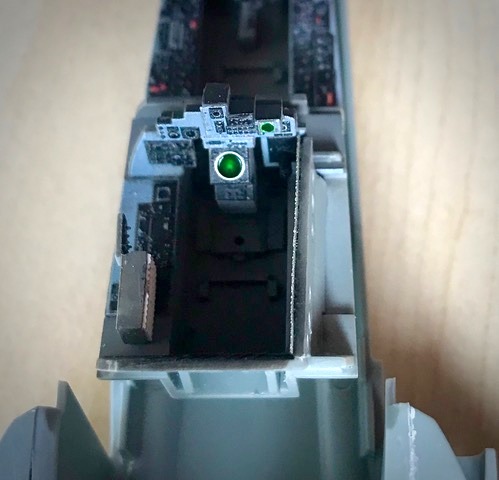
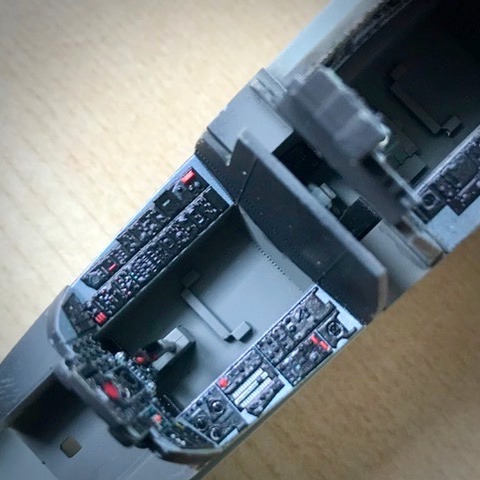
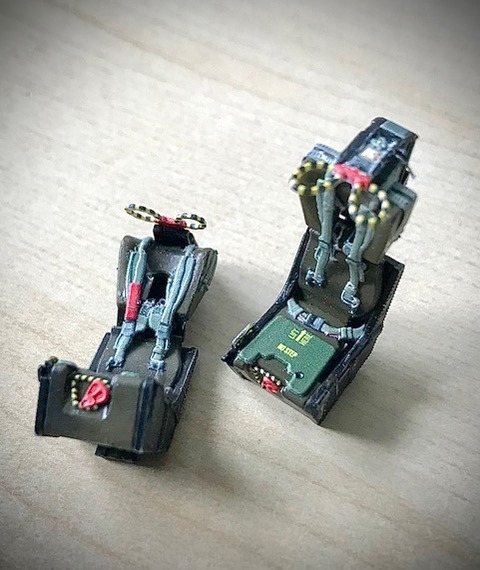
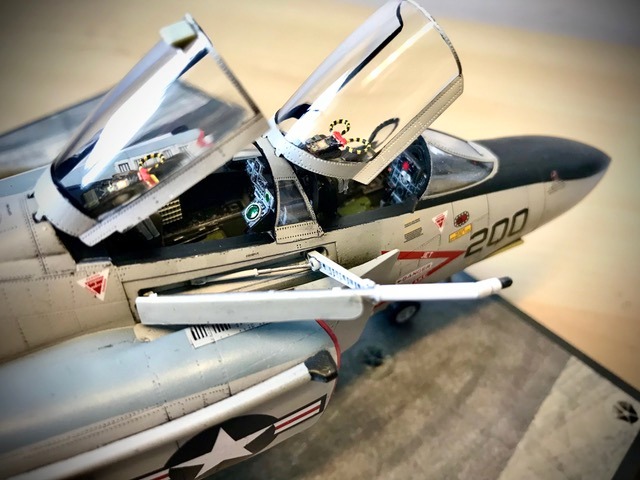
Bonjour à tous. Je vous fais partager mon expérience de montage sur ce F-4 Academy au 1/48. La boîte est imposante et bien garnie, avec notamment beaucoup d’armement, et il est toujours étonnant de découvrir la taille des avions américains modernes à cette échelle… La notice est un peu imprécise et il faut être vigilant lors des assemblages des puits de train par exemple. On commence naturellement par le cockpit qui sera agrémenté d’une pochette Kelik de décals 3D d’aspect assez sympa et agréable à utiliser. Seule précaution : déposer une goutte de vernis (par exemple) avant la pose car l’adhérence est insuffisante. Hello everyone. I share with you my assembly experience on this 1/48 F-4 Academy. The box is imposing and well stocked, including a lot of weaponry, and it is always surprising to discover the size of modern American planes on this scale… The instructions are a little imprecise and you have to be careful when assembling the landing gear wells, for example. We naturally start with the cockpit which will be decorated with a Kelik pocket of 3D decals which look quite nice and pleasant to use. The only precaution: add a drop of varnish (for example) before installation because adhesion is insufficient.
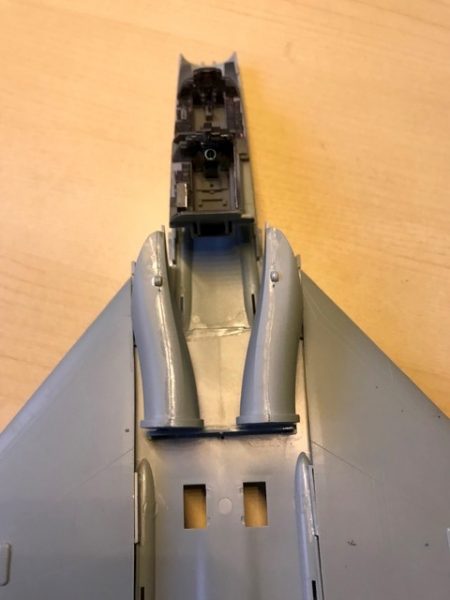
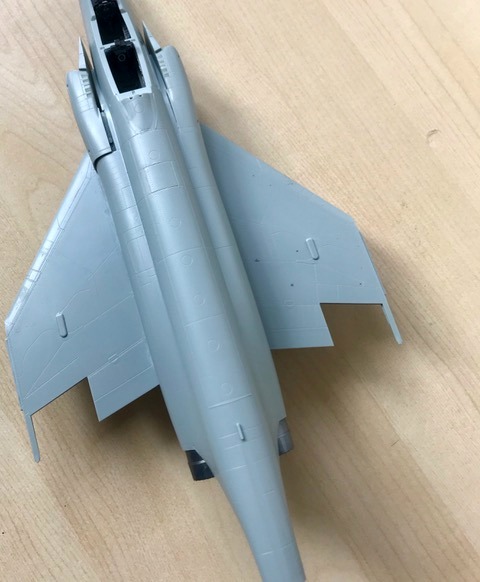
Suite des opérations : cockpit collé, le montage du train principal est prévu à ce stade, avant l’assemblage des ailes. Ça me parait bien tôt mais je n’ai pas pris le risque d’un montage compliqué par la suite. Il va falloir être vigilant, même si le train collé semble robuste. Puis montage des prises d’air et des tuyères. Le positionnement est quand même peu précis : les contrôles sont de rigueur. Continuation of operations: glued cockpit, assembly of the main gear is planned at this stage, before assembling the wings. It seemed very early to me but I didn’t take the risk of complicated editing afterwards. You will have to be vigilant, even if the glued train seems robust. Then assembly of the air intakes and nozzles. The positioning is still not very precise: controls are required…
Juste après, c’est l’assemblage du fuselage qui ne pose pas de souci ; les (légers) ennuis arrivent avec le montage des prises d’air : là ça ne va plus, surtout sur Babord… Pour remédier à cela j’ai collé en 2 fois en privilégiant dans un premier temps la liaison avec les ailes ; ensuite la partie haute est collée à la cyano en pressant bien. Bien entendu, un peu de mastic est nécessaire pour parfaire les joints. Just after, the assembly of the fuselage is done without problem; the (slight) problems arise with the assembly of the air intakes: there it no longer works, especially on the Port side… To remedy this I glued in 2 times, initially favoring the connection with the wings; then the upper part is glued with cyano, pressing well. Of course a little putty is necessary to improve the joints.
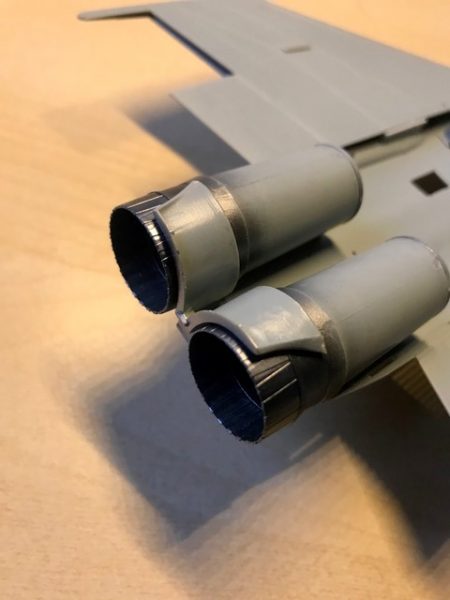
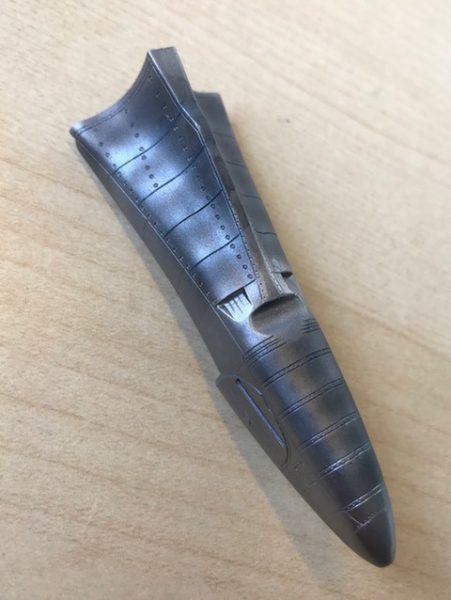
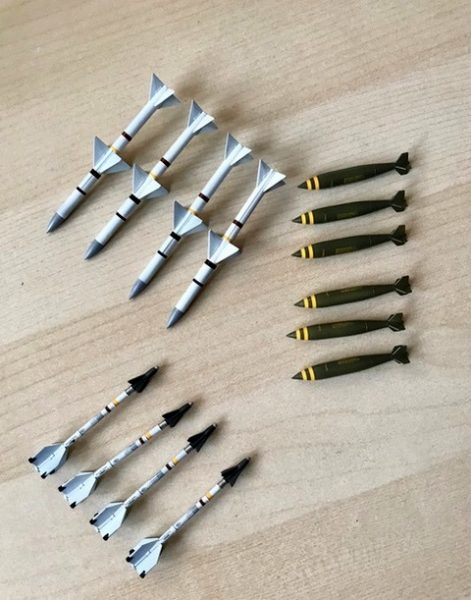
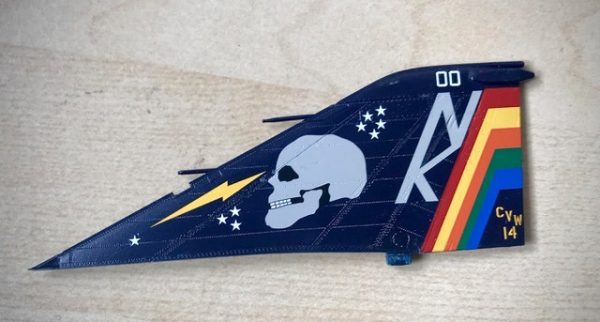
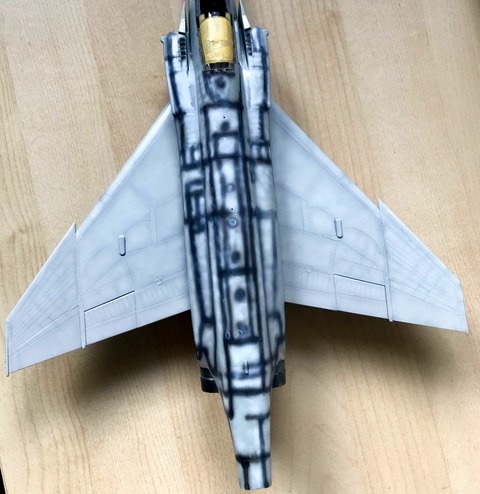
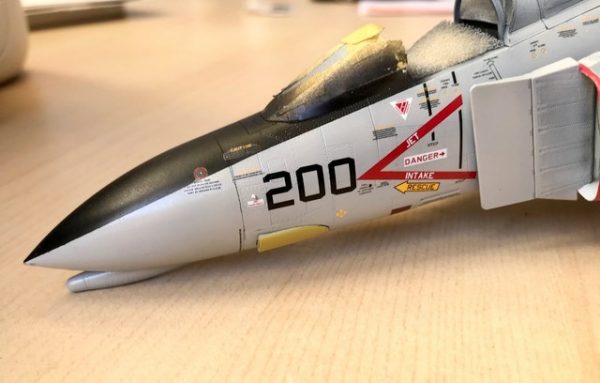
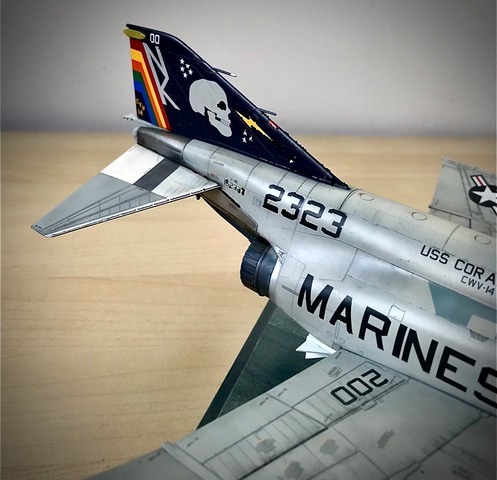
Pendant que tout cela sèche, je m’amuse avec la peinture du croupion en tentant de lui donner un aspect « brûlé mais pas trop » ![[Academy] McDonnell-Douglas F-4N Phantom II 1/48 1f601](https://2img.net/i/fa/twemoji/16x16/1f601.png) . J’utilise les peintures métal, Vallejo Metal, color qui sont assez faciles à appliquer mais hélas très fragiles. Un coup de Duralumin, des trainées plus sombres de Magnésium, puis des trainées noir mat très dilué à faible pression et enfin un coup de bleu translucide, également très dilué. A ce stade, je m’occupe également de l’armement qui est très complet et de la dérive, qui peut être montée à la fin . J’en profite pour tester les décalques qui sont produits par Cartograf et se révèlent excellents. While all this is drying, I have fun with painting the rump, trying to give it a “burnt but not too much” look. I use Vallejo Metal color metal paints which are quite easy to apply but unfortunately very fragile. A shot of Duralumin, darker streaks of Magnesium, then very diluted matte black streaks at low pressure and finally a shot of translucent blue, also very diluted. At this stage, I also take care of the armament which is very complete and the fin, which can be fitted at the end. I took the opportunity to test the decals which are produced by Cartograf and are excellent.
. J’utilise les peintures métal, Vallejo Metal, color qui sont assez faciles à appliquer mais hélas très fragiles. Un coup de Duralumin, des trainées plus sombres de Magnésium, puis des trainées noir mat très dilué à faible pression et enfin un coup de bleu translucide, également très dilué. A ce stade, je m’occupe également de l’armement qui est très complet et de la dérive, qui peut être montée à la fin . J’en profite pour tester les décalques qui sont produits par Cartograf et se révèlent excellents. While all this is drying, I have fun with painting the rump, trying to give it a “burnt but not too much” look. I use Vallejo Metal color metal paints which are quite easy to apply but unfortunately very fragile. A shot of Duralumin, darker streaks of Magnesium, then very diluted matte black streaks at low pressure and finally a shot of translucent blue, also very diluted. At this stage, I also take care of the armament which is very complete and the fin, which can be fitted at the end. I took the opportunity to test the decals which are produced by Cartograf and are excellent.
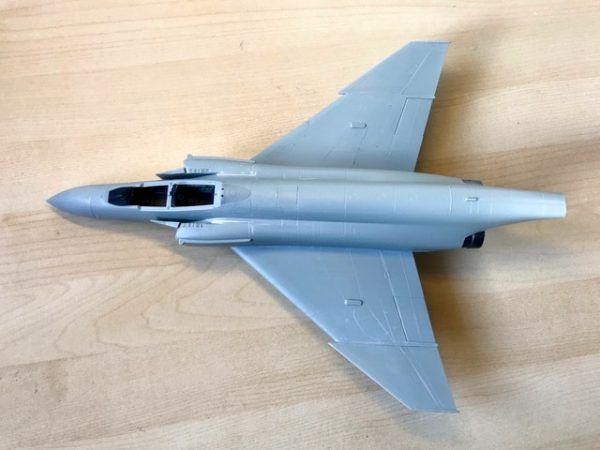
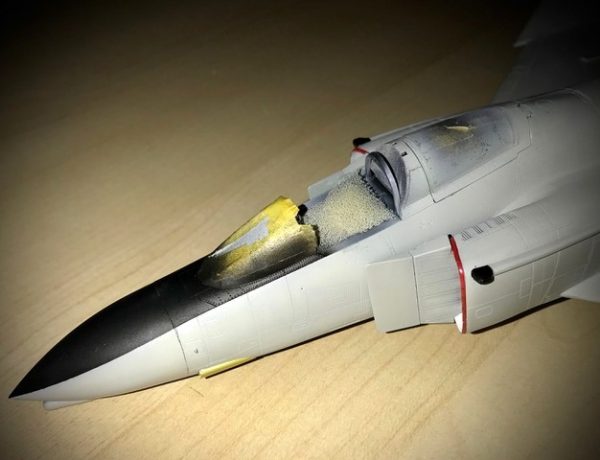
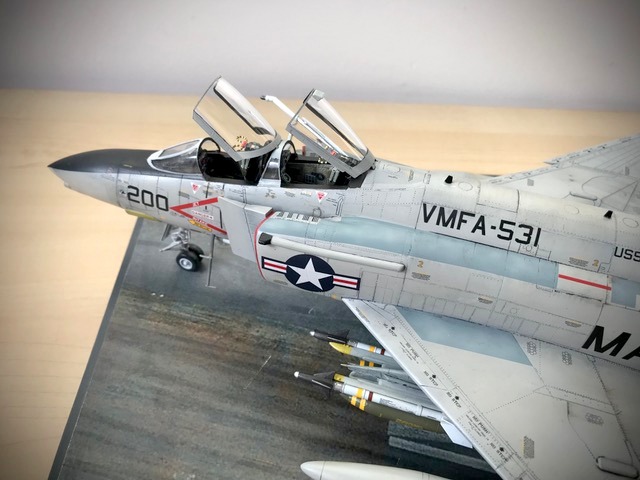
On passe maintenant à la peinture. Pour la déco c’est 50 nuances de gris et on va tenter de donner un peu de vie à tout cela. Bien content d’avoir une dérive assez chatoyante pour rehausser un peu l’ensemble. A noter qu’Academy a la fâcheuse habitude de produire des verrières avec un vilain joint de moulage. Il a fallu un peu de temps pour faire disparaitre ça… We now move on to painting. For the decor it’s 50 shades of gray and we’re going to try to give it all a little life. Very happy to have a fin shimmering enough to enhance the whole thing a little. Note that Academy has the unfortunate habit of producing canopies with an ugly molding joint. It took a little while to get that to go away..
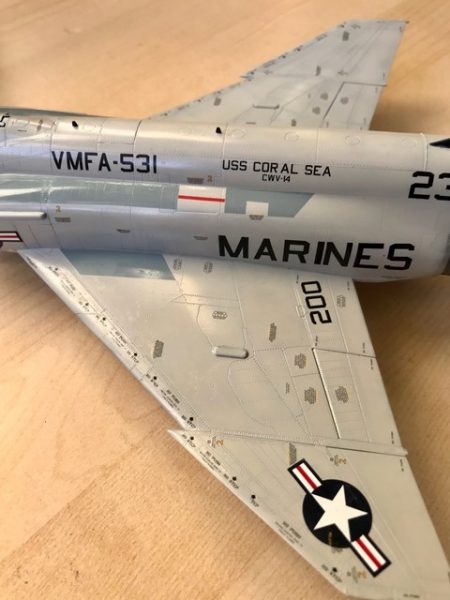
Puis c’est la pose des innombrables décalques et stencils , phase qui me coutera 2 journées entières…Then it’s the installation of countless decals and stencils, a phase which will cost me 2 whole days…
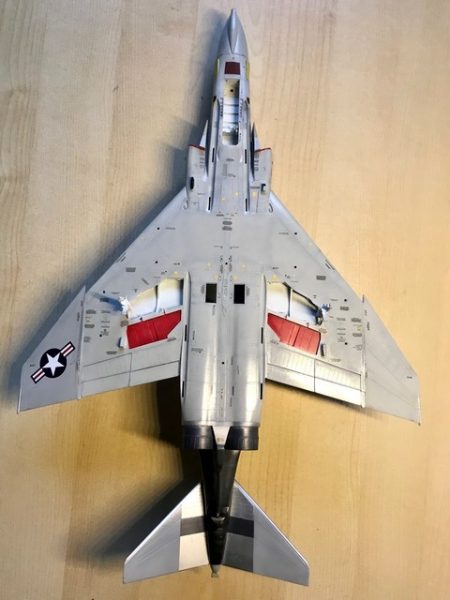
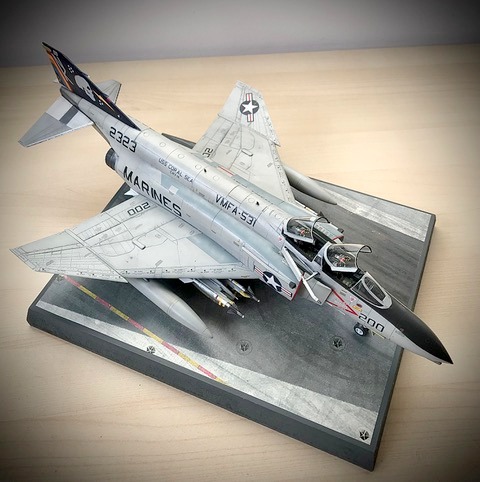
Une fois la patine réalisée, le résultat est presque présentable ! Once weathering is achieved, the result is almost presentable!
Topo, photos et montage : Alain B.