SEPTEMBRE 2022 : September 2023
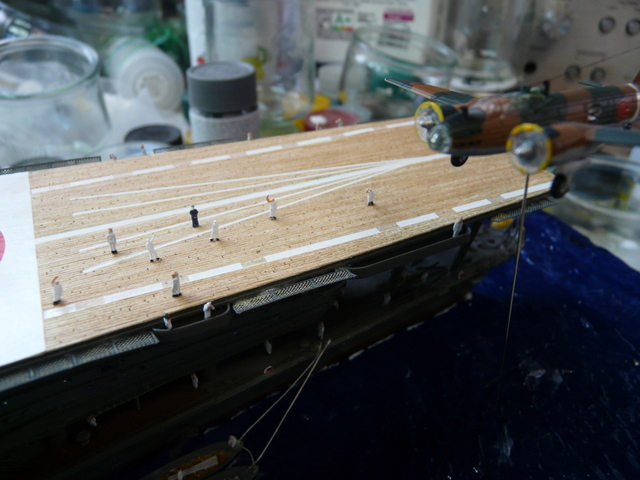
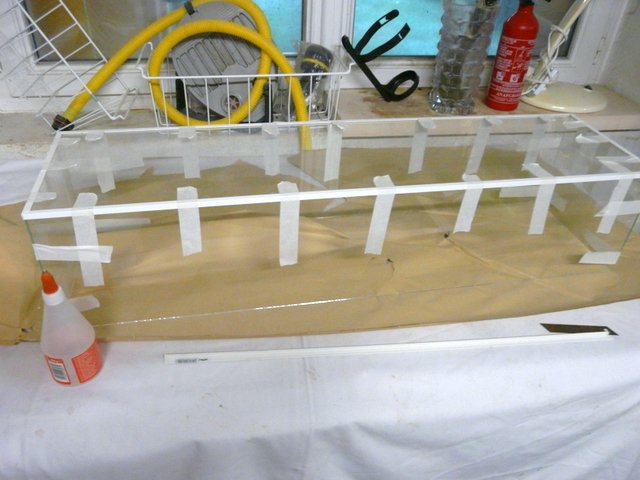
Fin août, j’ai entrepris la restauration du porte-avions IJN ZUIKAKU, superbe pièce, qui avait décidé de faire un salto arrière du chariot, avant d’arriver au stand à l’expo de CHATELLERAULT. Le tout était retombé à l’envers sur le bitume. La vitrine s’était fracassée en mille morceaux, écrabouillant tout ce qui dépassait du pont. A l’époque, avec mon brave Pierrot, on avait ramassé, dépité, toutes les pièces dans la caisse de transport. Ladite caisse était partie abandonnée dans un coin de mon garage. Du coup, j’ai tout refait à neuf, y compris la vitrine qui est rentrée pilpoil dans son logement.
Du coup, après ce chantier de restauration, gros coup de stimulation et j’ai ressorti l’AKAGI. Le pauvre avait été jeté négligemment dans sa boîte et en avait subi les outrages du temps. Il a fallu, tout d’abord, nettoyer toutes les toiles d’araignées. Pas des énormes toiles comme dans les châteaux hantés, mais des toutes fines, microscopiques.
At the end of August, I undertook the restoration of the IJN ZUIKAKU aircraft carrier, a superb piece, which had decided to make a rear flip of the trolley, before arriving at the stand at the CHATELLERAULT exhibition. The whole thing had fallen backwards on the asphalt. The window had shattered into a thousand pieces, crushing everything beyond the bridge. At the time, with my brave Pierrot, we had picked up all the pieces in the transport crate. The car was left abandoned in a corner of my garage. As a result, I redone everything, including the window that came back piling in his home.
So, after this restoration project, a big boost and I pulled out the AKAGI. The poor had been carelessly thrown into his box and had suffered the indignities of time. First, we had to clean all the cobwebs. Not huge canvases like in haunted castles, but tiny, microscopic ones.
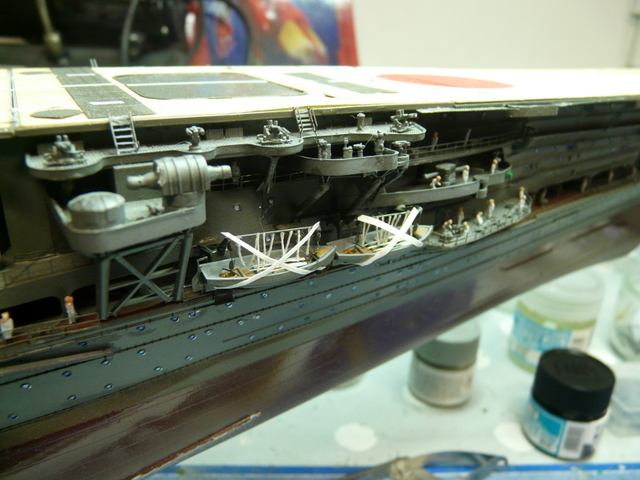
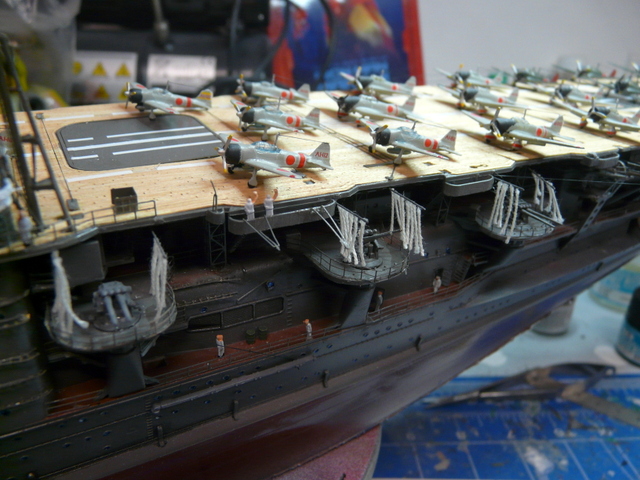
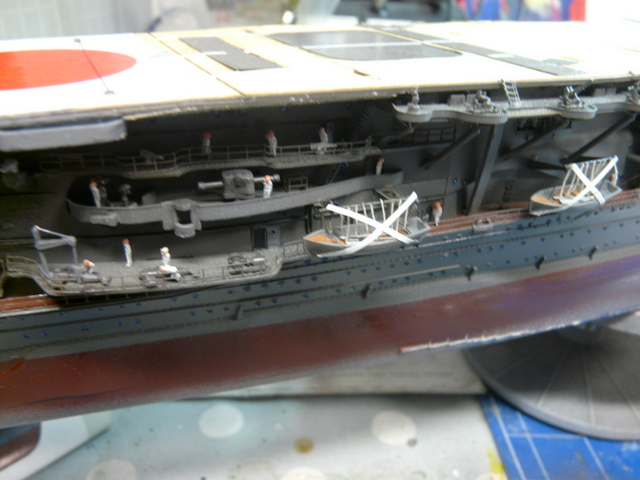
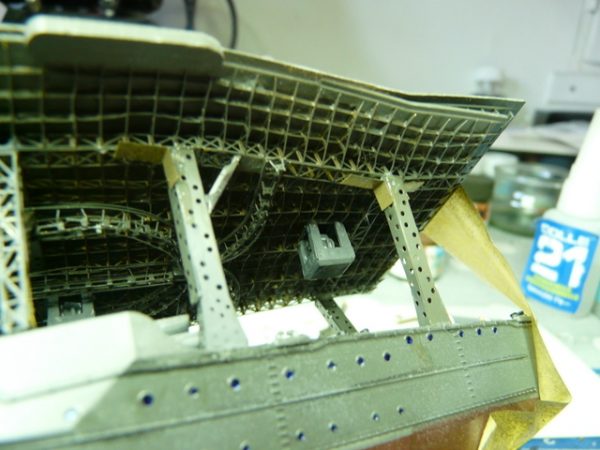
Une fois nettoyée, me voilà face à la coque, comme je l’avais abandonnée. Et là, il fallait coller les ponts (comme quoi, je n’étais pas loin de la fin). J’ai failli devenir fou avec le pont arrière. Huit piliers le supportent. Chaque pilier est en photodec, ultra fragile. Le tout se colle à la cyano. Et puis quand on pose le pont, tous les piliers sautent. C’est à s’arracher les cheveux ! (pour ceux qui en ont !). Au départ, j’avais pris les kits de photodec EDUARD, dont les piliers. Et avec le kit HASEGAWA, je les ai eus en double. Bien mal m’en a pris, car la photodec HASEGAWA est ultra fragile et casse facilement. Du coup, j’ai pu remplacer par les piliers EDUARD. Cela peut vous paraître rébarbatif ce que je raconte, mais une fois face au chantier, c’est une autre paire de manches.
Enfin, j’ai collé le pont entier. Puis, je me suis battu avec la mise en place des piliers arrières. Pour les deux derniers, il faut en plus cintrer un peu le pont vers le bas (avec sa rigidité et sa charpente métallique, c’est mission impossible). J’ai trouvé mon salut en fabriquant dans de la grappe de photodec, des petites équerres, que j’ai collées sous le pont et les piliers. Ça semble tenir, jusqu’à quand ?
Once cleaned, I face the hull, as I had abandoned it. And there, you had to glue the bridges (like what, I was not far from the end). I almost went crazy with the afterdeck. Eight pillars support it. Each pillar is photodec, ultra fragile. Everything sticks to the cyano. And then when you put down the bridge, all the pillars jump. It’s like pulling your hair out! (for those who have!). Initially, I had taken the EDUARD photodec kits, including the pillars. And with the HASEGAWA kit, I had them in duplicate. It was very hard for me, because the HASEGAWA photodec is ultra fragile and breaks easily. So I was able to replace it with the EDUARD pillars. What I am saying may seem daunting, but once faced with the construction site, it is a different matter.
Finally, I glued the entire bridge. Then, I fought with the installation of the rear pillars. For the last two, it is also necessary to bend the bridge a little downwards (with its stiffness and metal frame, it is mission impossible). I found my salvation by making in the cluster of photodec, small squares, which I glued under the bridge and pillars. How long does it seem to last?
Voilà, une bonne étape de faite, je suis, sur YOU TUBE, un maquettiste qui nous présente son montage. Une vraie simplicité et un véritable jeu d’enfant pour lui ( nous ne sommes pas tous égaux devant le plastique !). Cela dure 1h30, mais la vidéo vaut vraiment le coup et on y apprend plein de choses.
Here, a good step made, I am, on YOU TUBE, a model maker who presents us his montage. A real simplicity and a real child’s play for him (we are not all equal in front of plastic!). It lasts 1h30, but the video is really worth it and you learn a lot.
Porte-avions de la marine impériale japonaise Akagi – Bataille de Midway – YouTube
Petite astuce : j’ai mis une pince de chaque côté du pont, ce qui me permet de basculer le bateau sur le côté sans tout péter les canons, (bravo l’astuce !).
Small tip: I put a clamp on each side of the bridge, which allows me to tip the boat on the side without blowing the cannon, (bravo the tip!).
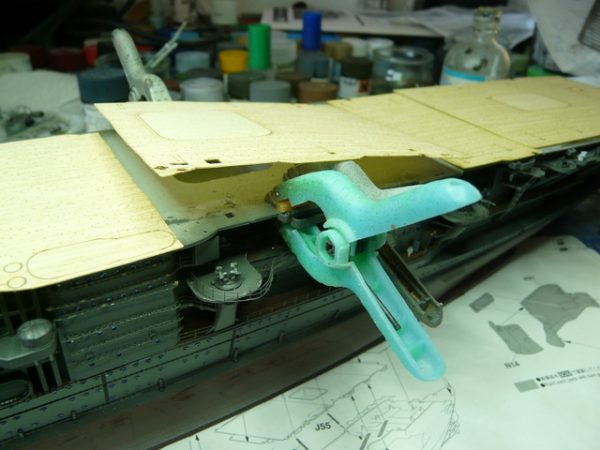
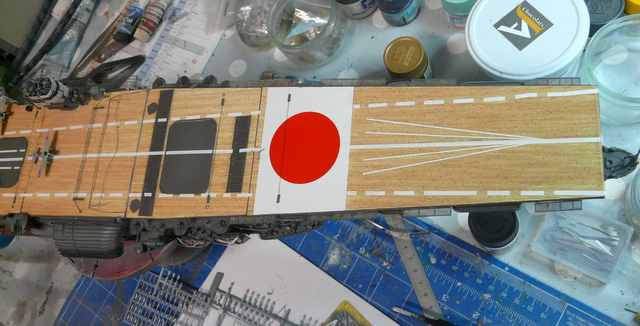
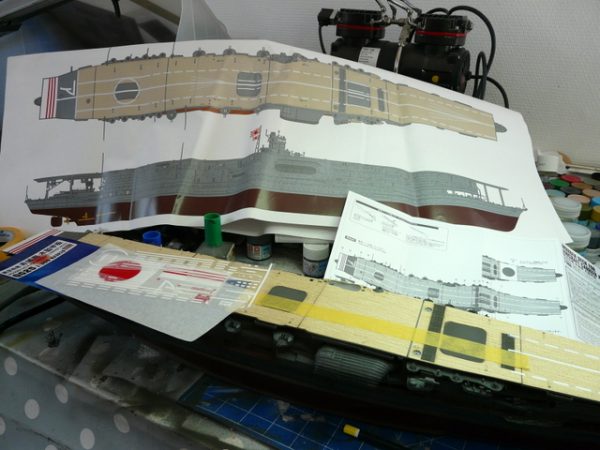
Je découvre la pochette des ponts bois HASEGAWA, c’est beau, très fin, 7 morceaux constituent le pont.
I discover the cover of the HASEGAWA wooden bridges, it is beautiful, very thin, 7 pieces constitute the bridge.
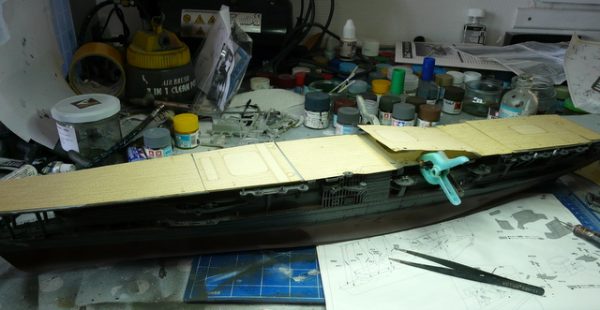
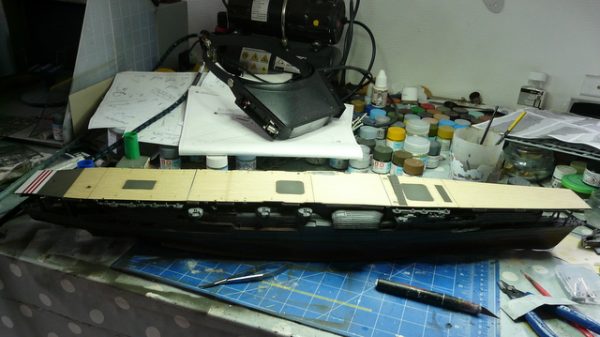
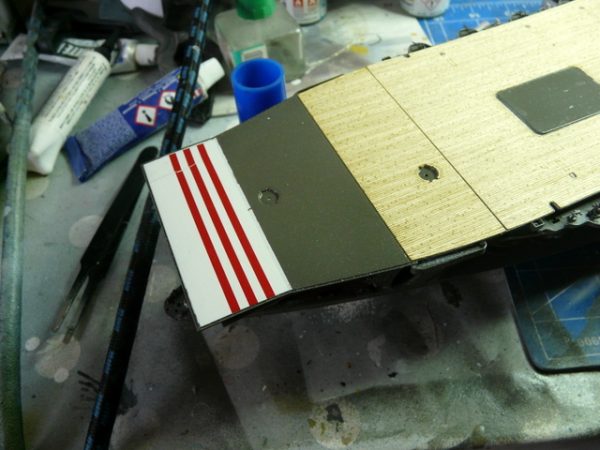
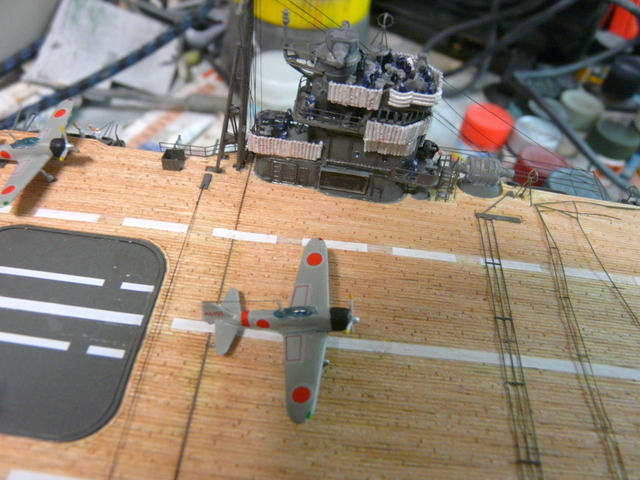
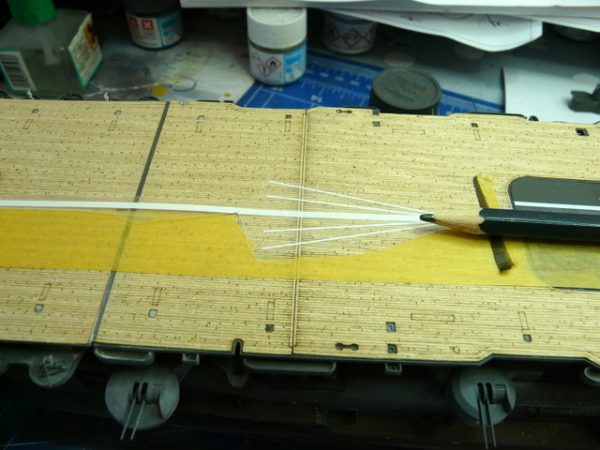
Une petite planche de photodec en plus et le marquage à sec……… HASEGAWA fournit tous les décalques du pont en « lettre à sec », que l’on applique en frottant un crayon sur le support pour laisser le décalque en place. Sur le pont en bois ça le fait très bien.
A small photodec sheet in addition and dry marking……… HASEGAWA provides all bridge decals in “dry letter”, which are applied by rubbing a pencil on the support to leave the decal in place. On the wooden bridge it looks great.
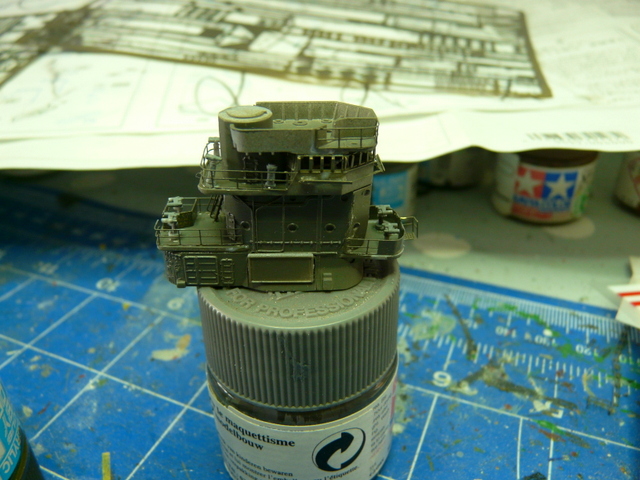
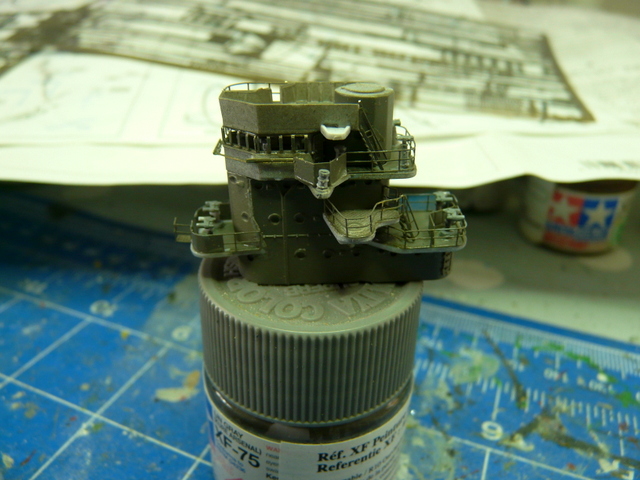
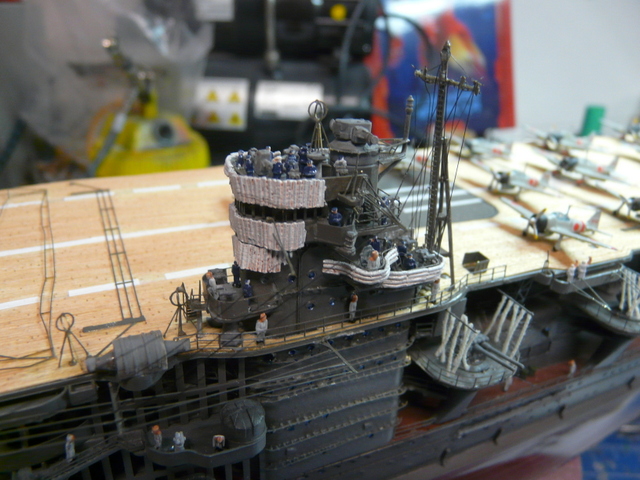
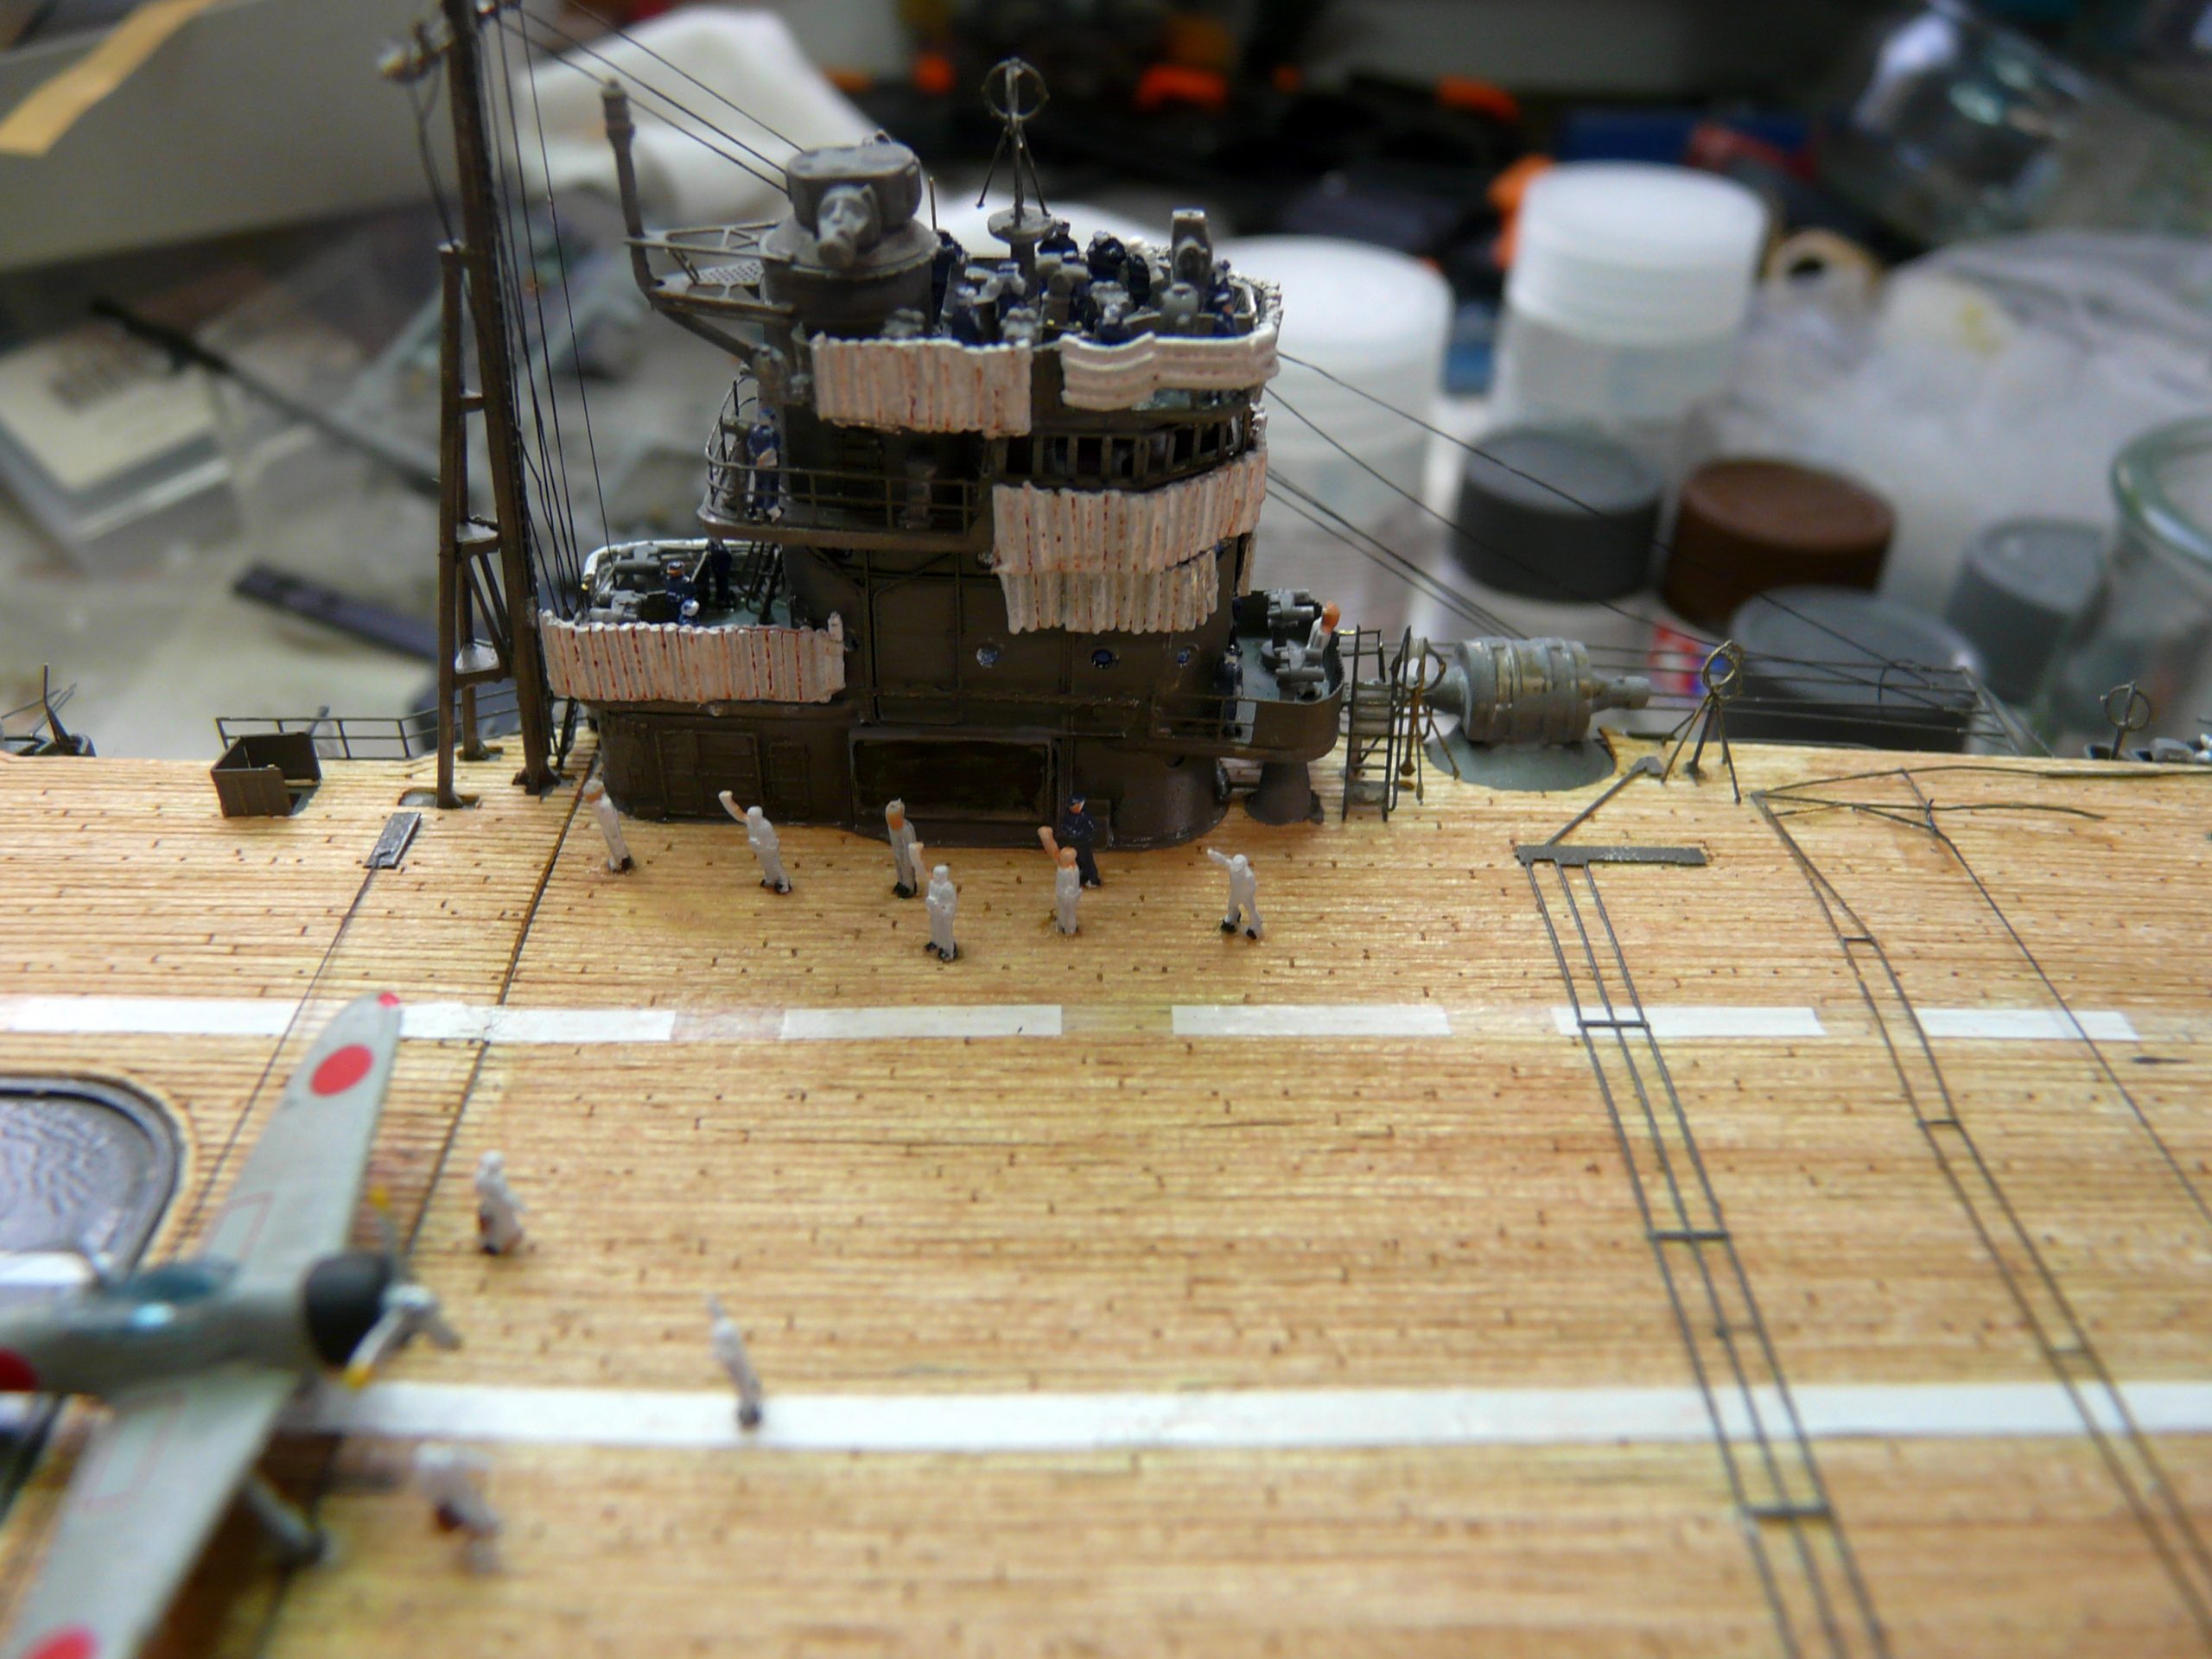
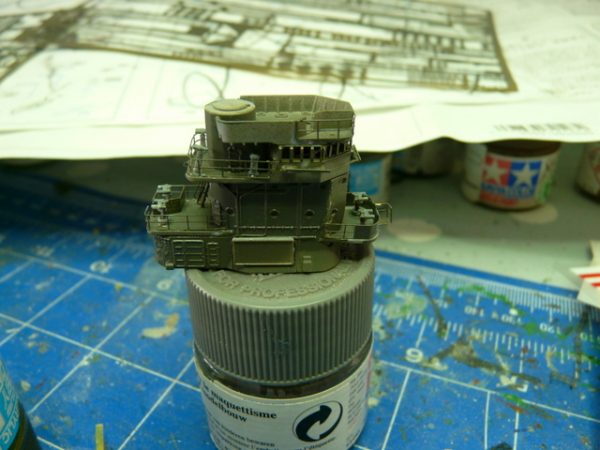
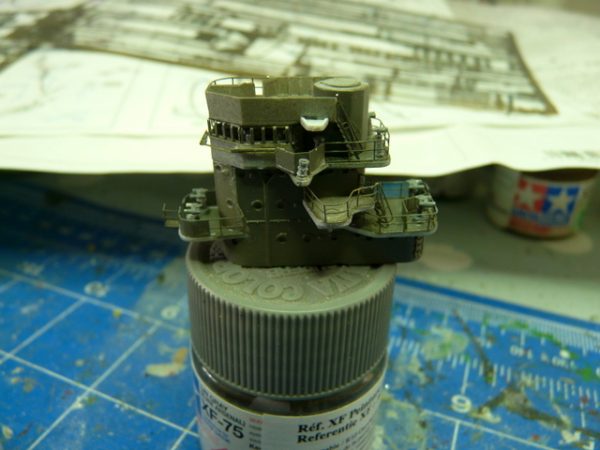
Le château est tout petit, pas de complication de montage. The castle is very small, no mounting complication.
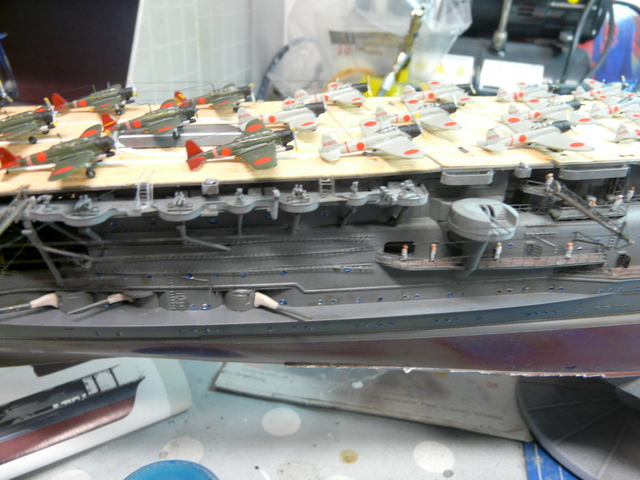
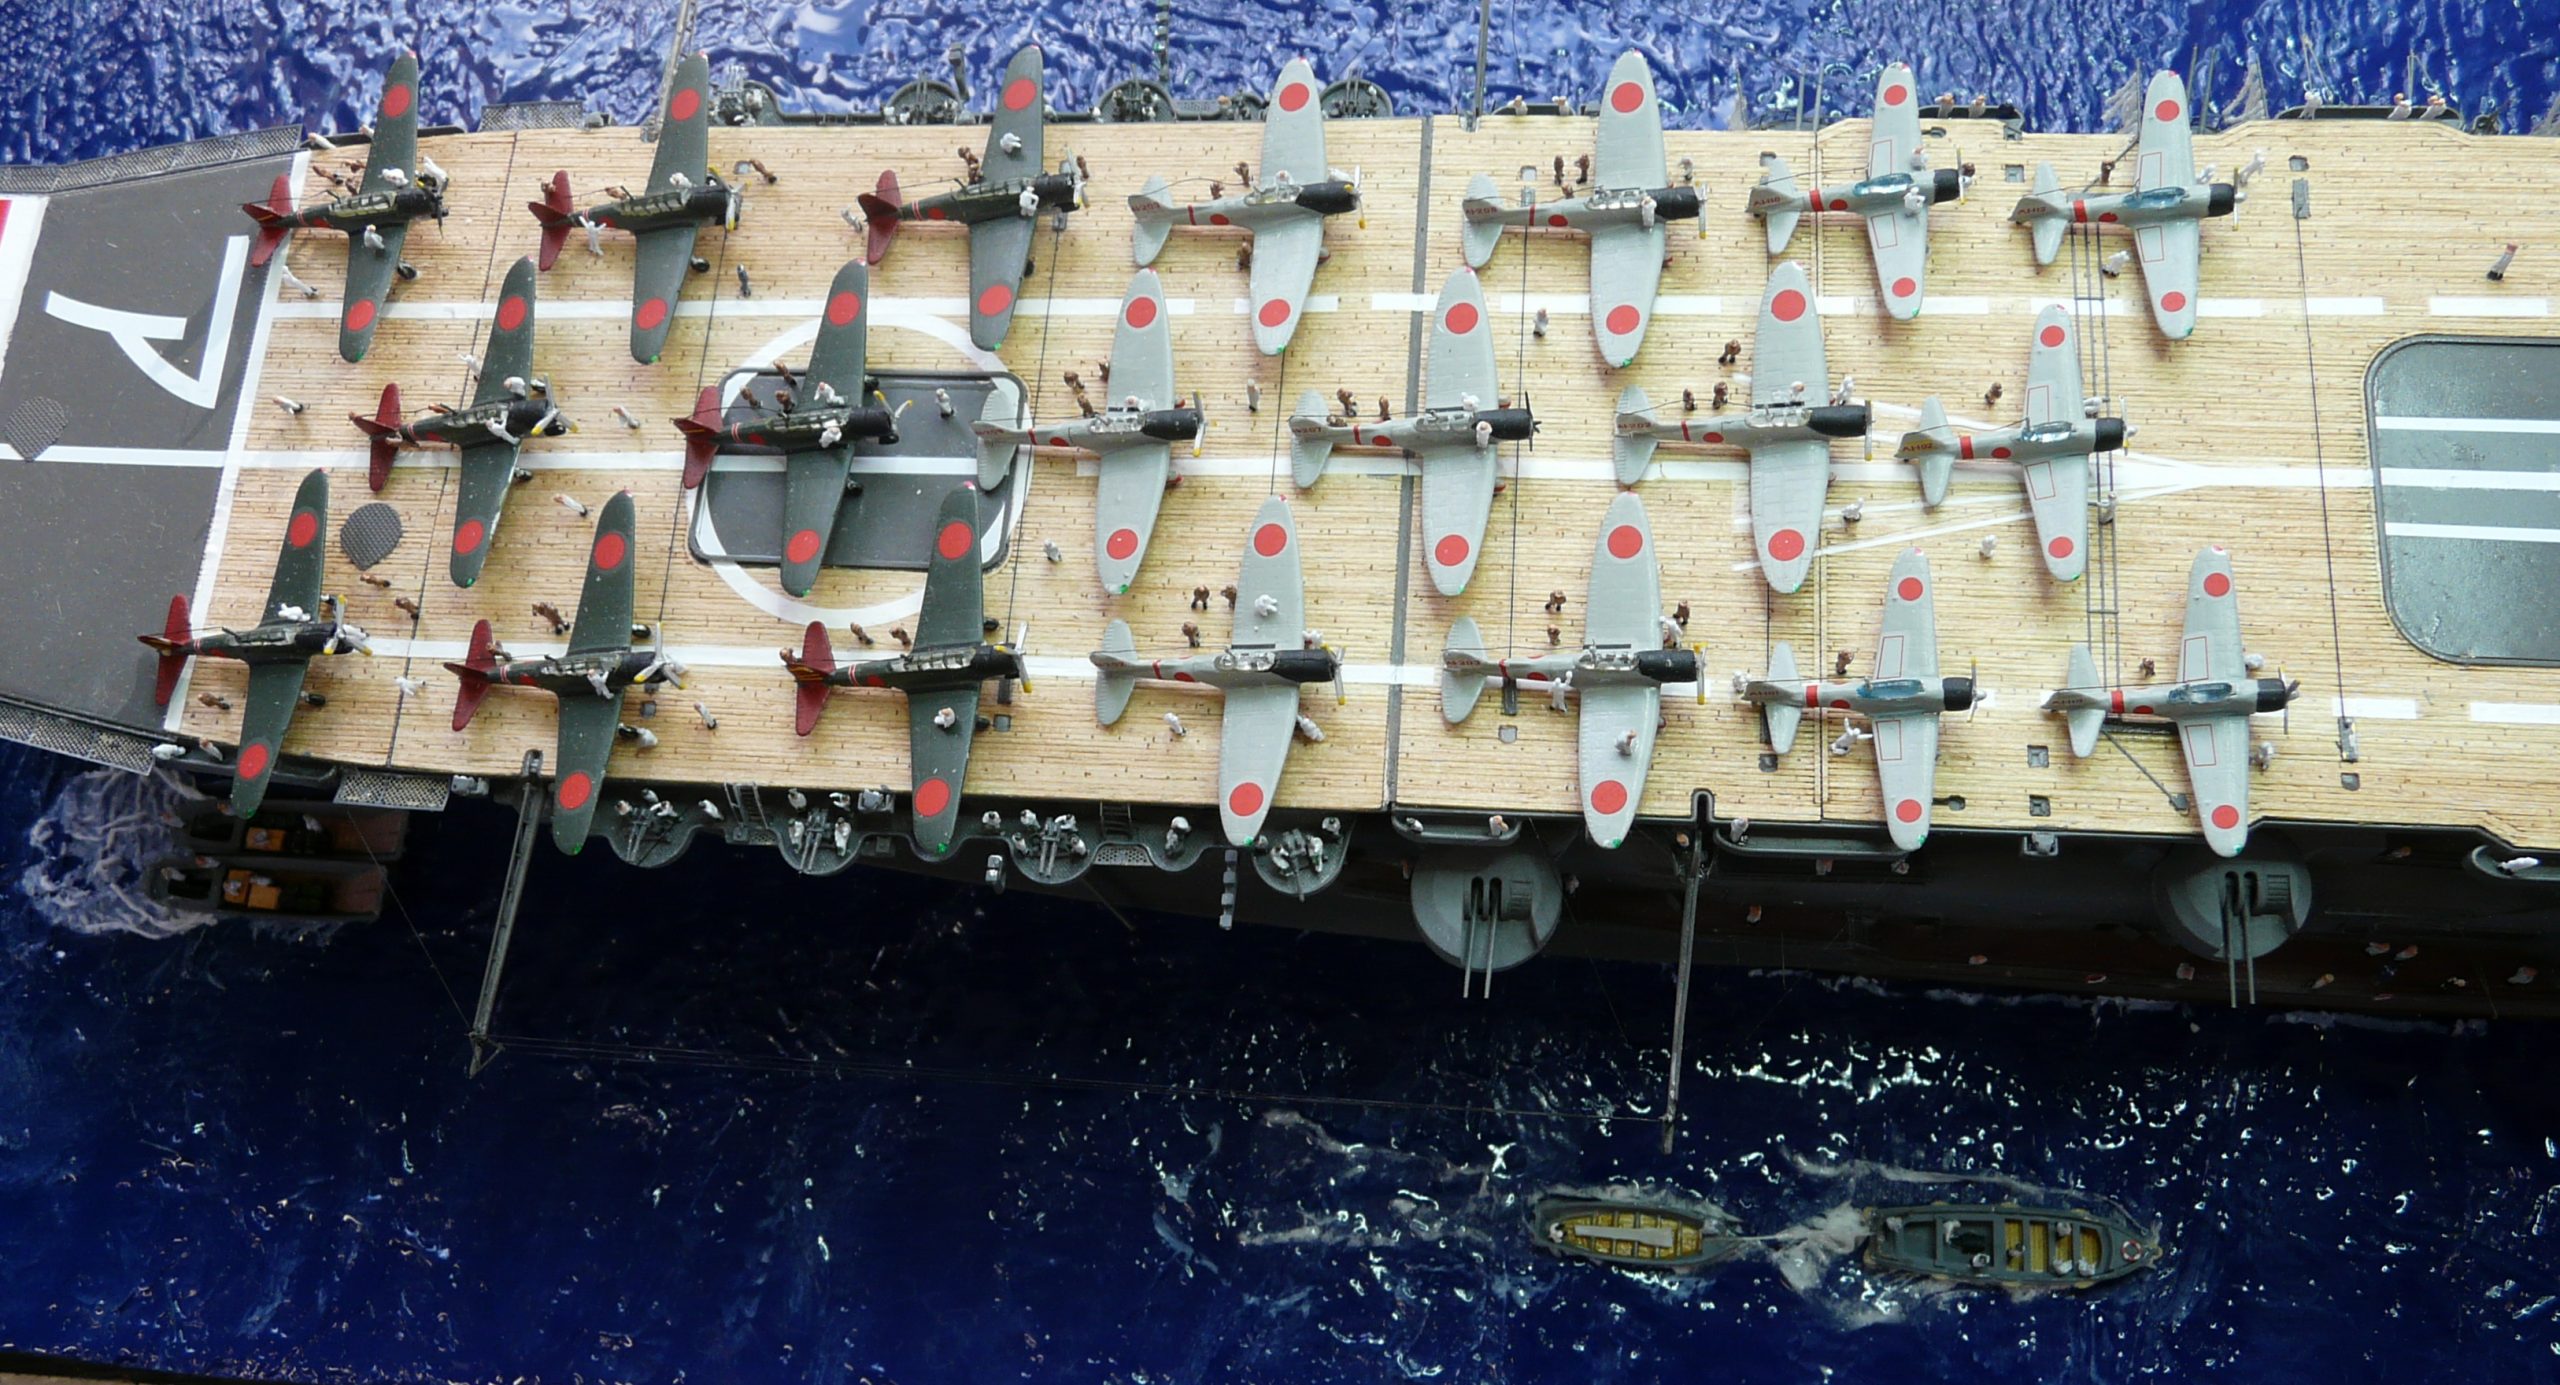
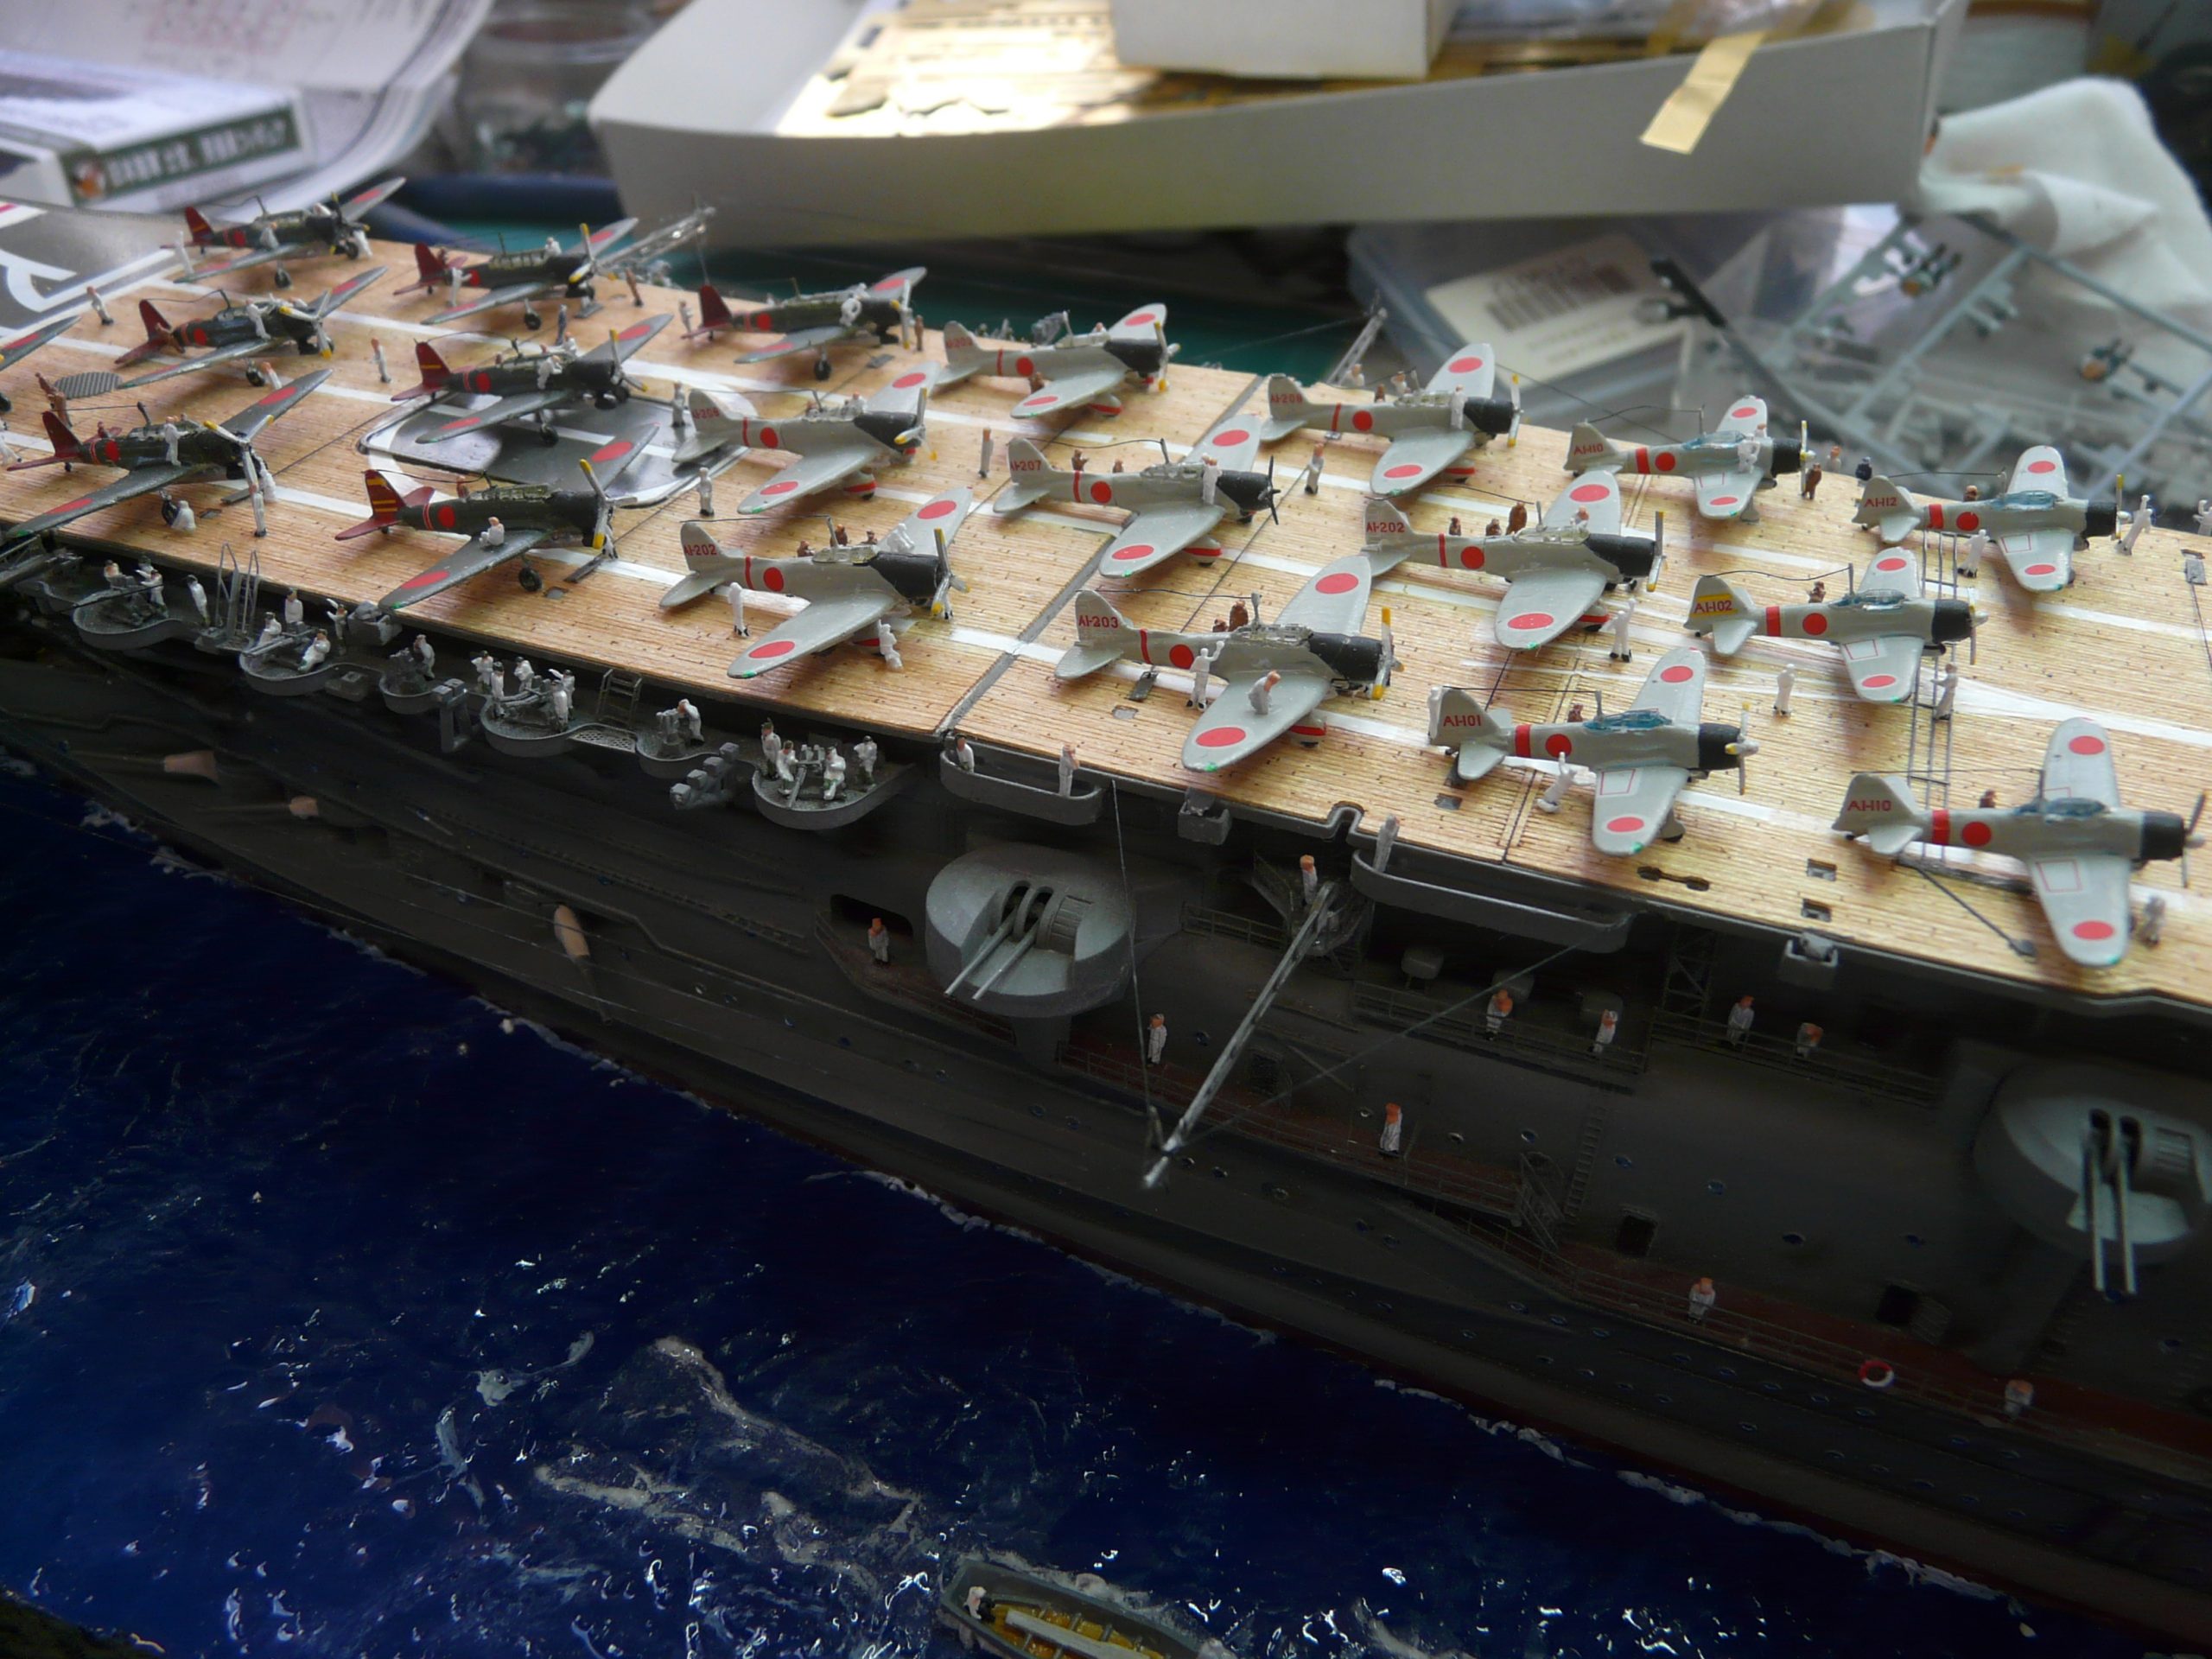
Puis vient ensuite les avions, moulés en plastique transparent. Un petit travail à la chaîne où il faudra beaucoup de patience. J’ai dû trouver difficilement des boîtes d’avions supplémentaires HASEGAWA pour compléter ma flotte.
Then comes the planes, moulded in transparent plastic. A small work to the chain where it will take a lot of patience. I had to find it difficult to find additional HASEGAWA aircraft boxes to complete my fleet.
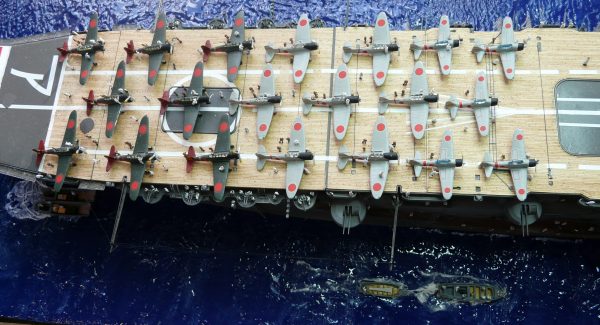
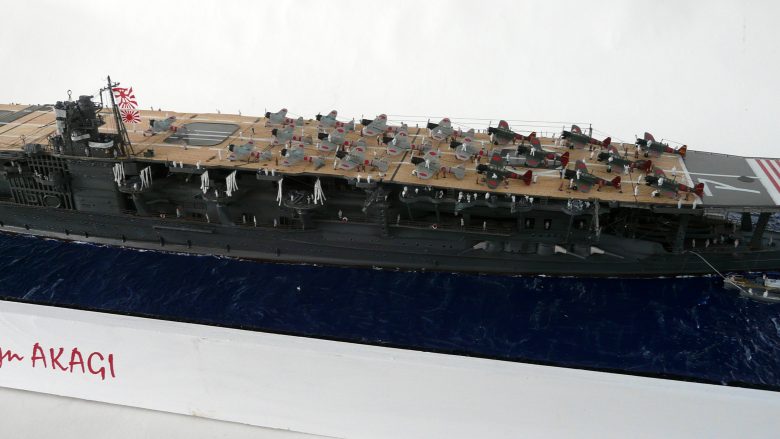
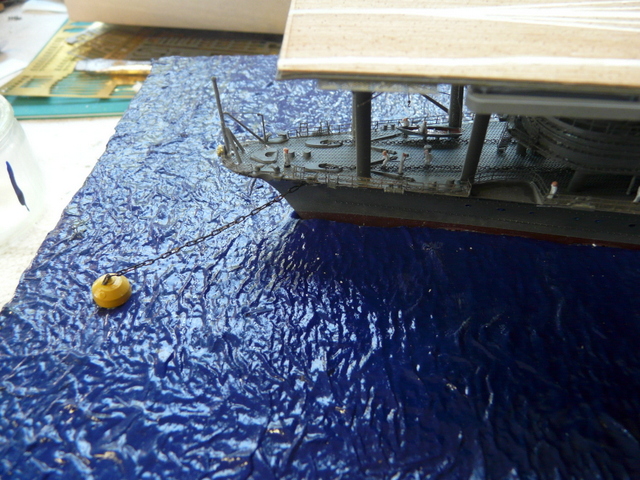
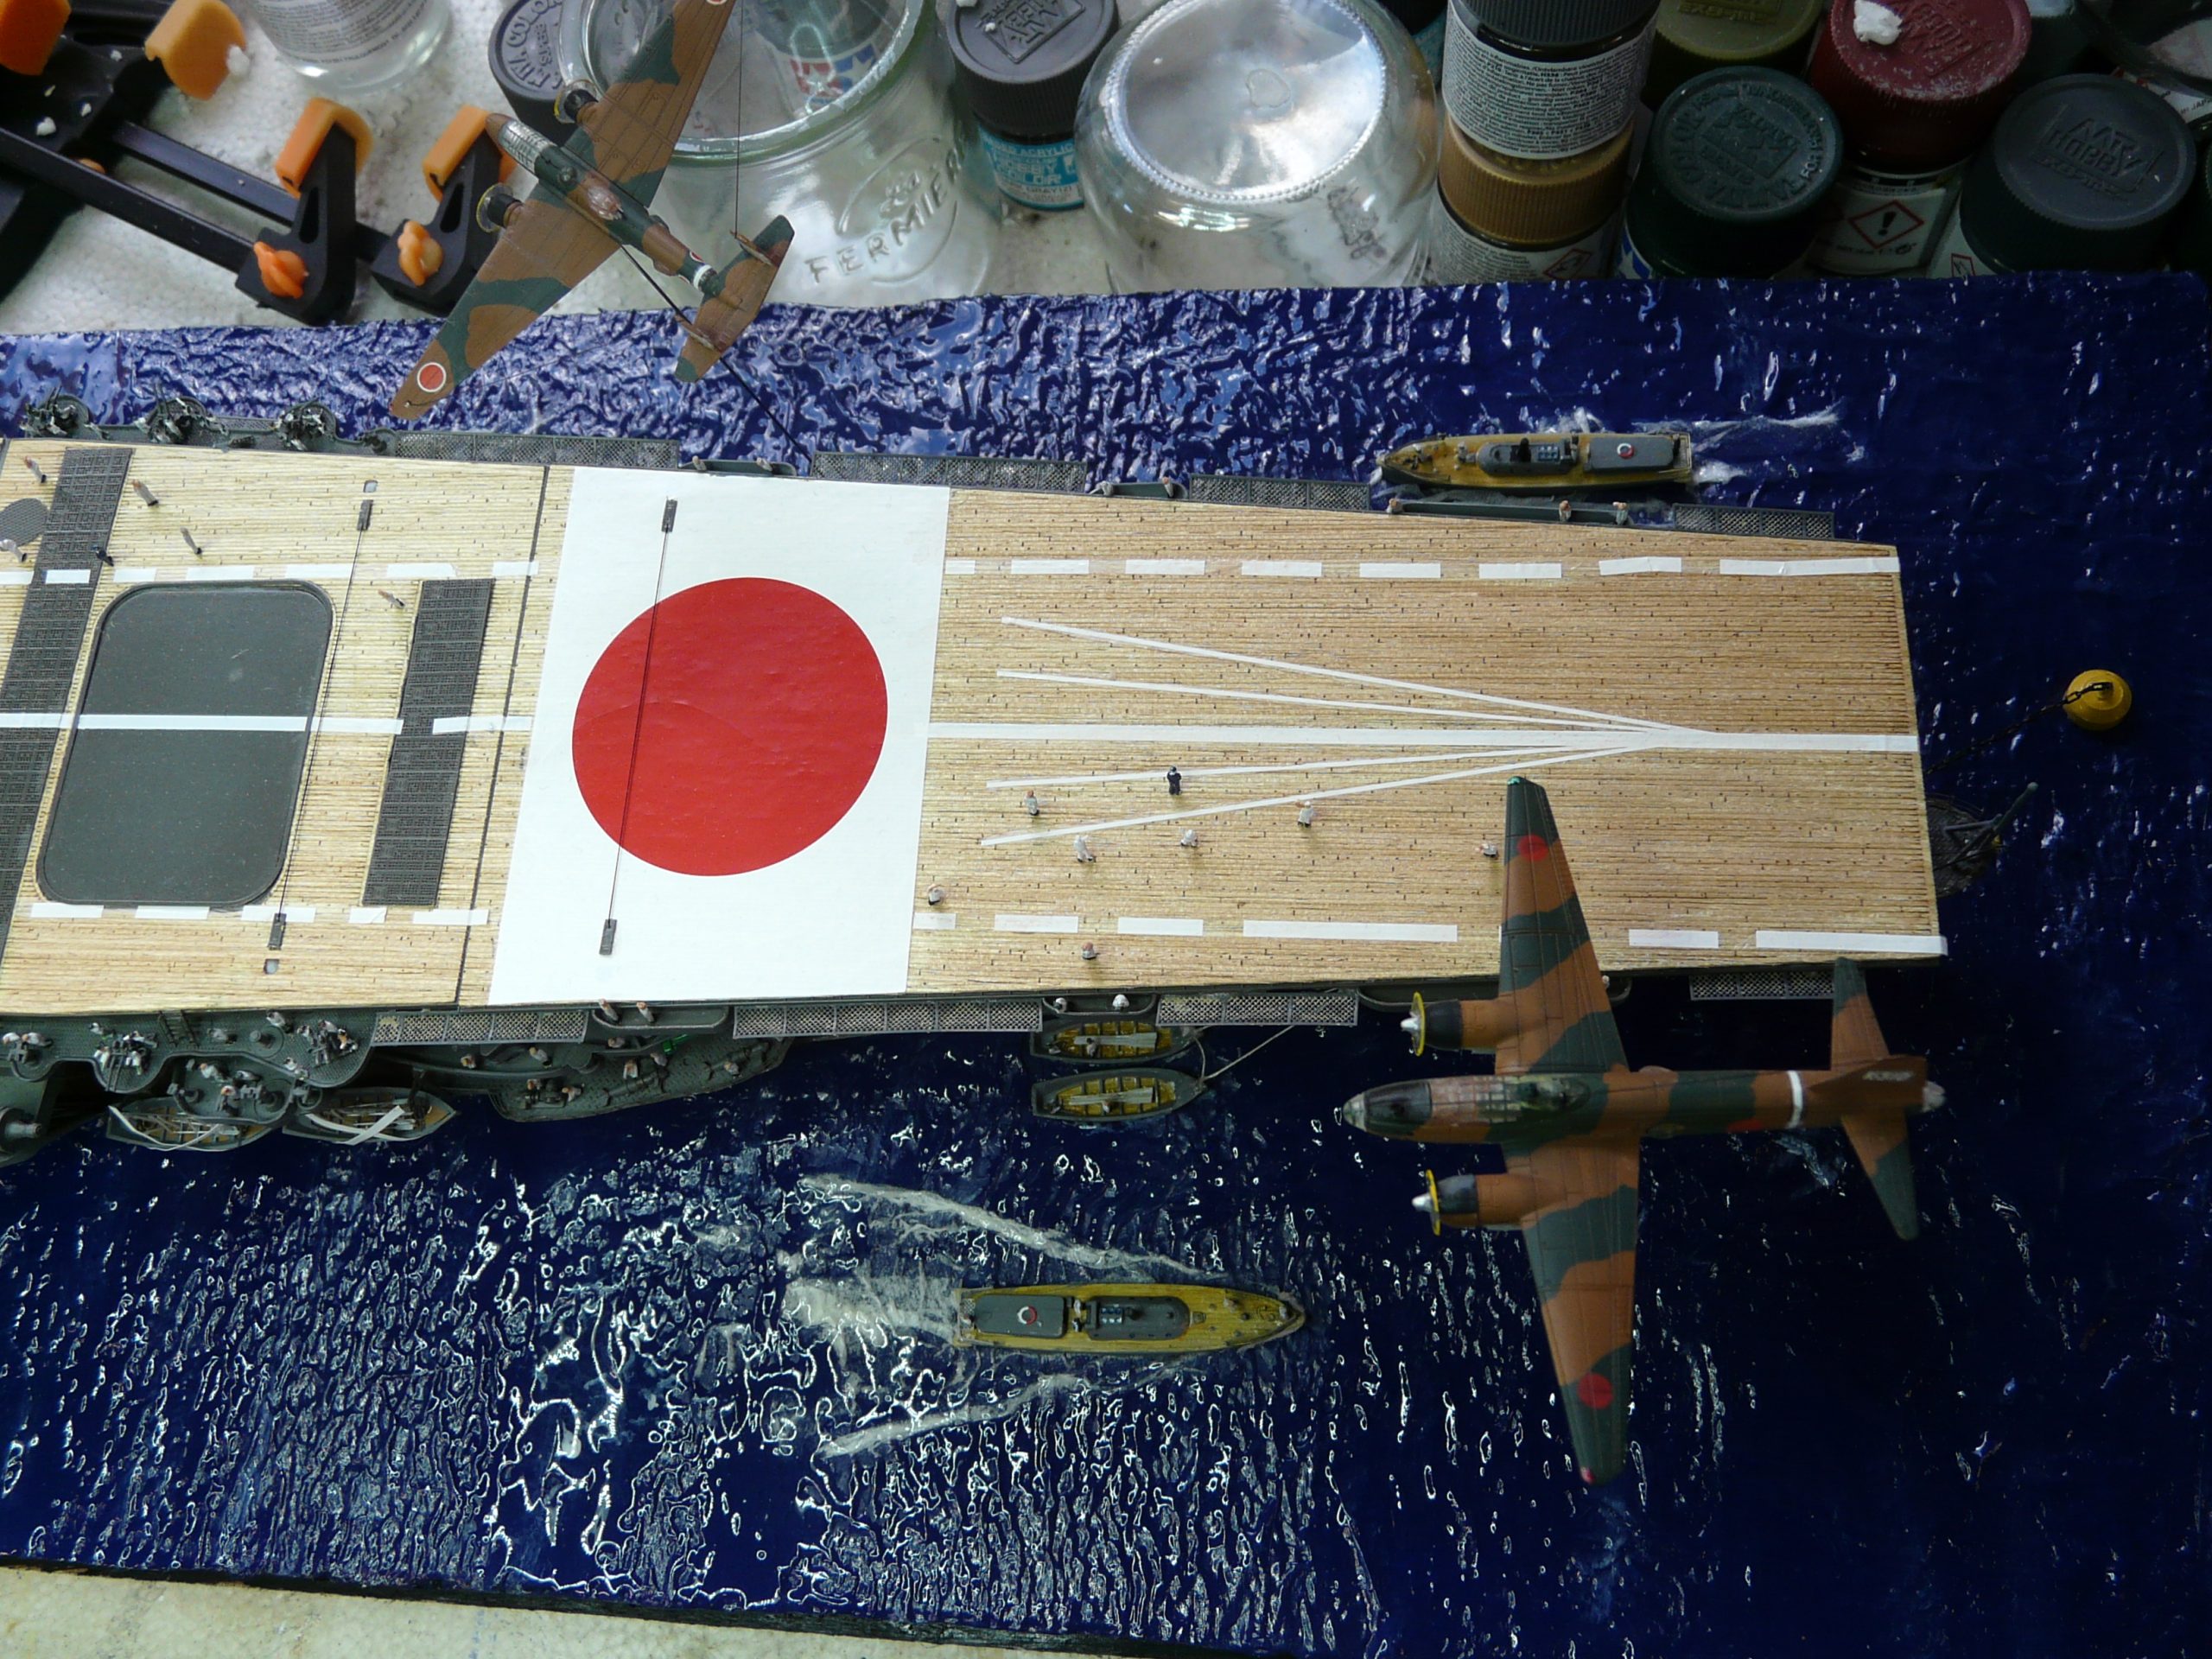
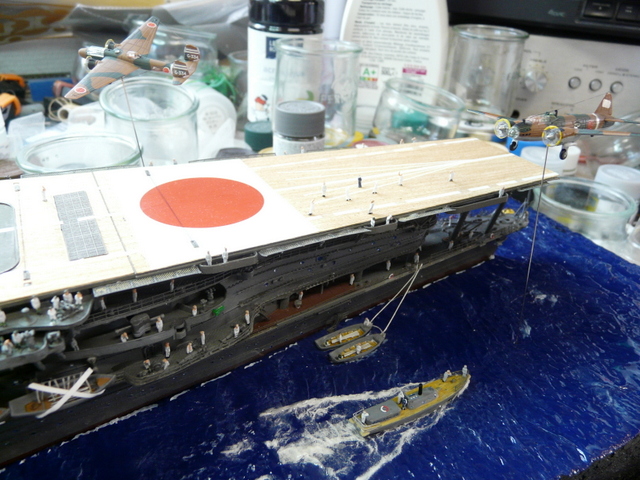
J’ai posé mon AKAGI en mer, au mouillage sur une eau bleue. La réalisation du diorama, reste classique comme vous pouvez déjà le lire dans mes articles précédents.
I put my AKAGI at sea, at anchor on blue water. The realization of the diorama, remains classic as you can already read in my previous articles.
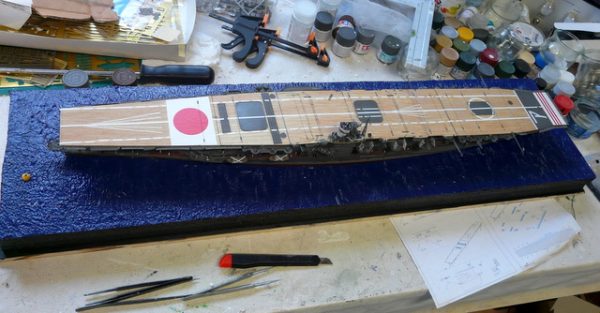
A l’arrivée, un très beau kit qui ne passe pas inaperçu vu le nombre de photos prises par les autres exposants et le public, quand je l’ai présenté en expo. C’est vraiment une pièce maîtresse pour tout amateur de marine 39/45.
At the finish, a beautiful kit that does not go unnoticed given the number of photos taken by the other exhibitors and the public, when I presented it in exhibition. This is really a centerpiece for any 39/45 marine lover.
Topo, photos et montage : ALPERS

