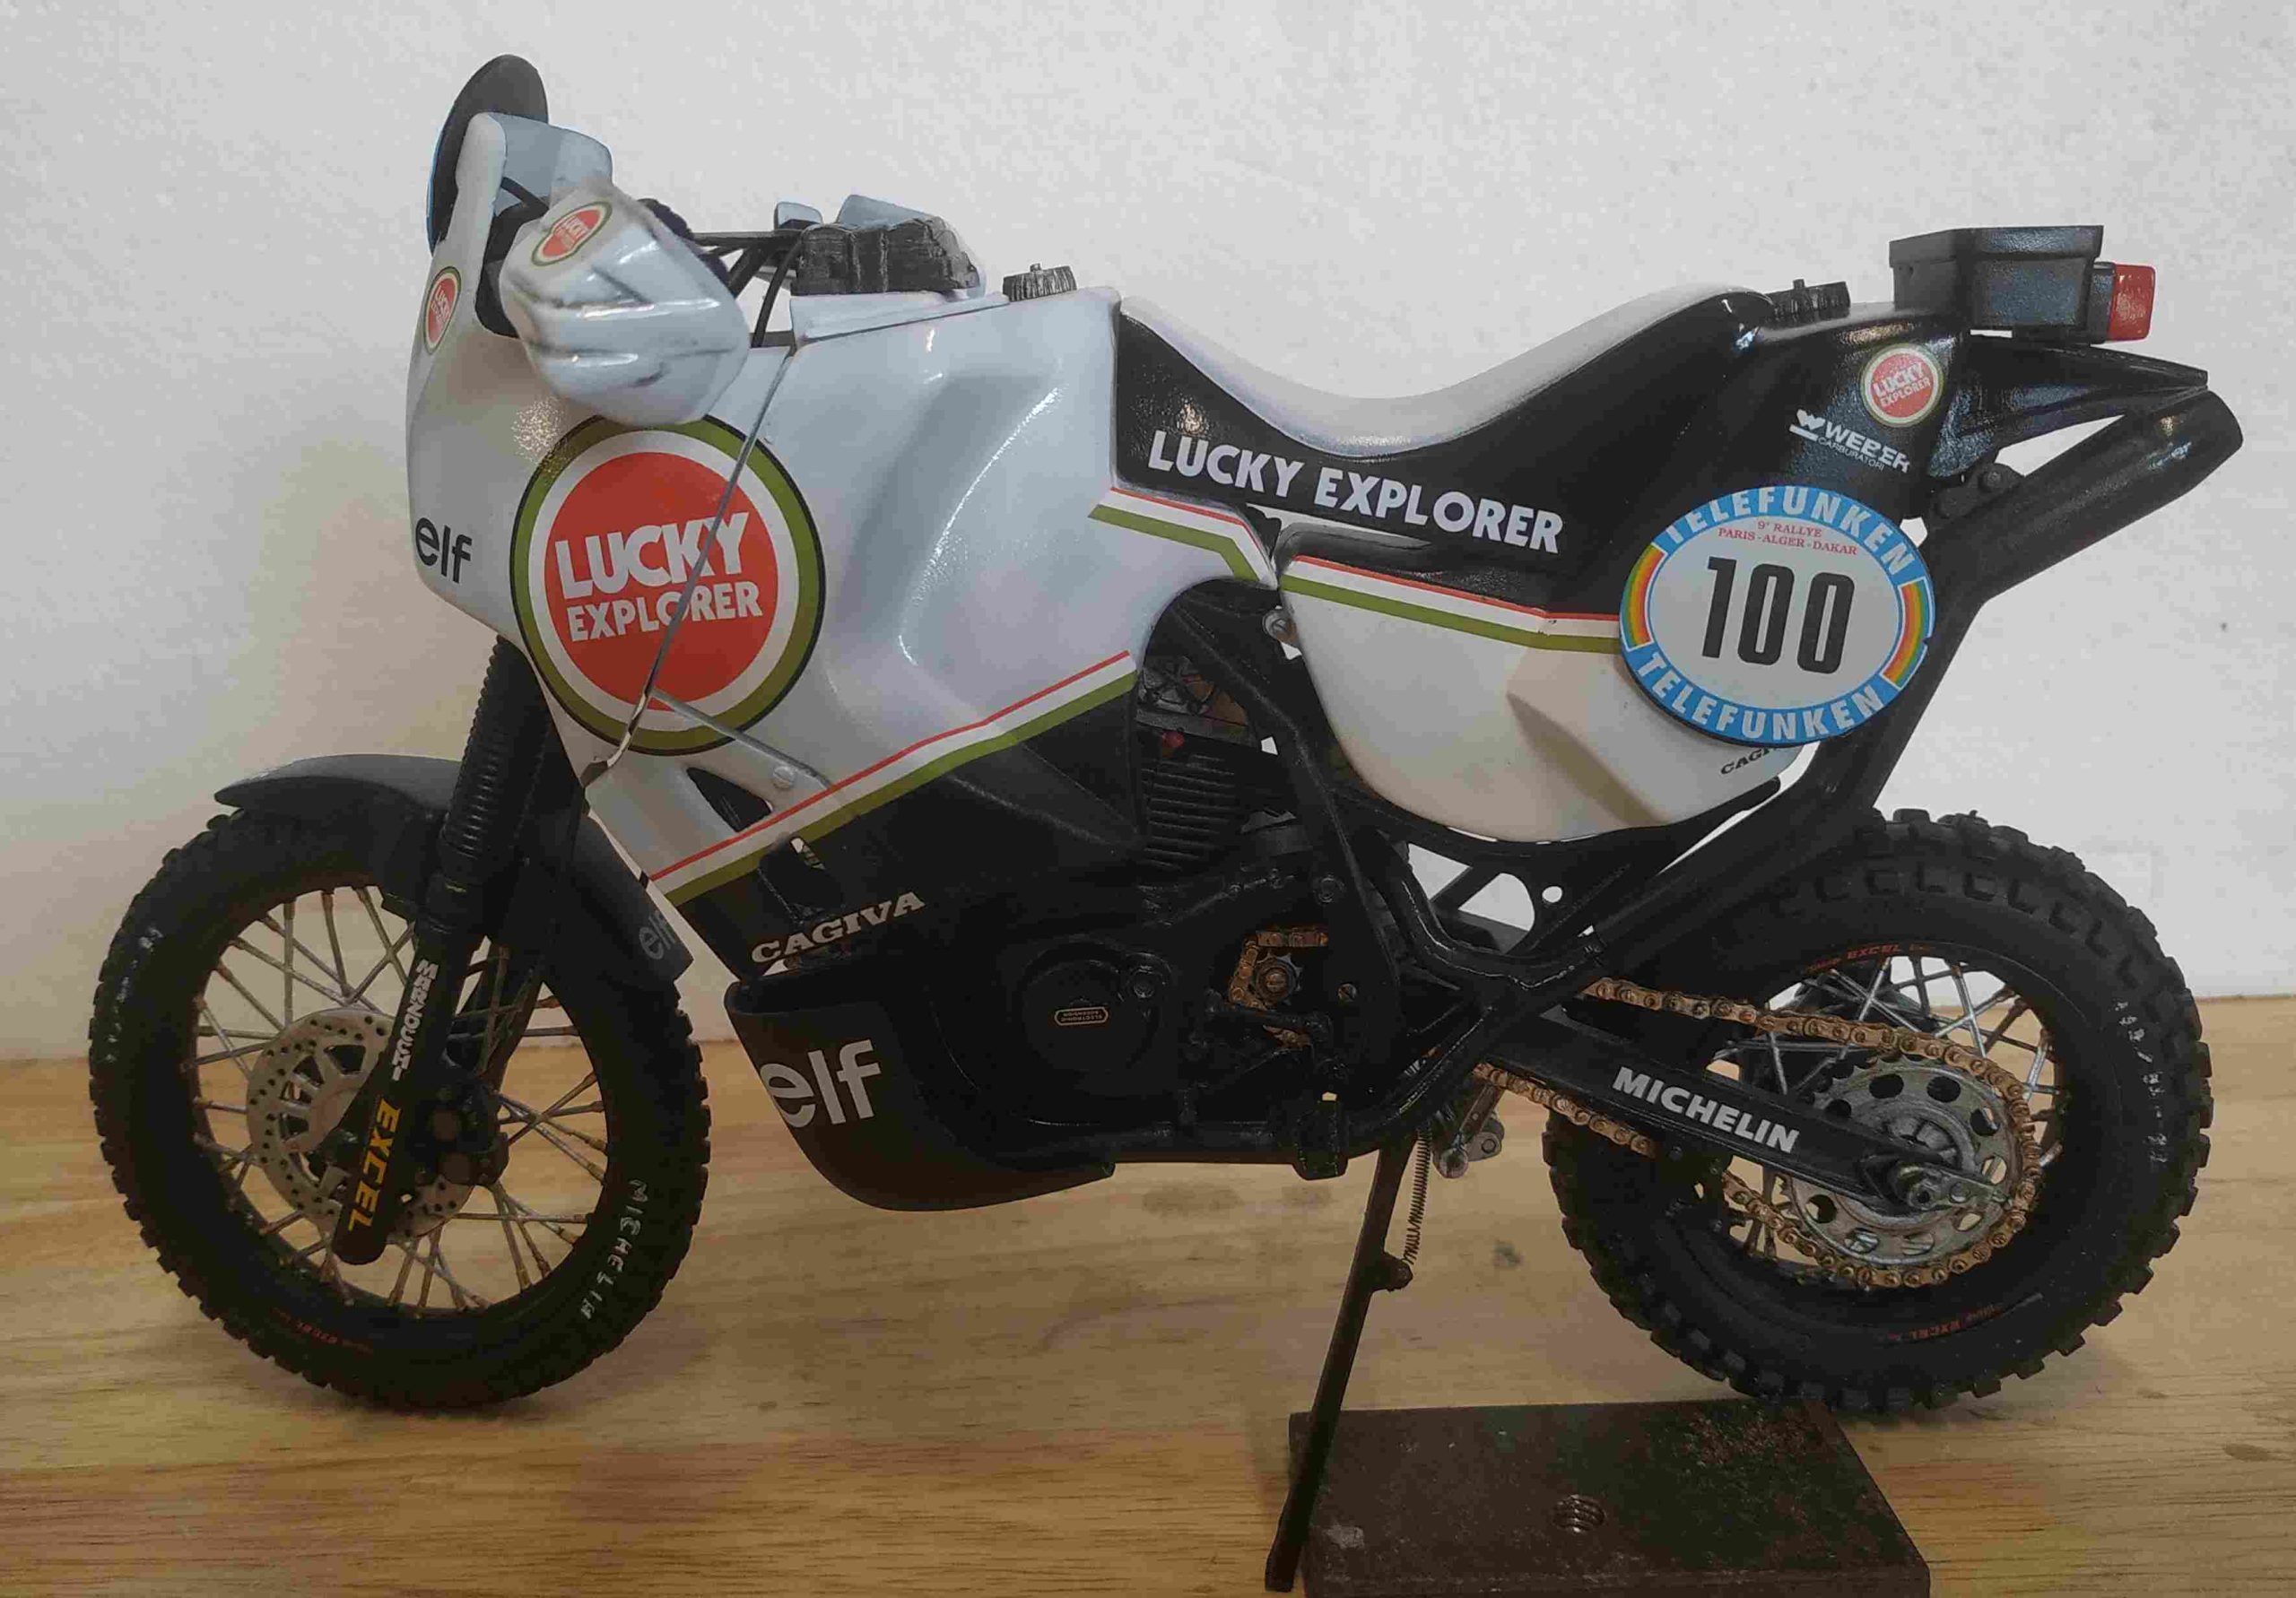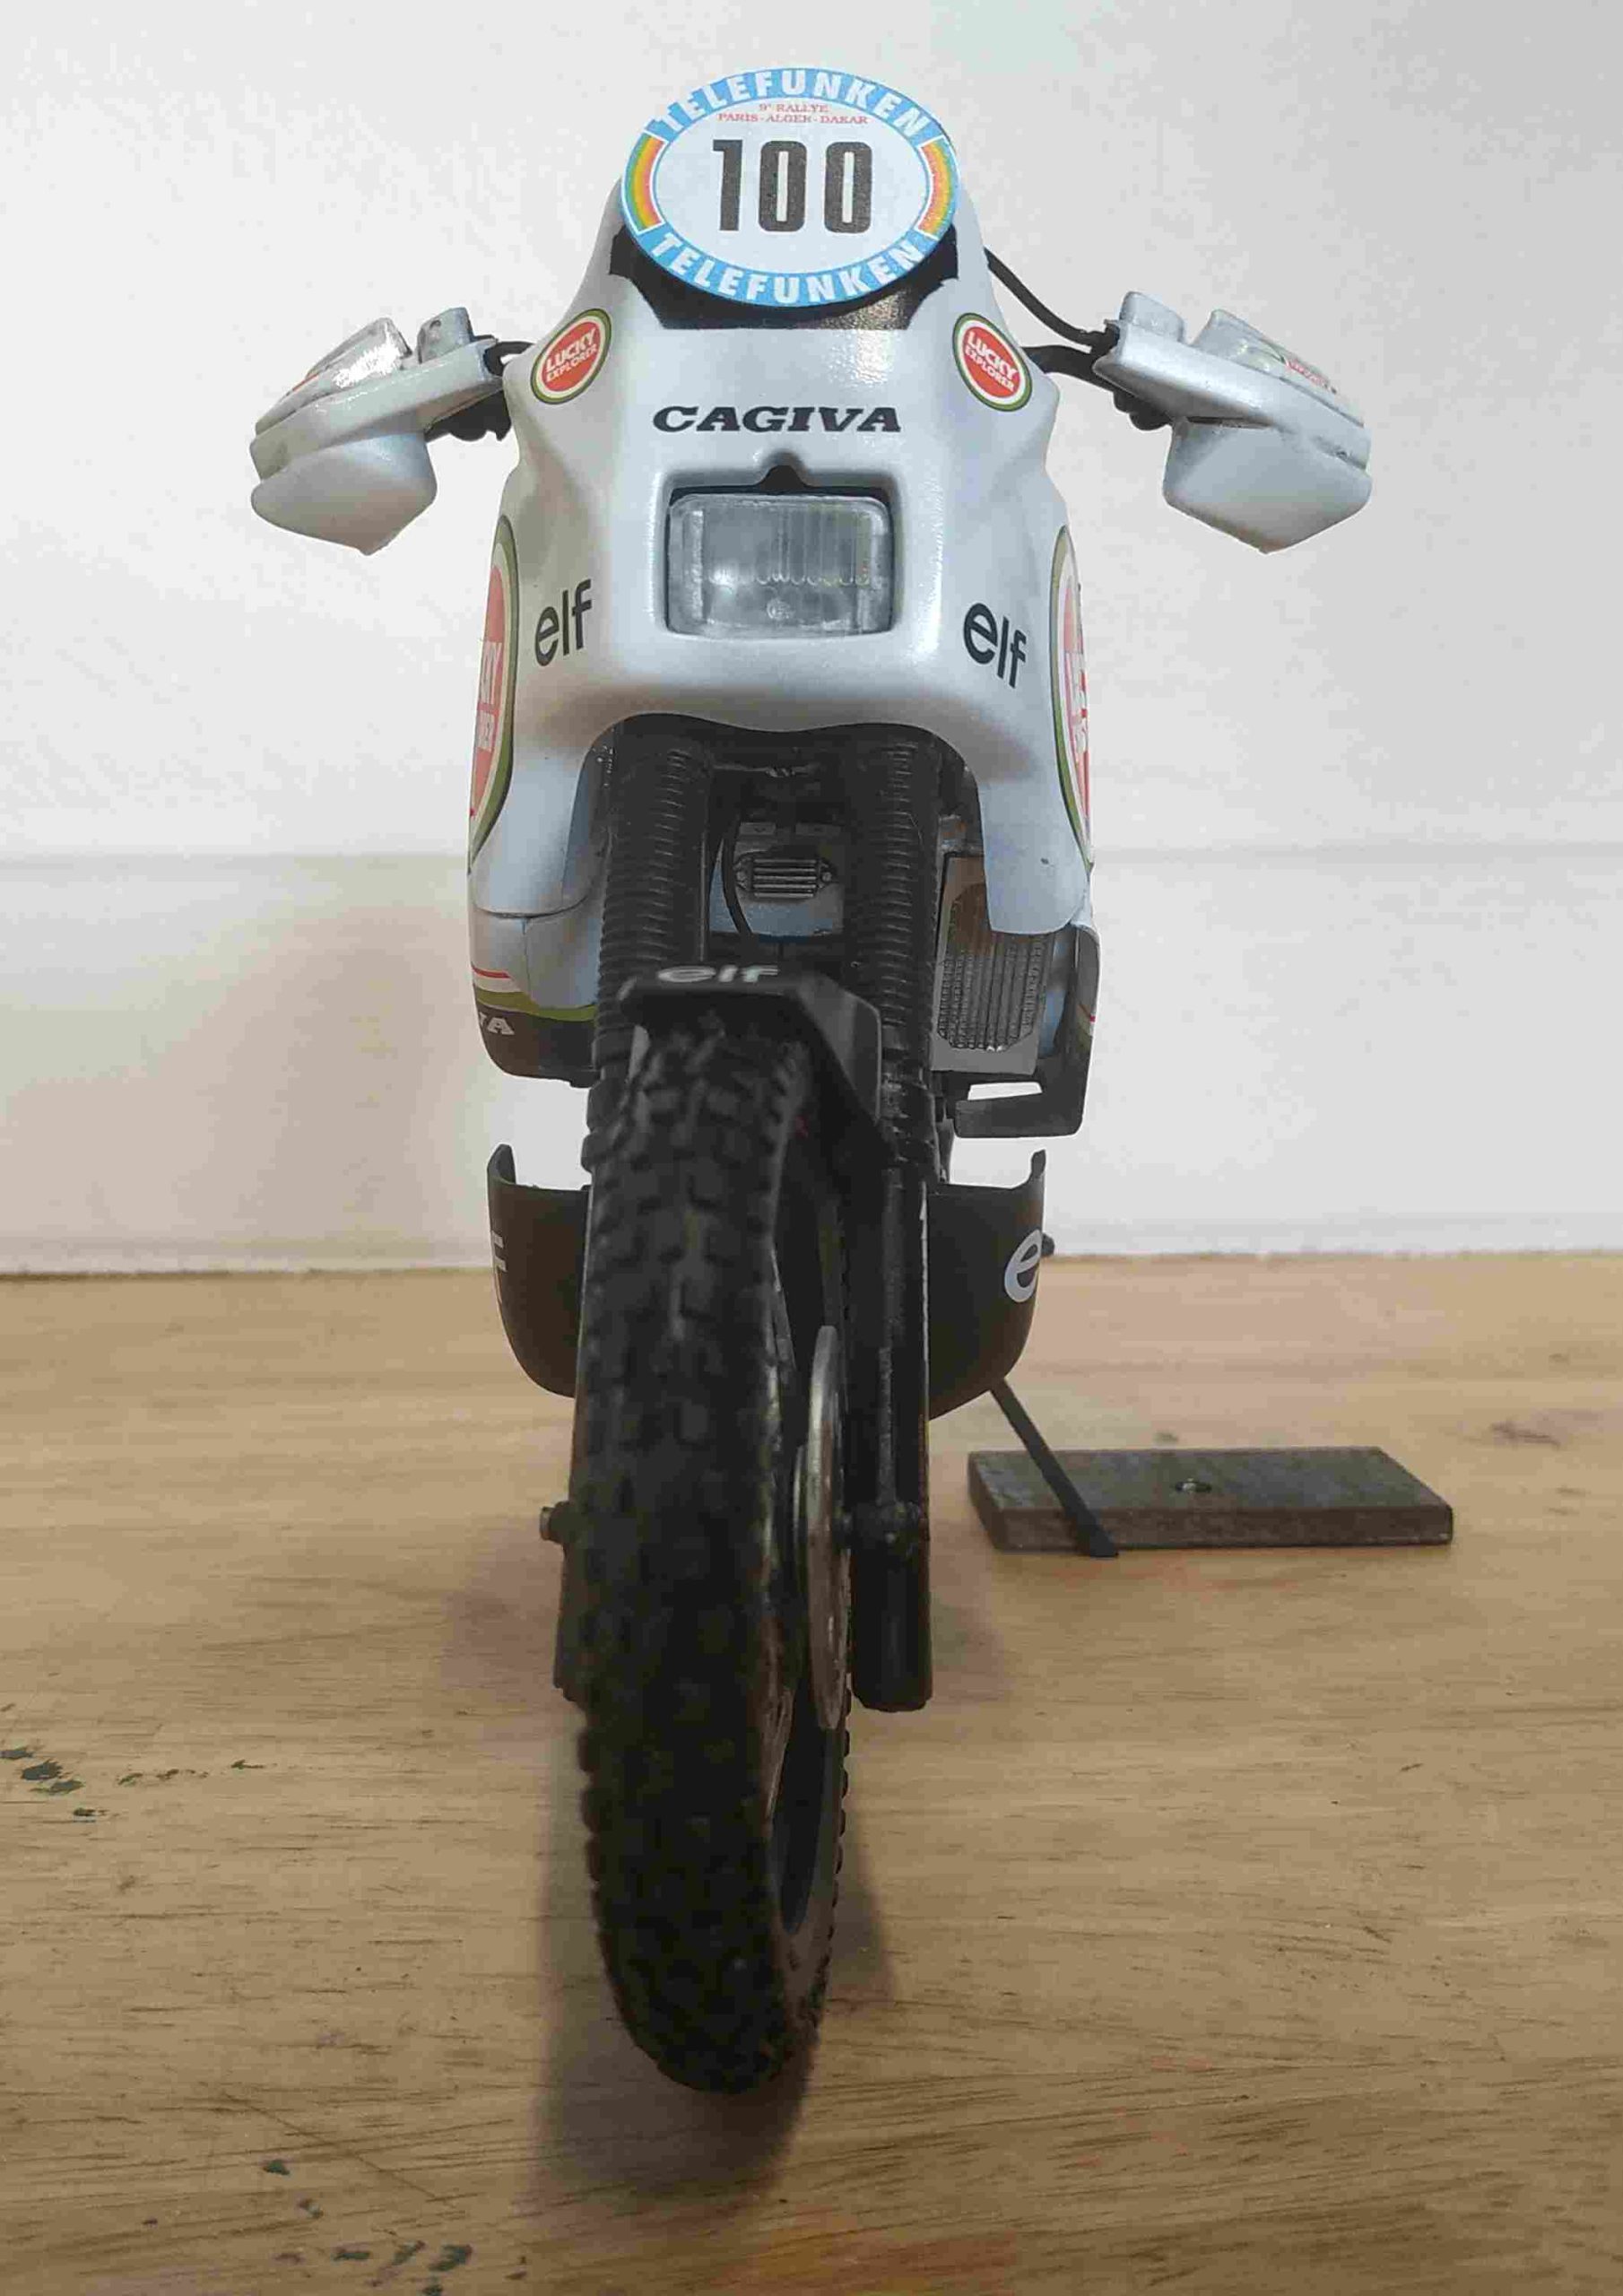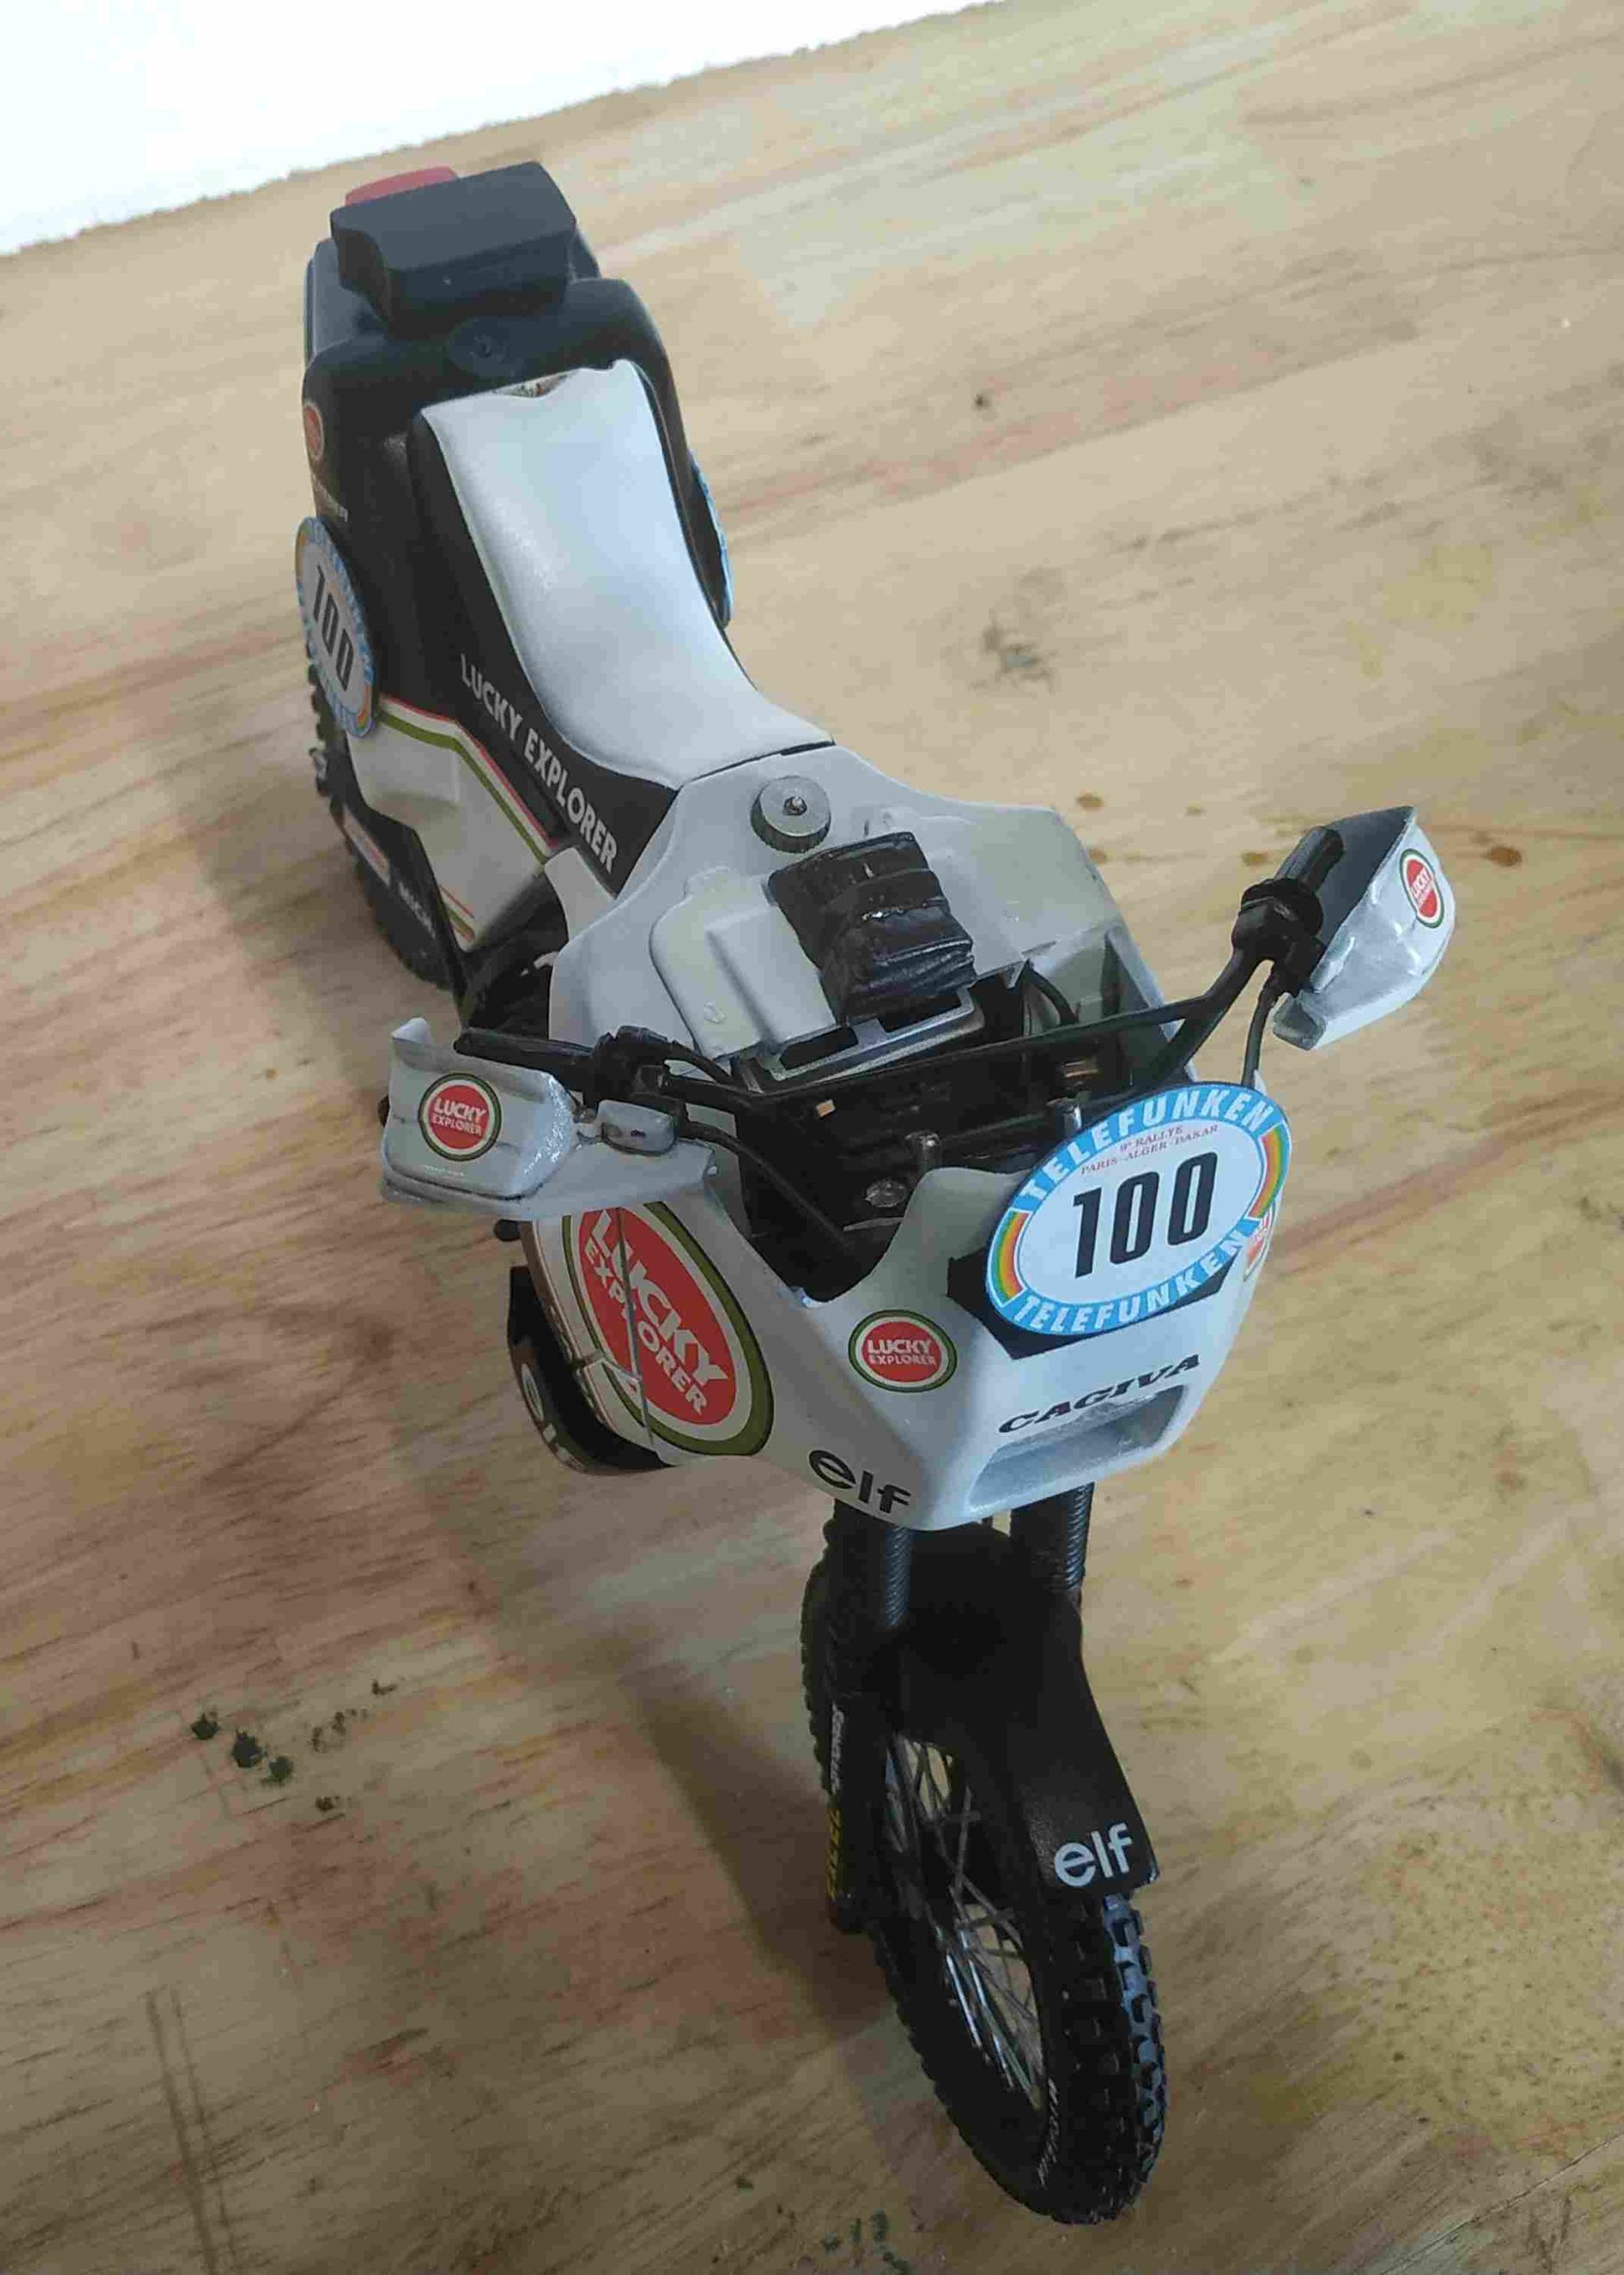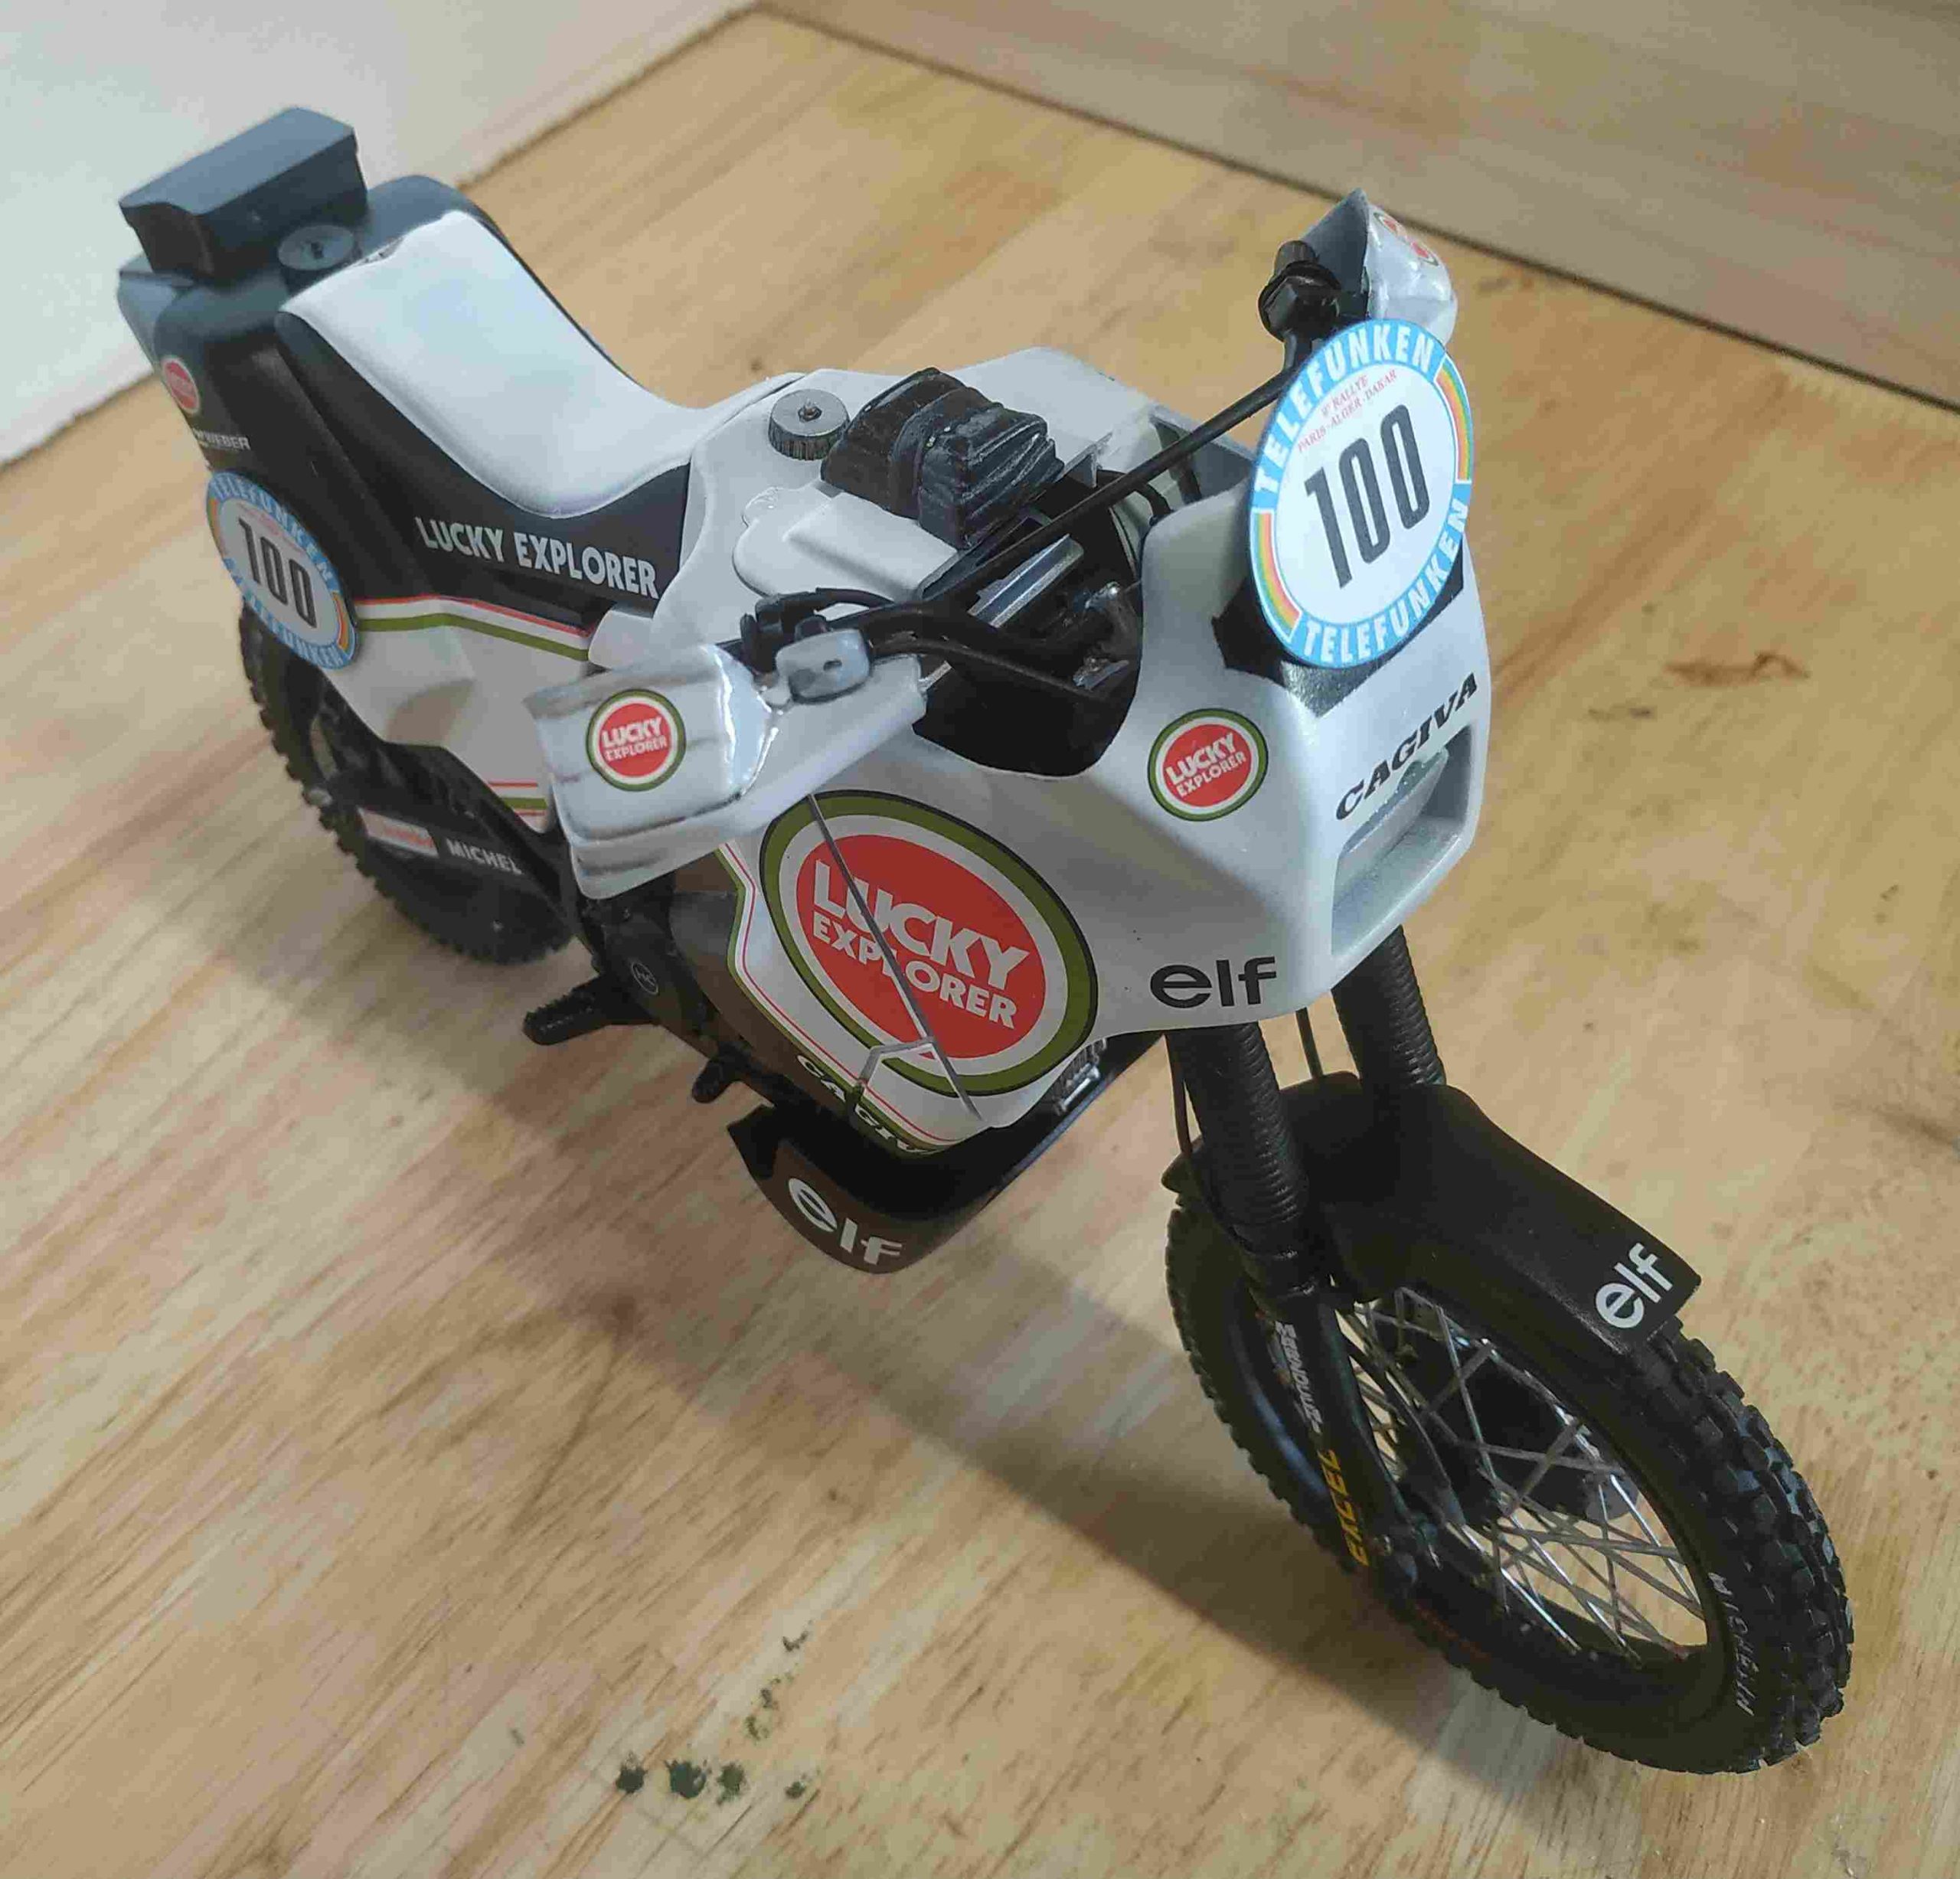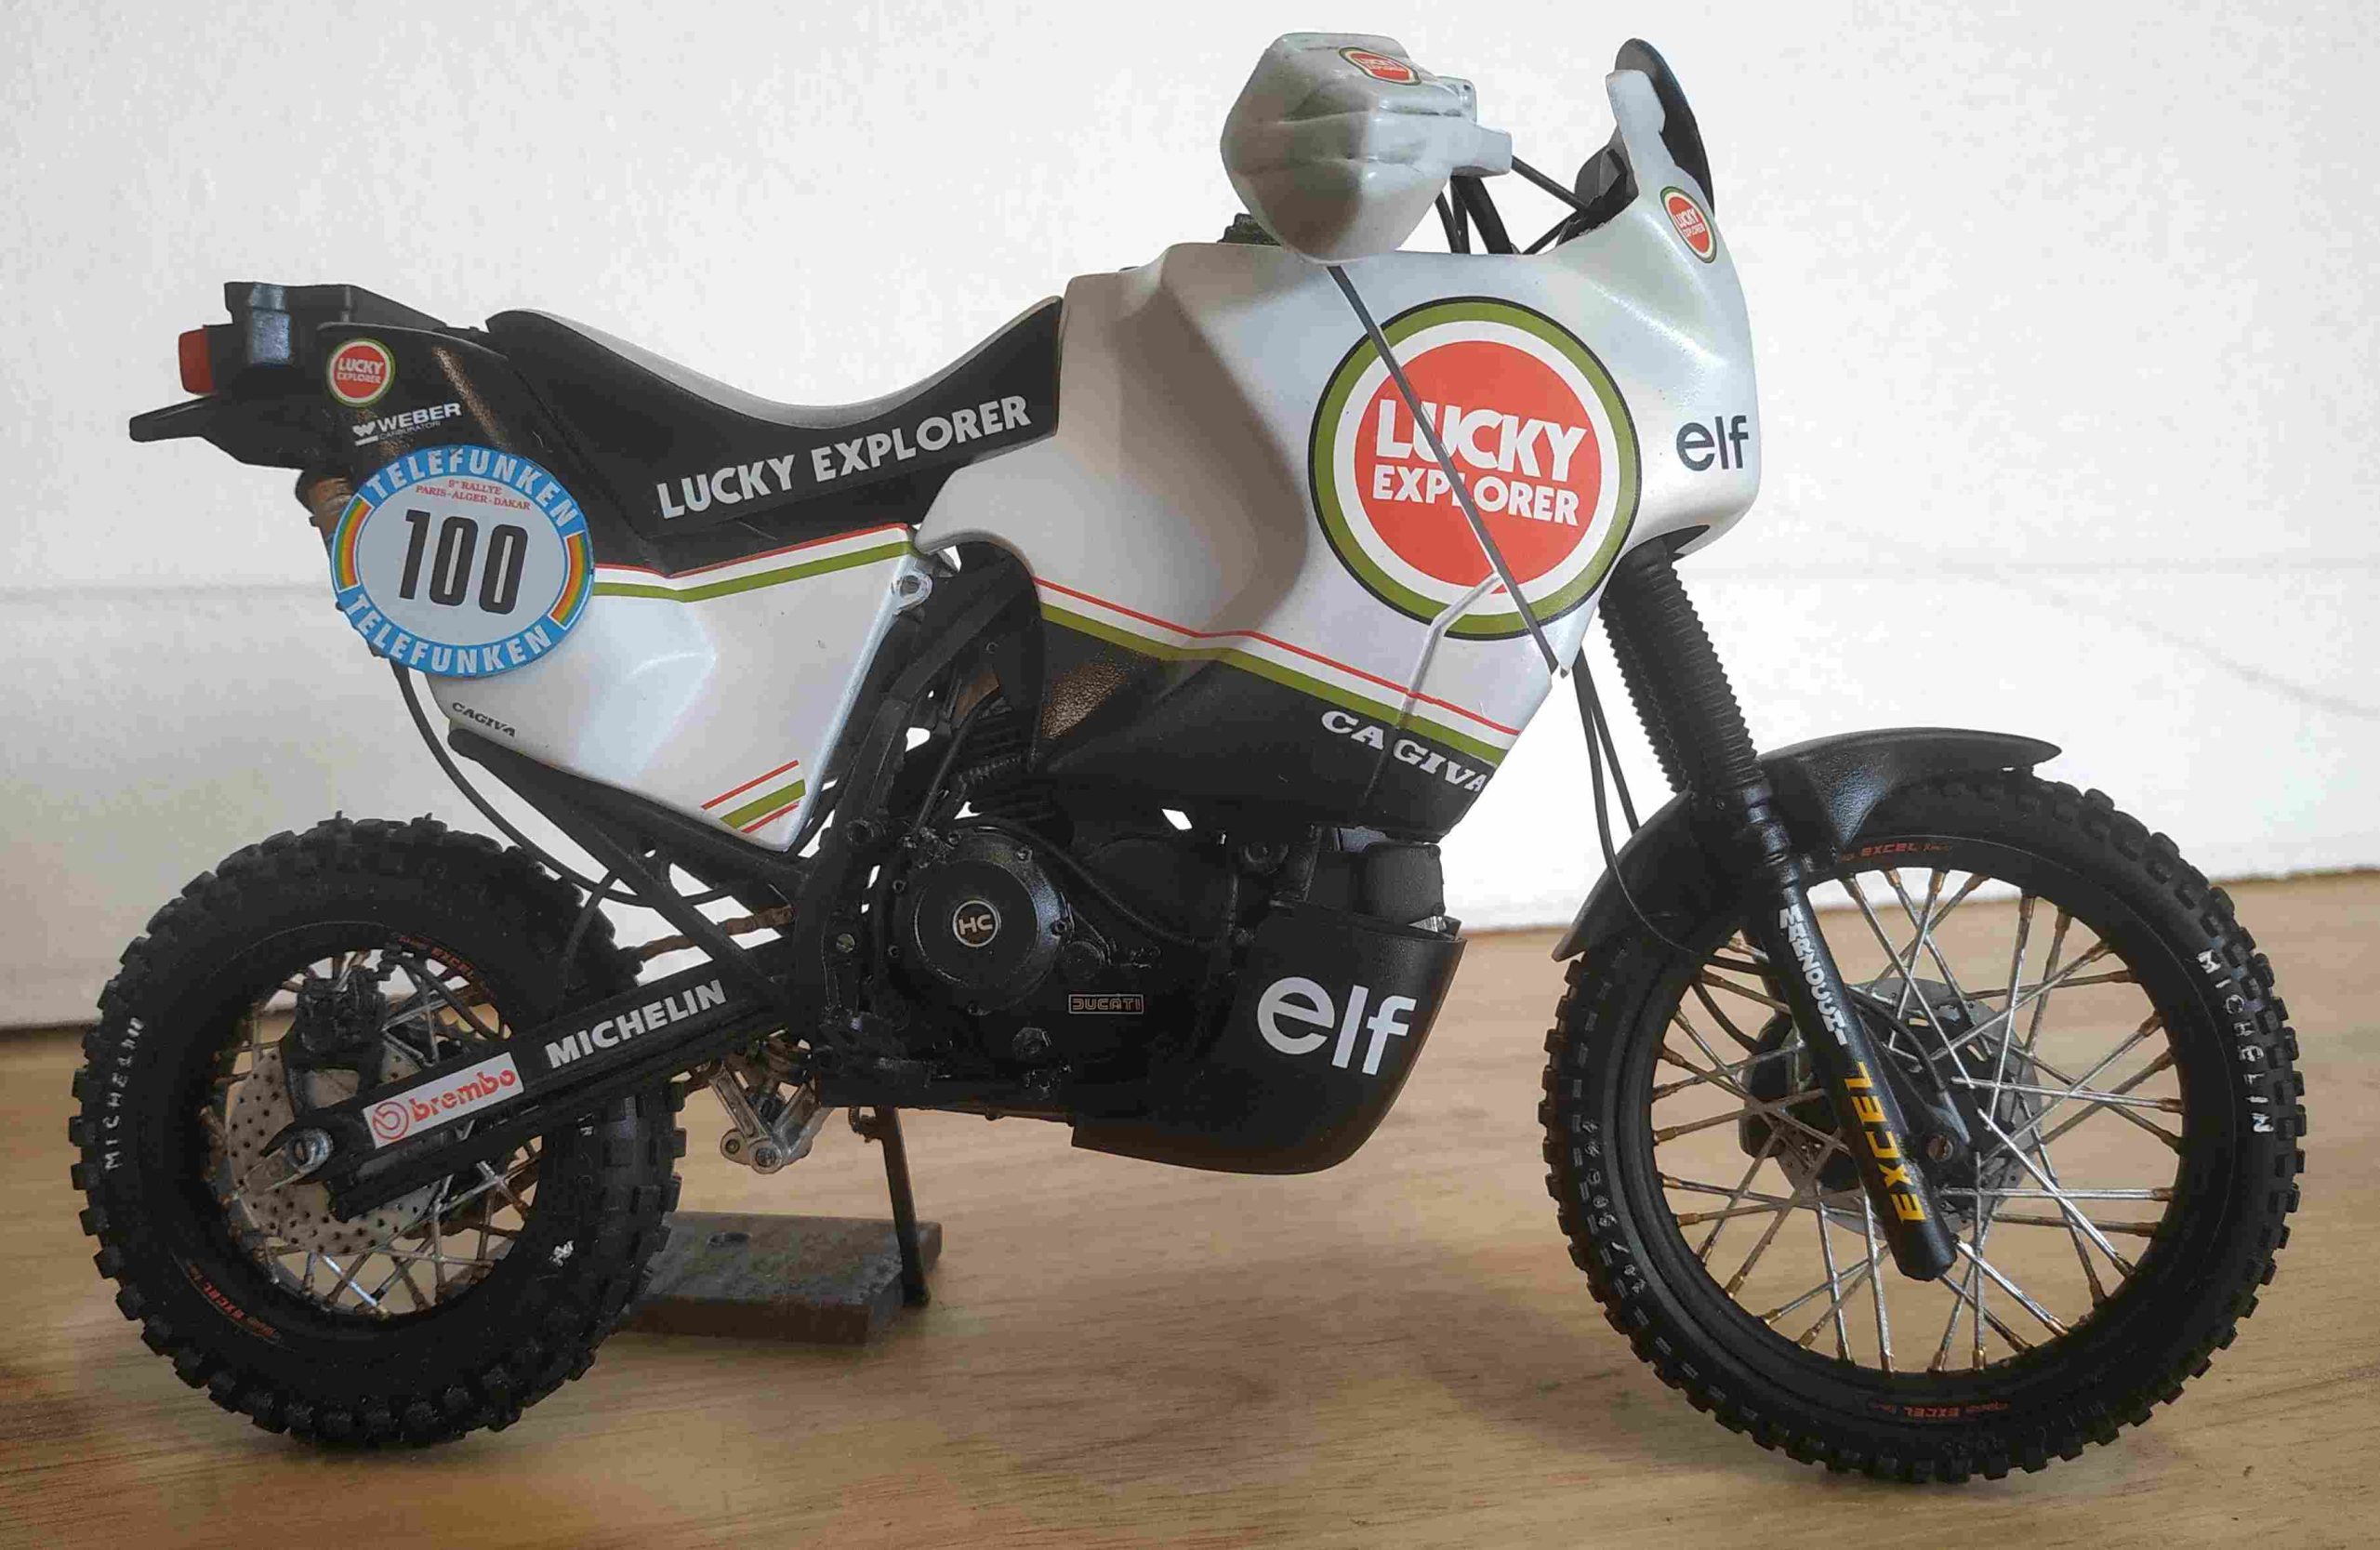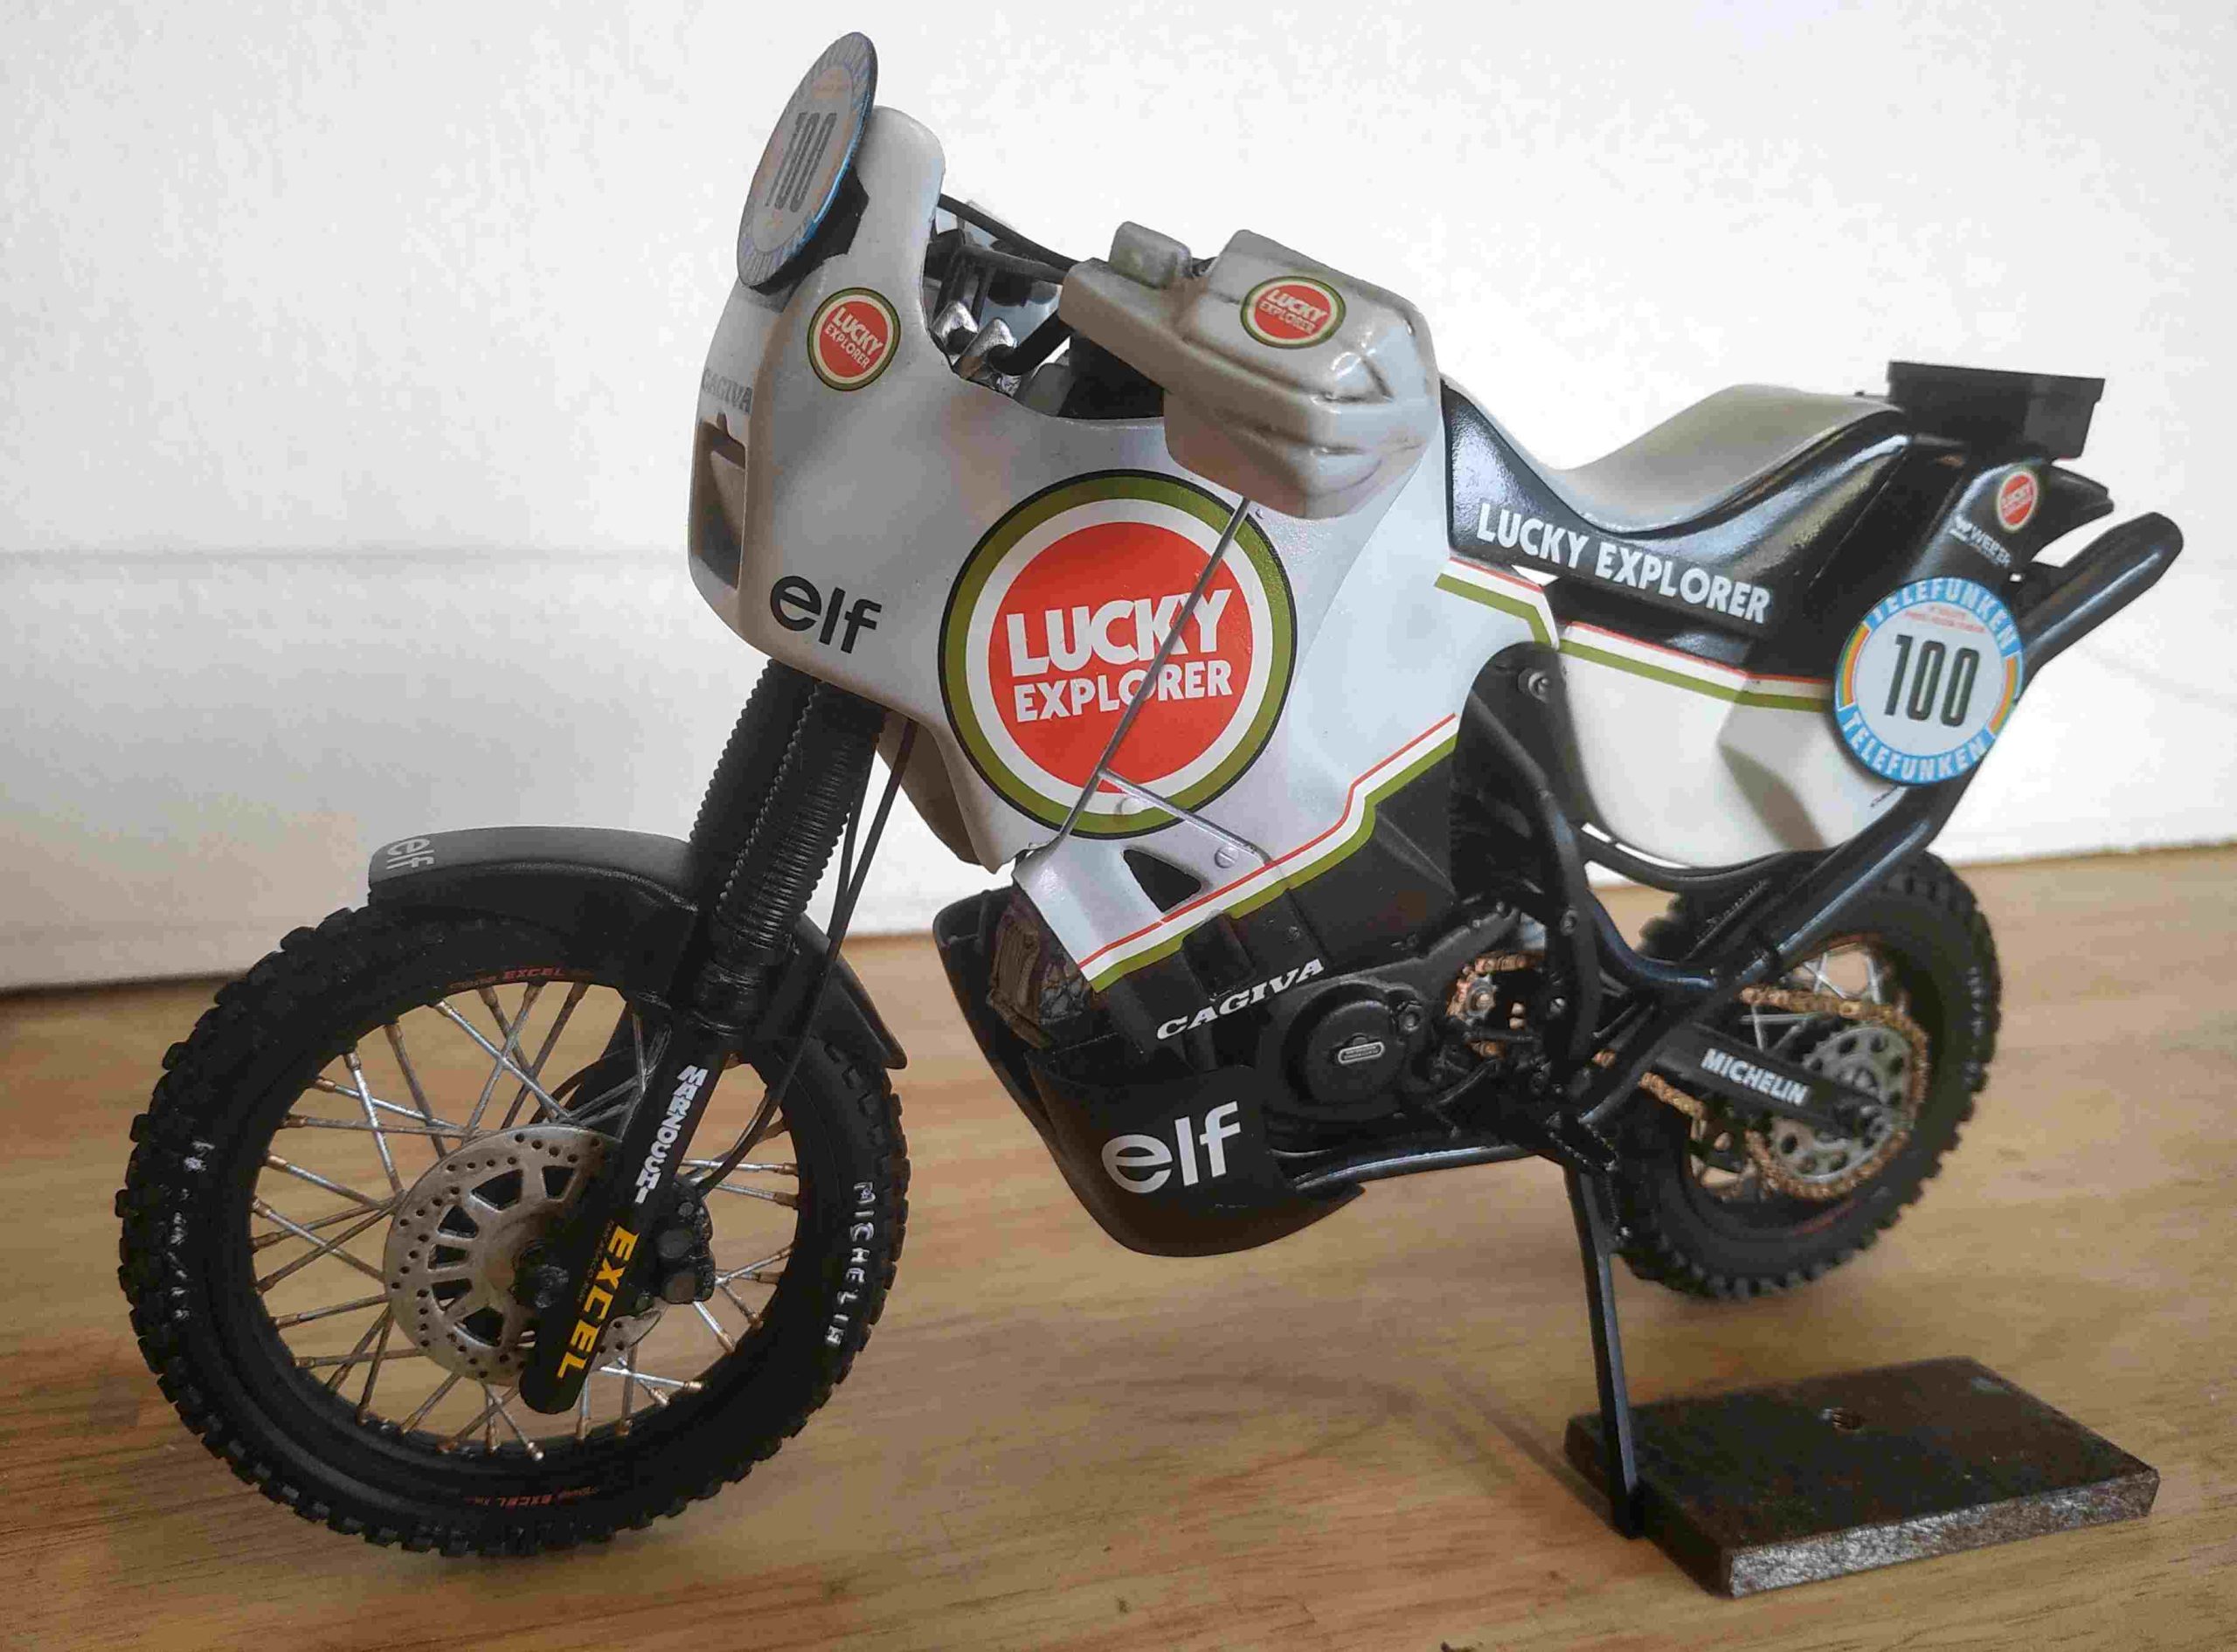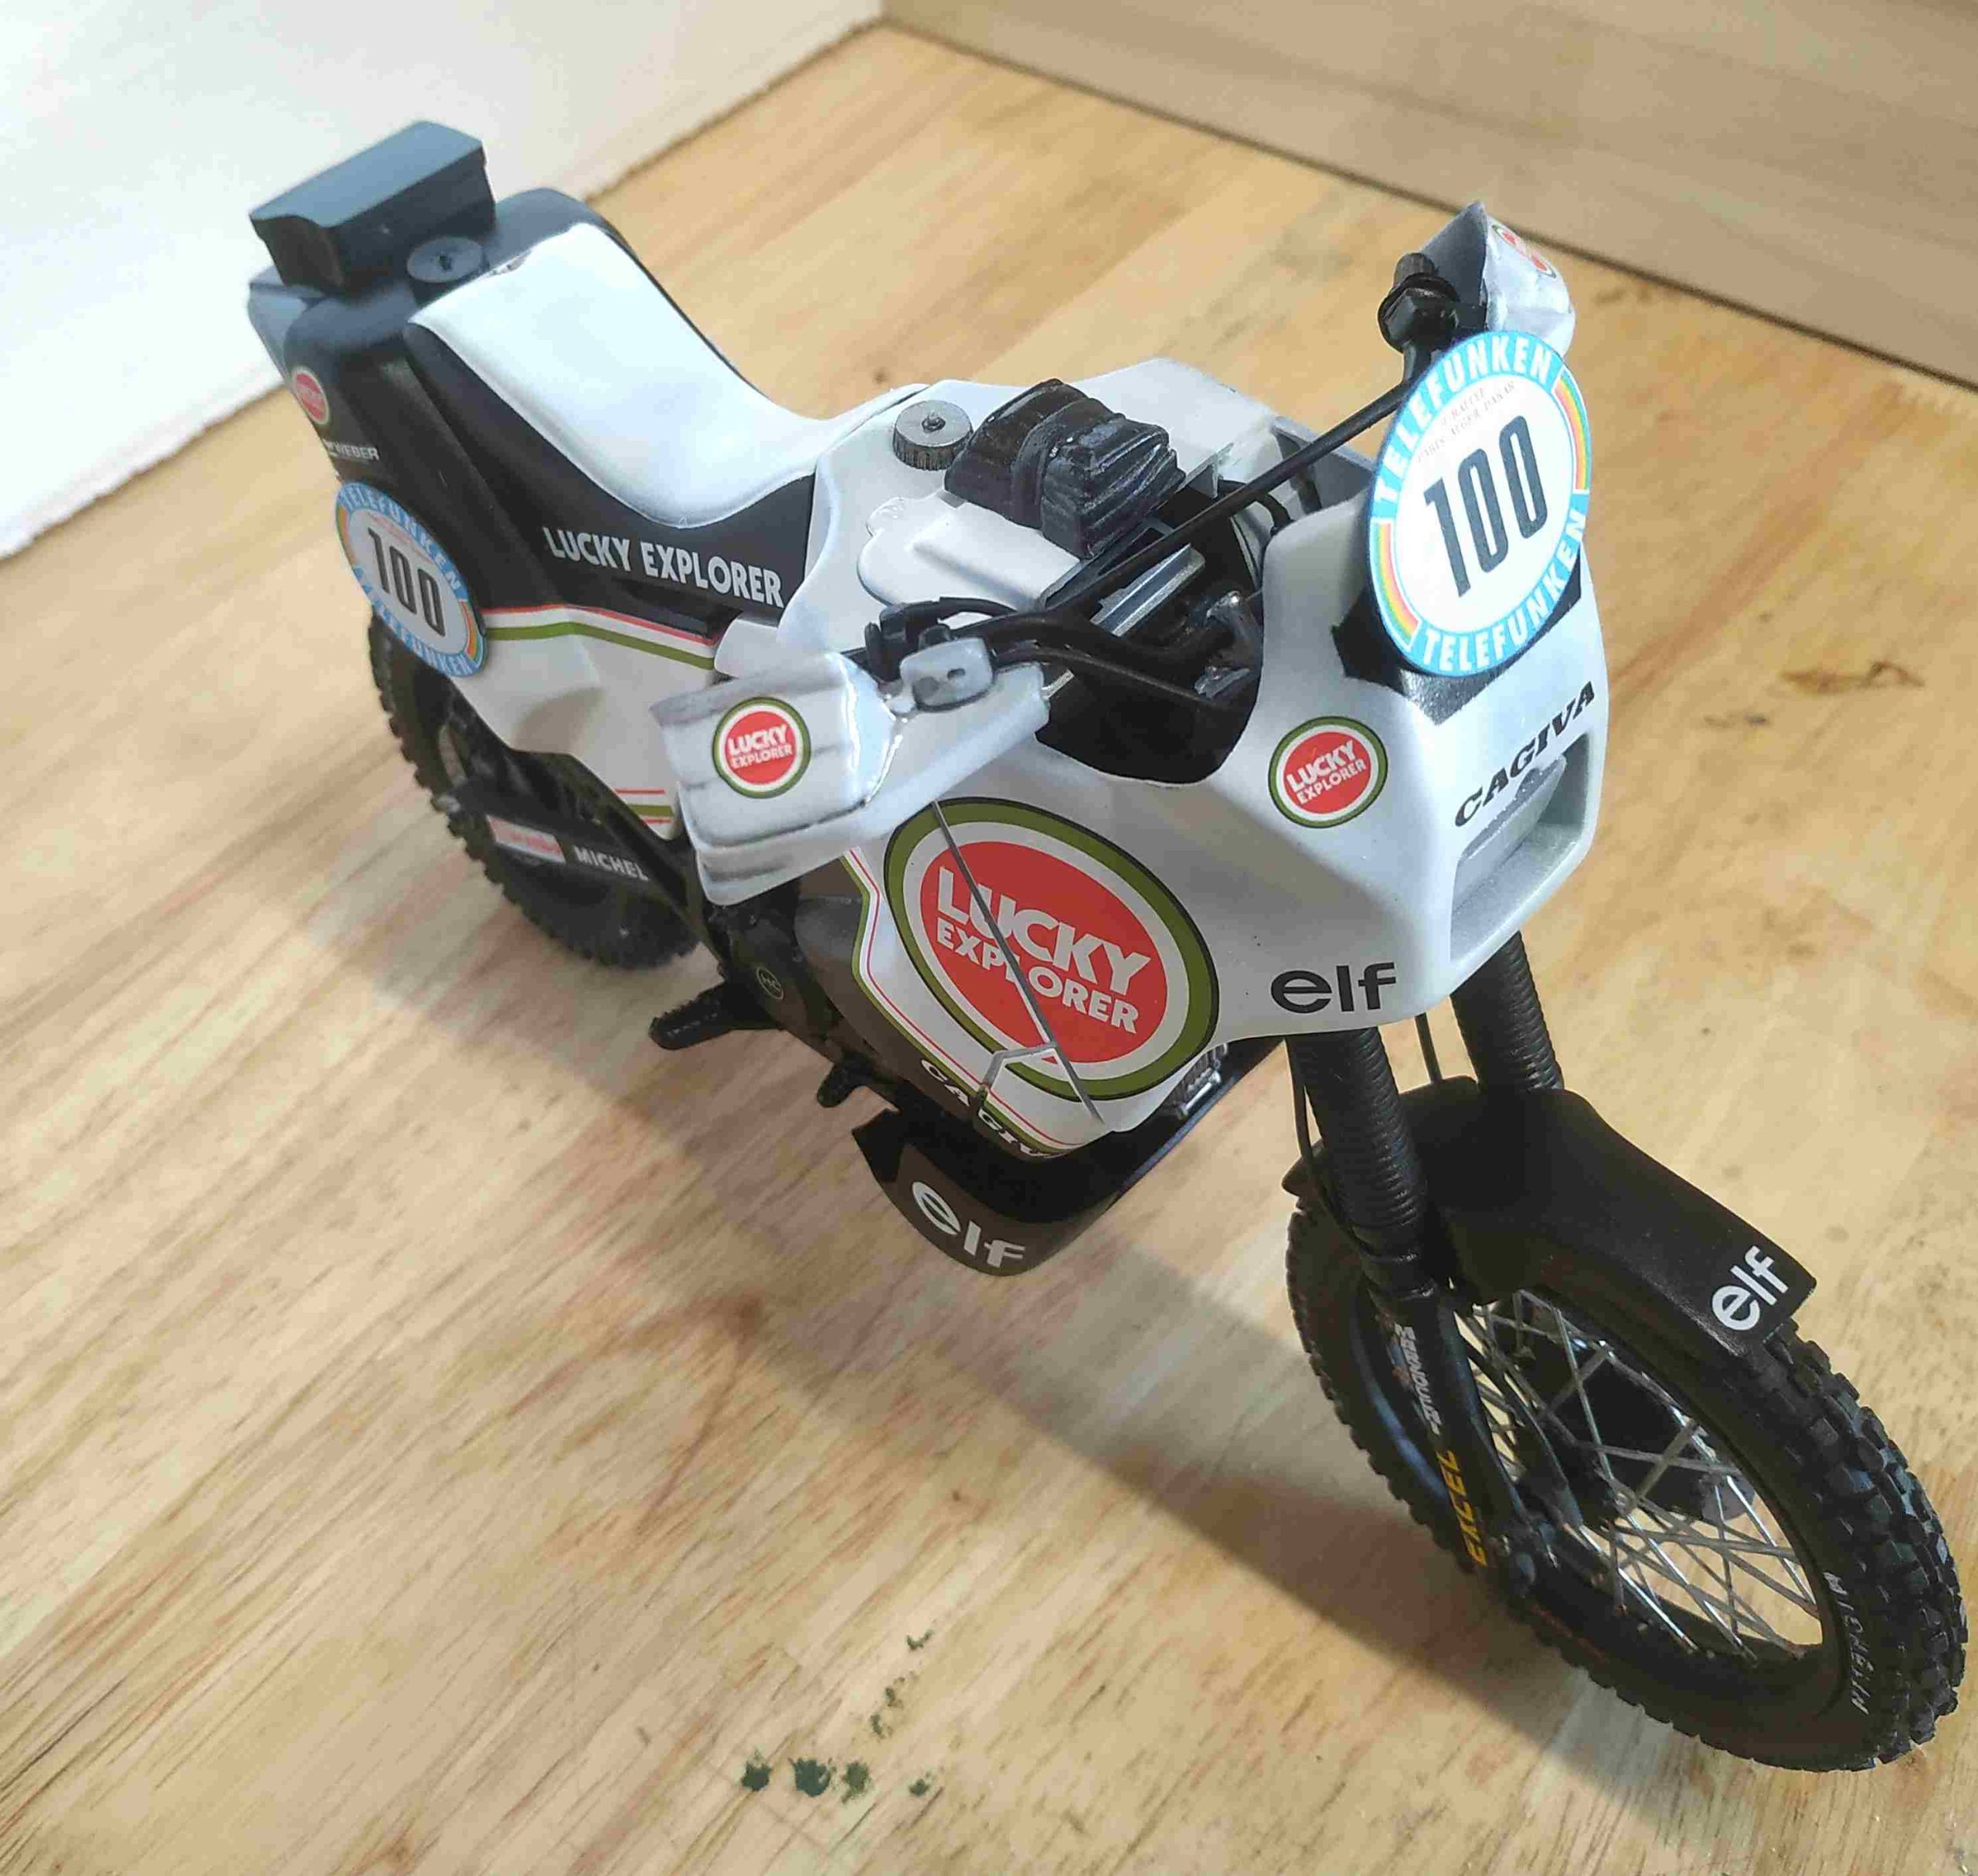
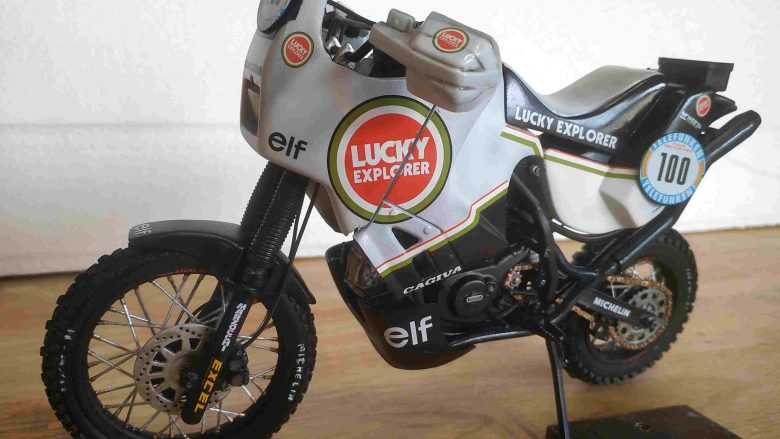
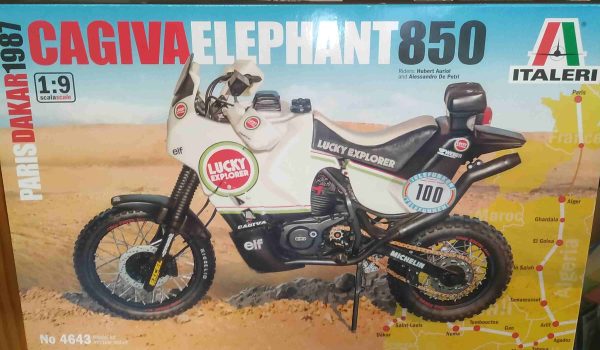
Le modèle présenté est la Cagiva Elephant 850 « Paris-Dakar 1987 », échelle 1:9, édité par Italeri (N° 4643). Il s’agit de ma quatrième réalisation au club Campi et de ma première moto. A l’ouverture de la boîte, rien de particulier à signaler. Les grappes sont faciles à exploiter. The model presented is the Cagiva Elephant 850 « Paris-Dakar 1987 », scale 1:9, published by Italeri (N° 4643). This is my fourth achievement at the Campi club and my first motorcycle. When the box opened, there was nothing special to report. Clusters are easy to exploit.
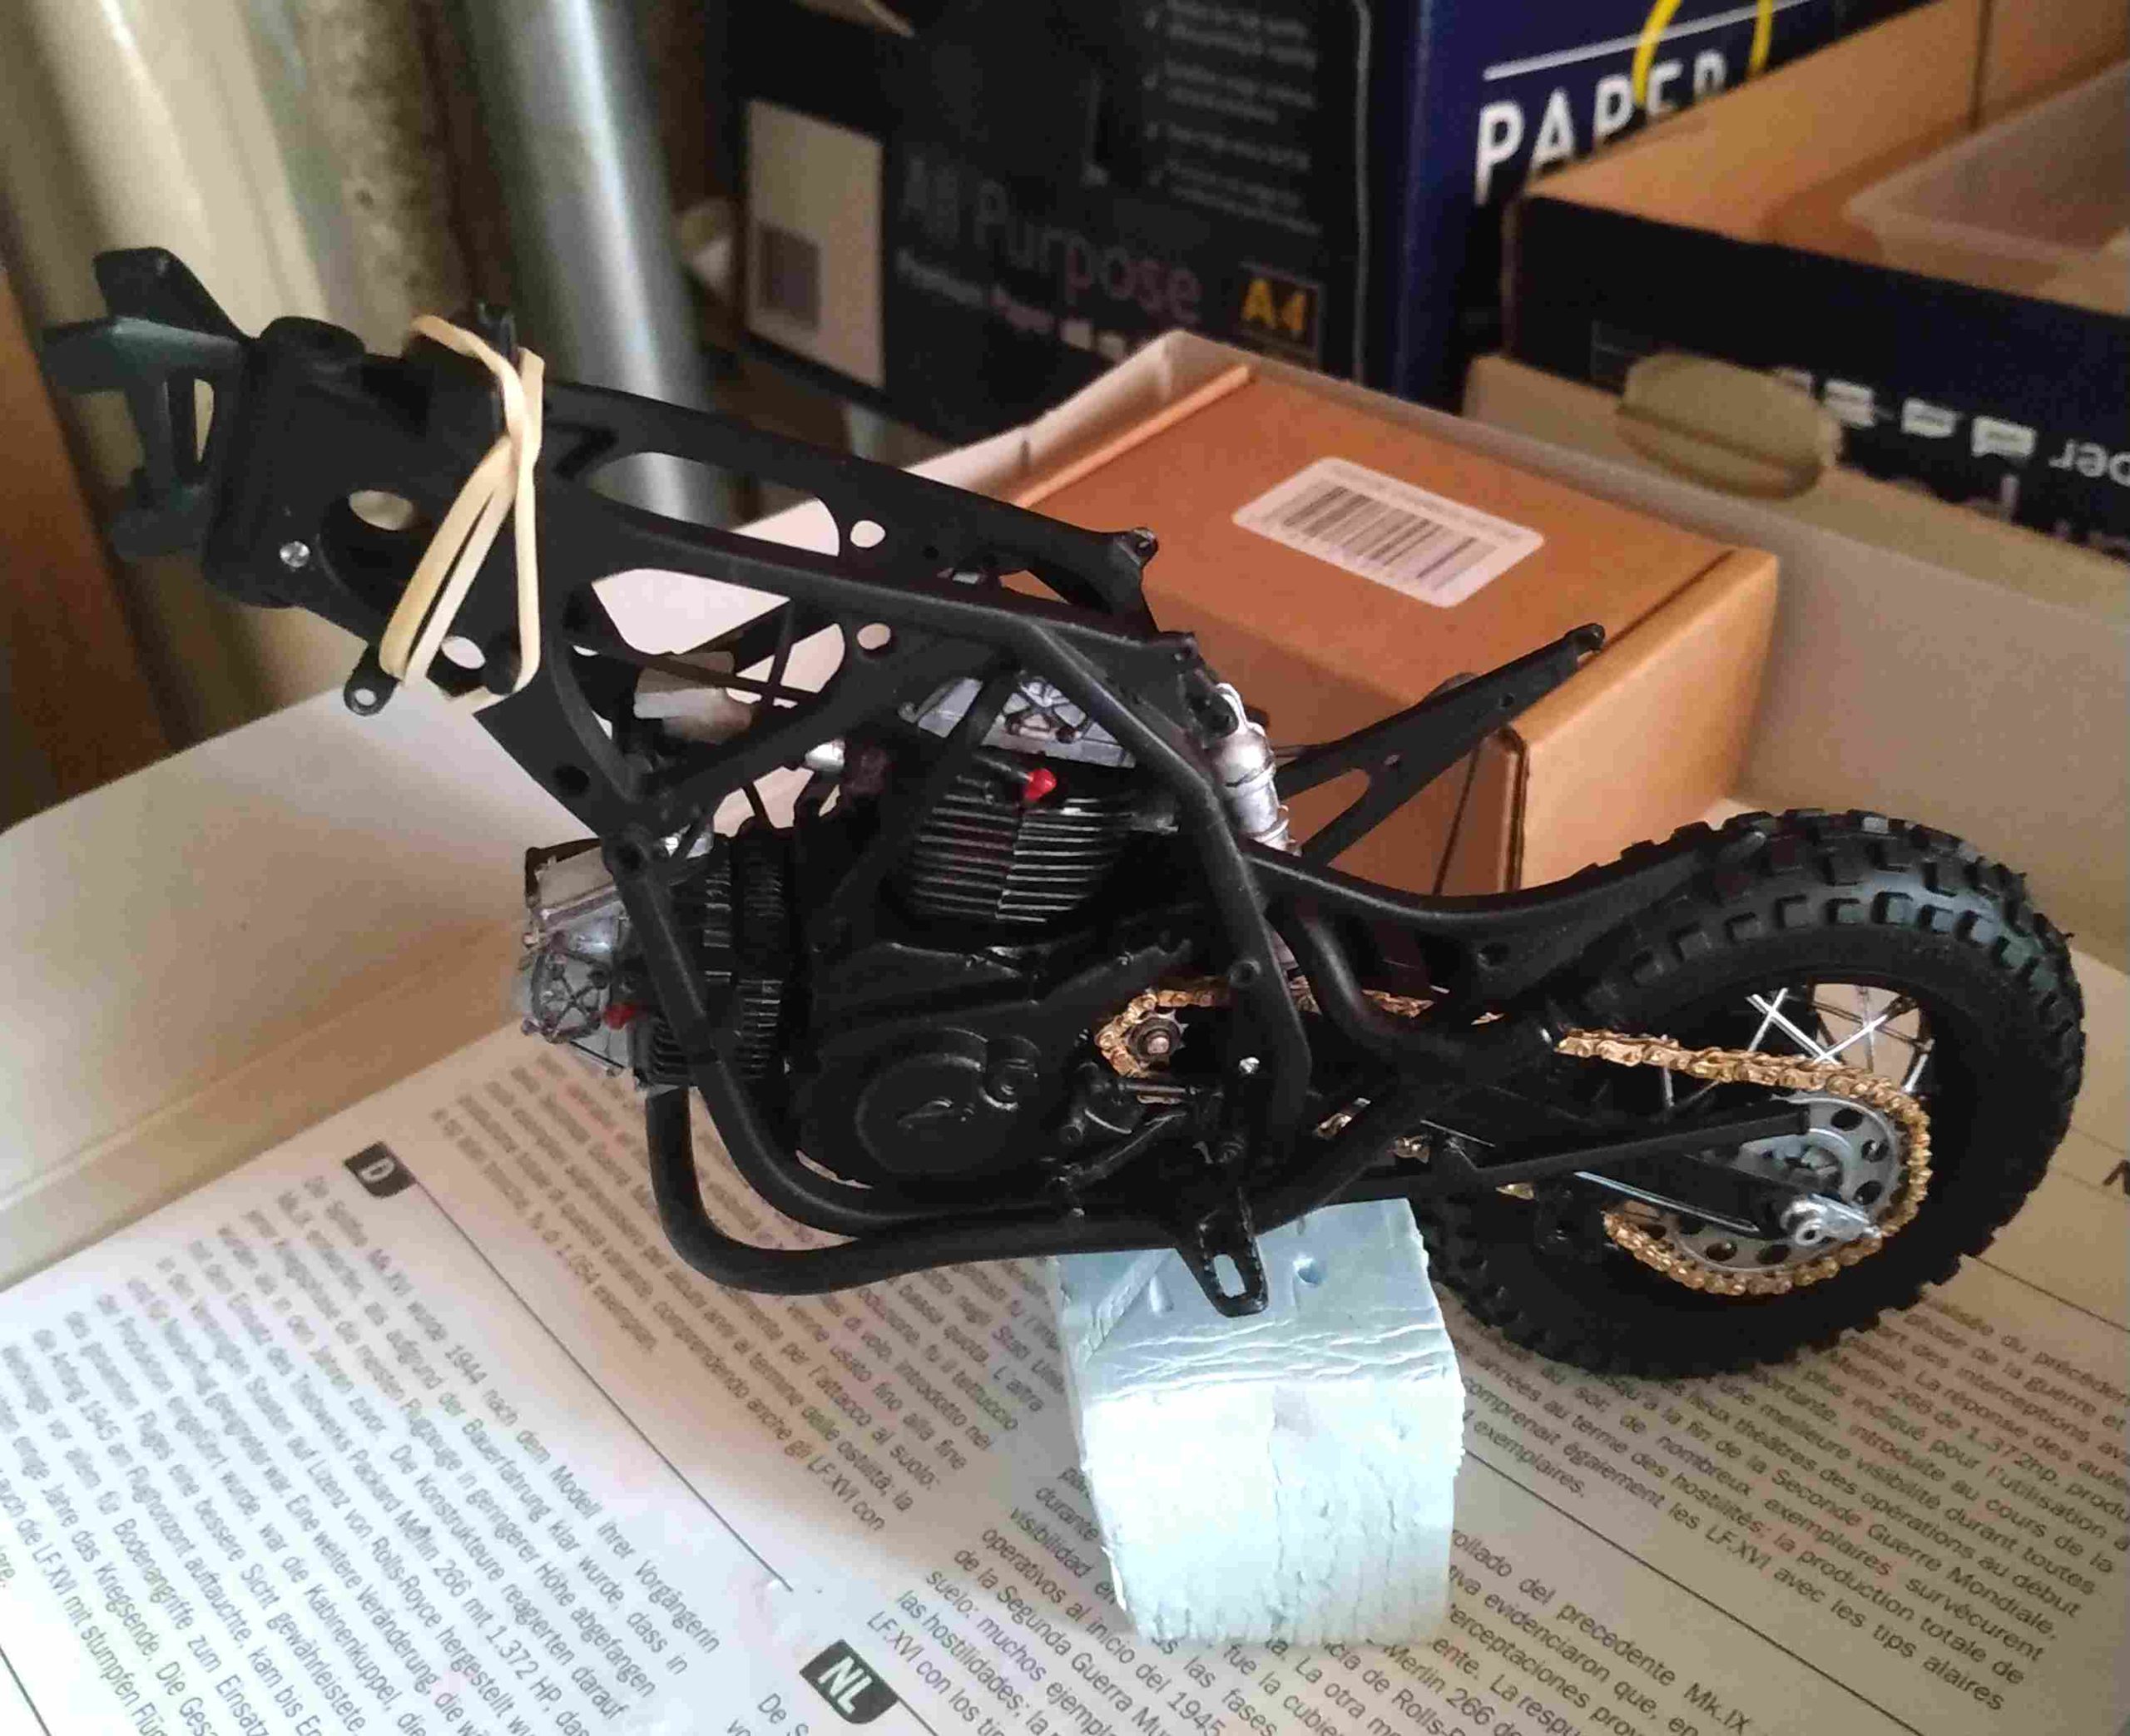
Le montage commence par l’assemblage des roues, puis les différentes pièces du bloc moteur avec les premières poses des câbles. Cette opération minutieuse s’est révélée plus fastidieuse n’ayant pas la dextérité d’un maquettiste aguerri. Une fois le bloc moteur assemblé, on passe à la partie arrière avec la suspension qui ne présente aucune difficulté. Puis, arrive l’assemblage du cadre. Il se fait par collage et visserie avec intégration du bloc moteur et de la suspension. Première boulette en dégrafant une des deux parties du cadre, j’abîme la tête de fourche ce qui fragilisera par la suite le montage de la fourche… Ensuite l’opération la plus périlleuse et délicate, l’assemblage de la chaîne maillon par maillon. J’utilise un petit fer à souder pour connecter les maillons. La difficulté est de ne pas trop les chauffer pour qu’ils conservent de la mobilité que doit avoir une chaîne. Le montage se poursuit avec un bloc important. Le bras oscillant est vissé, la chaîne est positionnée sur son pignon moteur. Le petit ressort de la béquille me donne quelques sueurs… La roue arrière est assemblée avec tous ses composants. Certains câbles sont connectés, ça va car il y a encore pas mal de place pour les tirer (ça ne va pas durer). Les dernières pièces, sélecteur, repose pied, terminent l’assemblage de la partie arrière de la moto. Assembly begins with the assembly of the wheels, then the various parts of the engine block with the first cable installations. This meticulous operation proved to be more tedious, not having the dexterity of a seasoned modeler. Once the engine block is assembled, we move on to the rear part with the suspension, which presents no difficulty. Then comes the assembly of the frame. It is done by bonding and screwing with integration of the engine block and suspension. The first thing I do is unfasten one of the two parts of the frame, and I damage the fork head, which will then weaken the assembly of the fork… Then the most perilous and delicate operation, the assembly of the chain link by link. I use a small soldering iron to connect the links. The difficulty is not to overheat them so that they retain the mobility that a chain must have. The assembly continues with a large block. The swingarm is screwed in, and the chain is positioned on its drive sprocket. The small spring on the kickstand gives me a bit of sweat… The rear wheel is assembled with all its components. Some cables are connected, it’s okay because there is still quite a lot of room to pull them (it won’t last). The last parts, selector, footrest, complete the assembly of the rear part of the motorcycle.
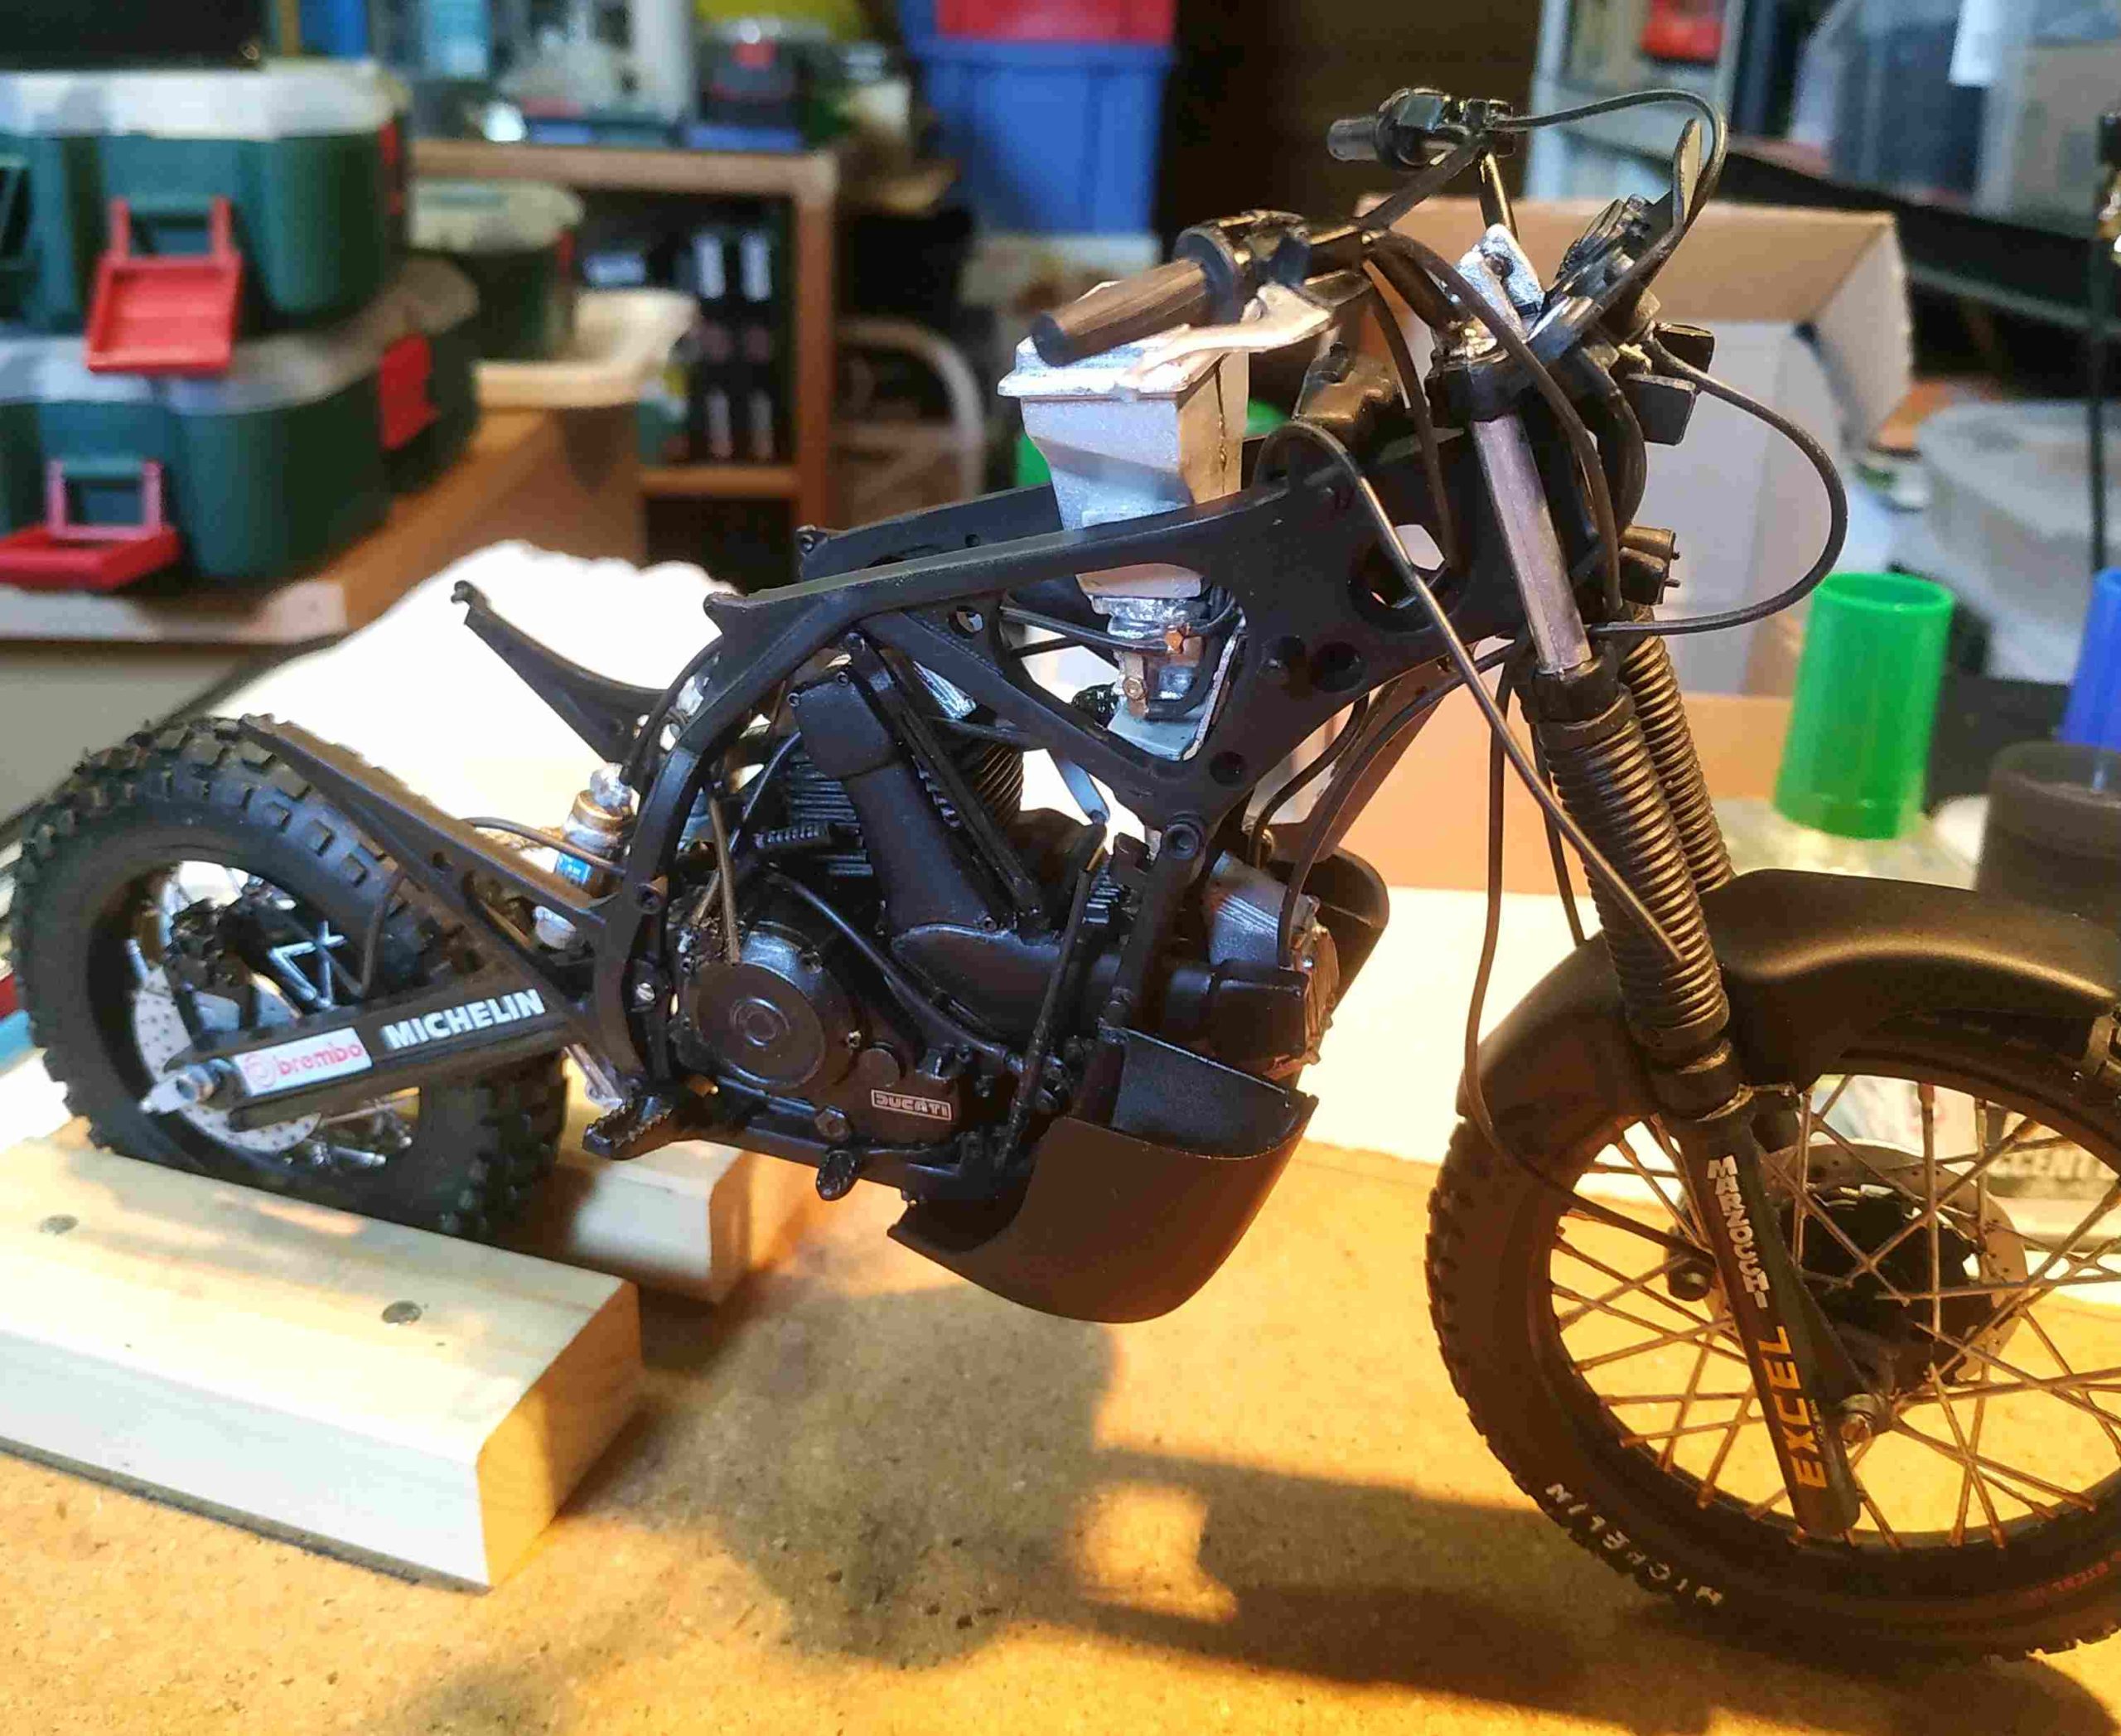
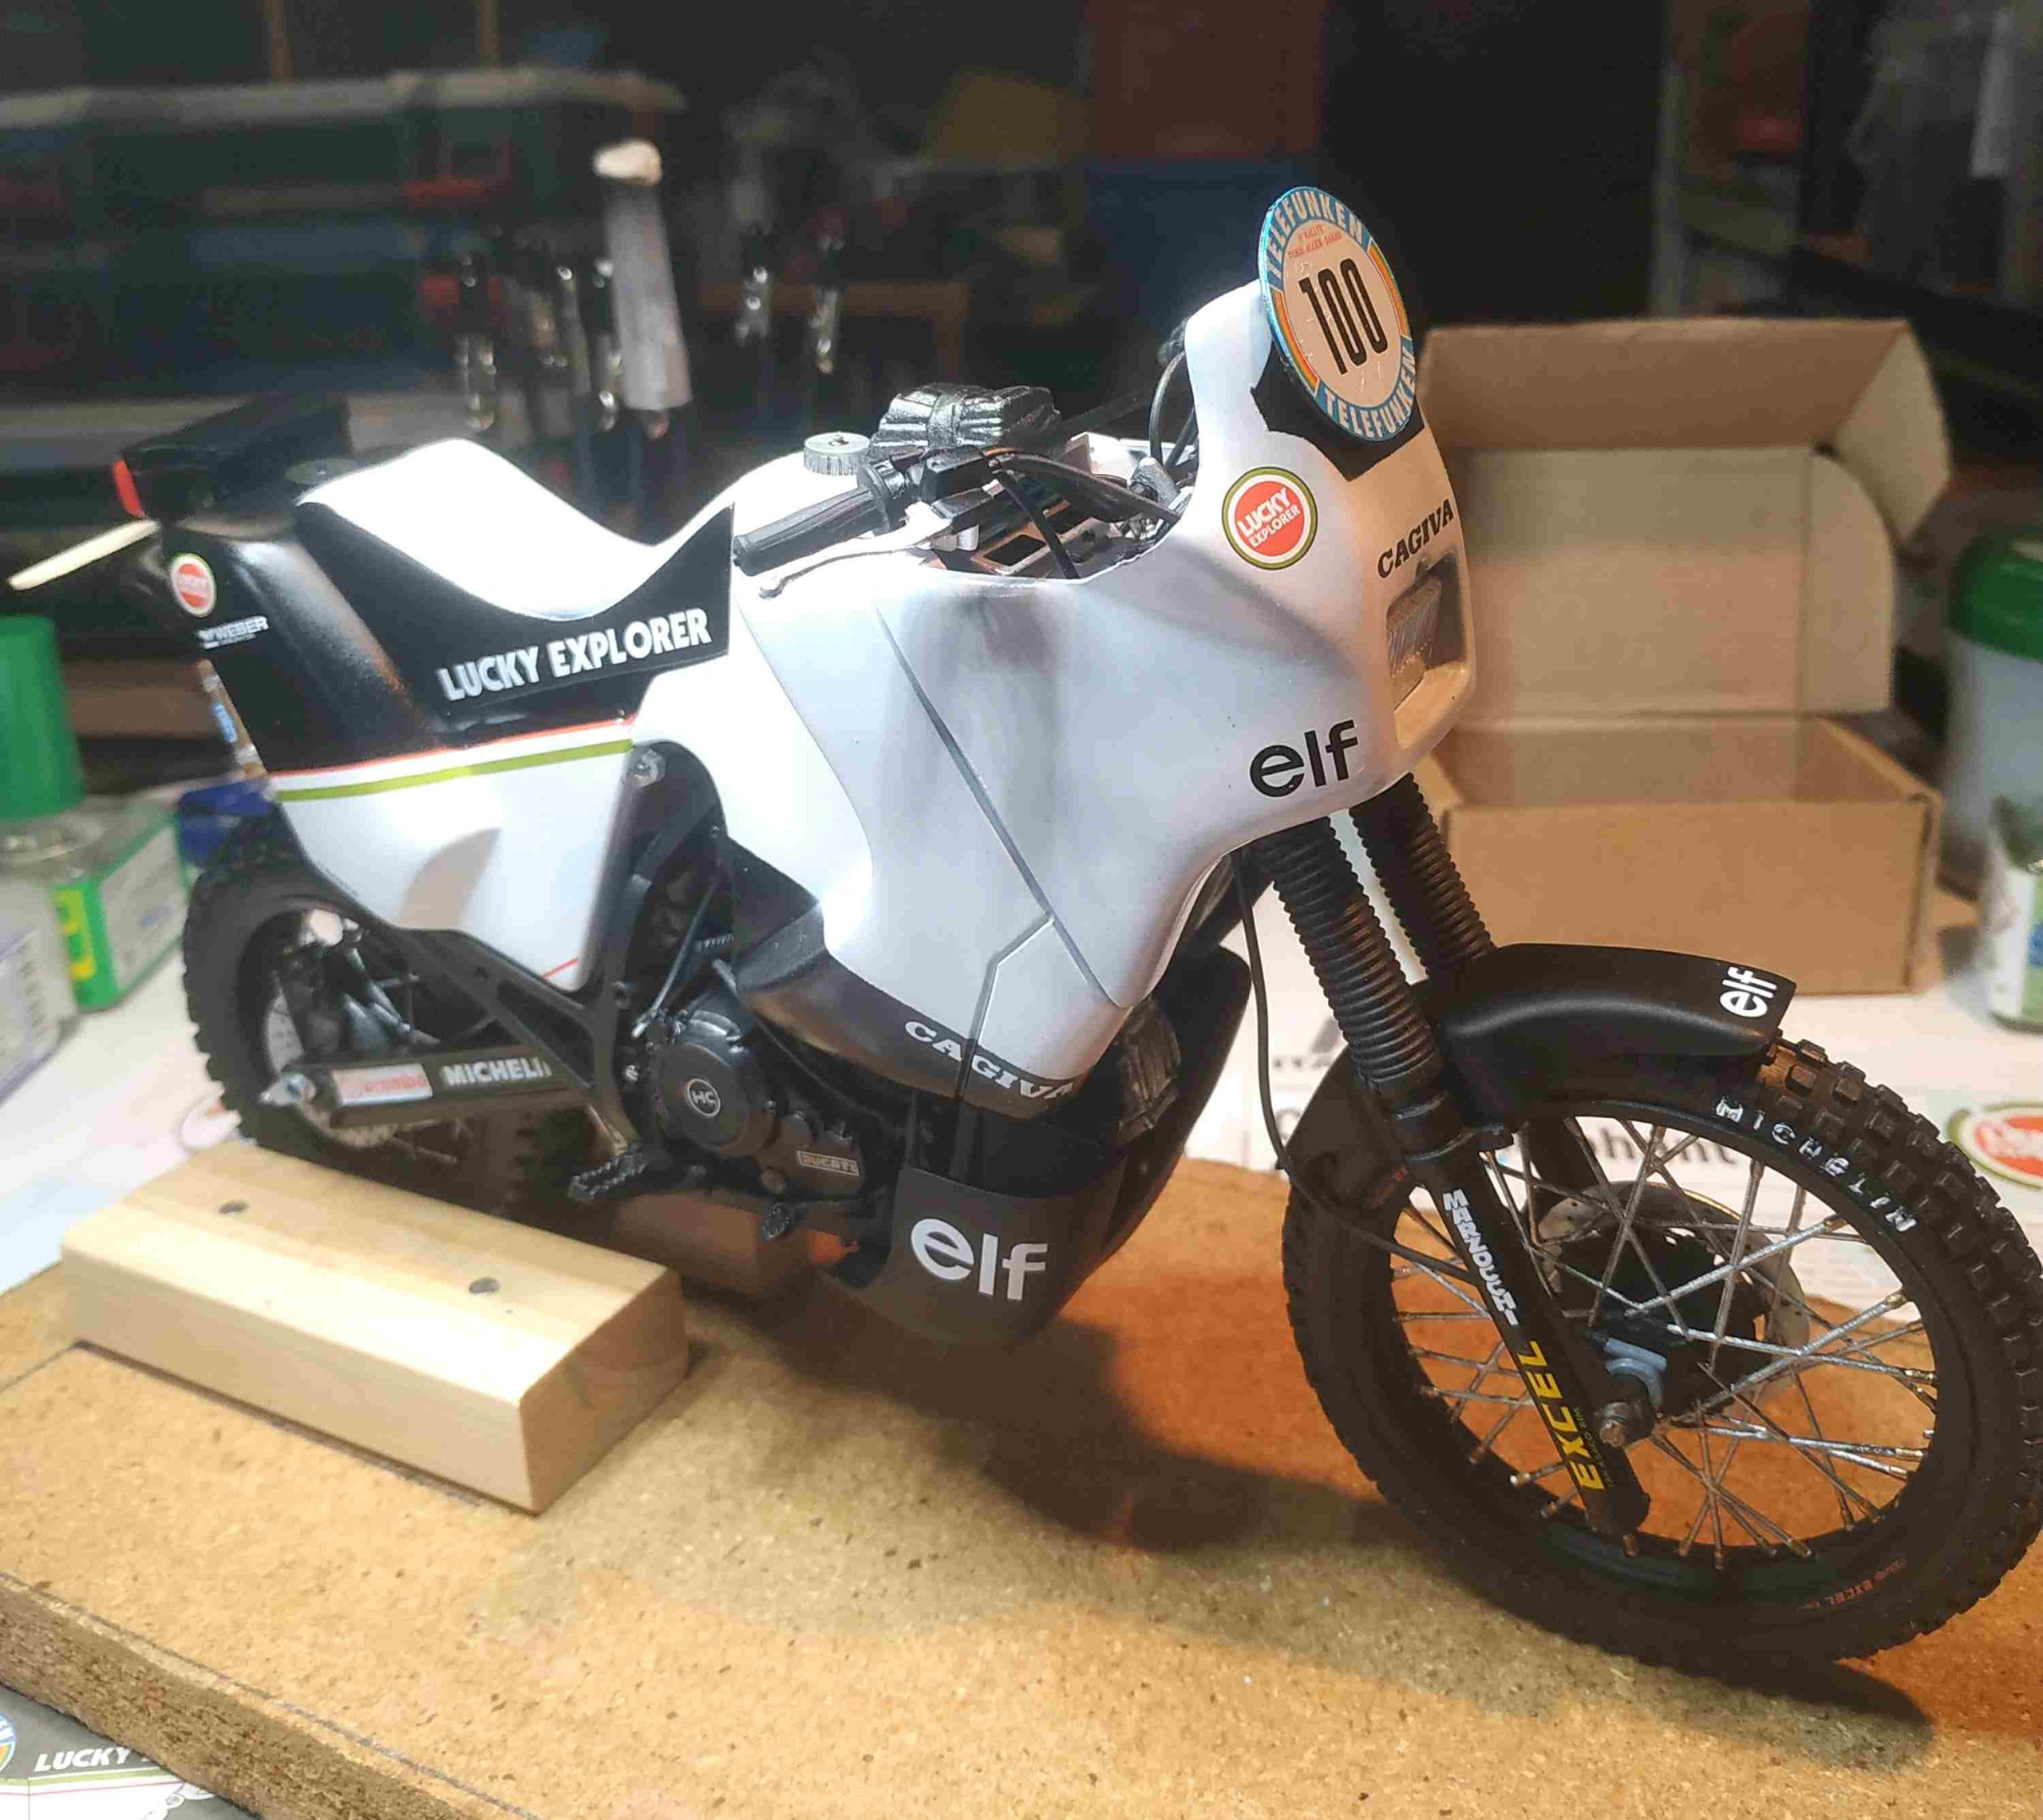
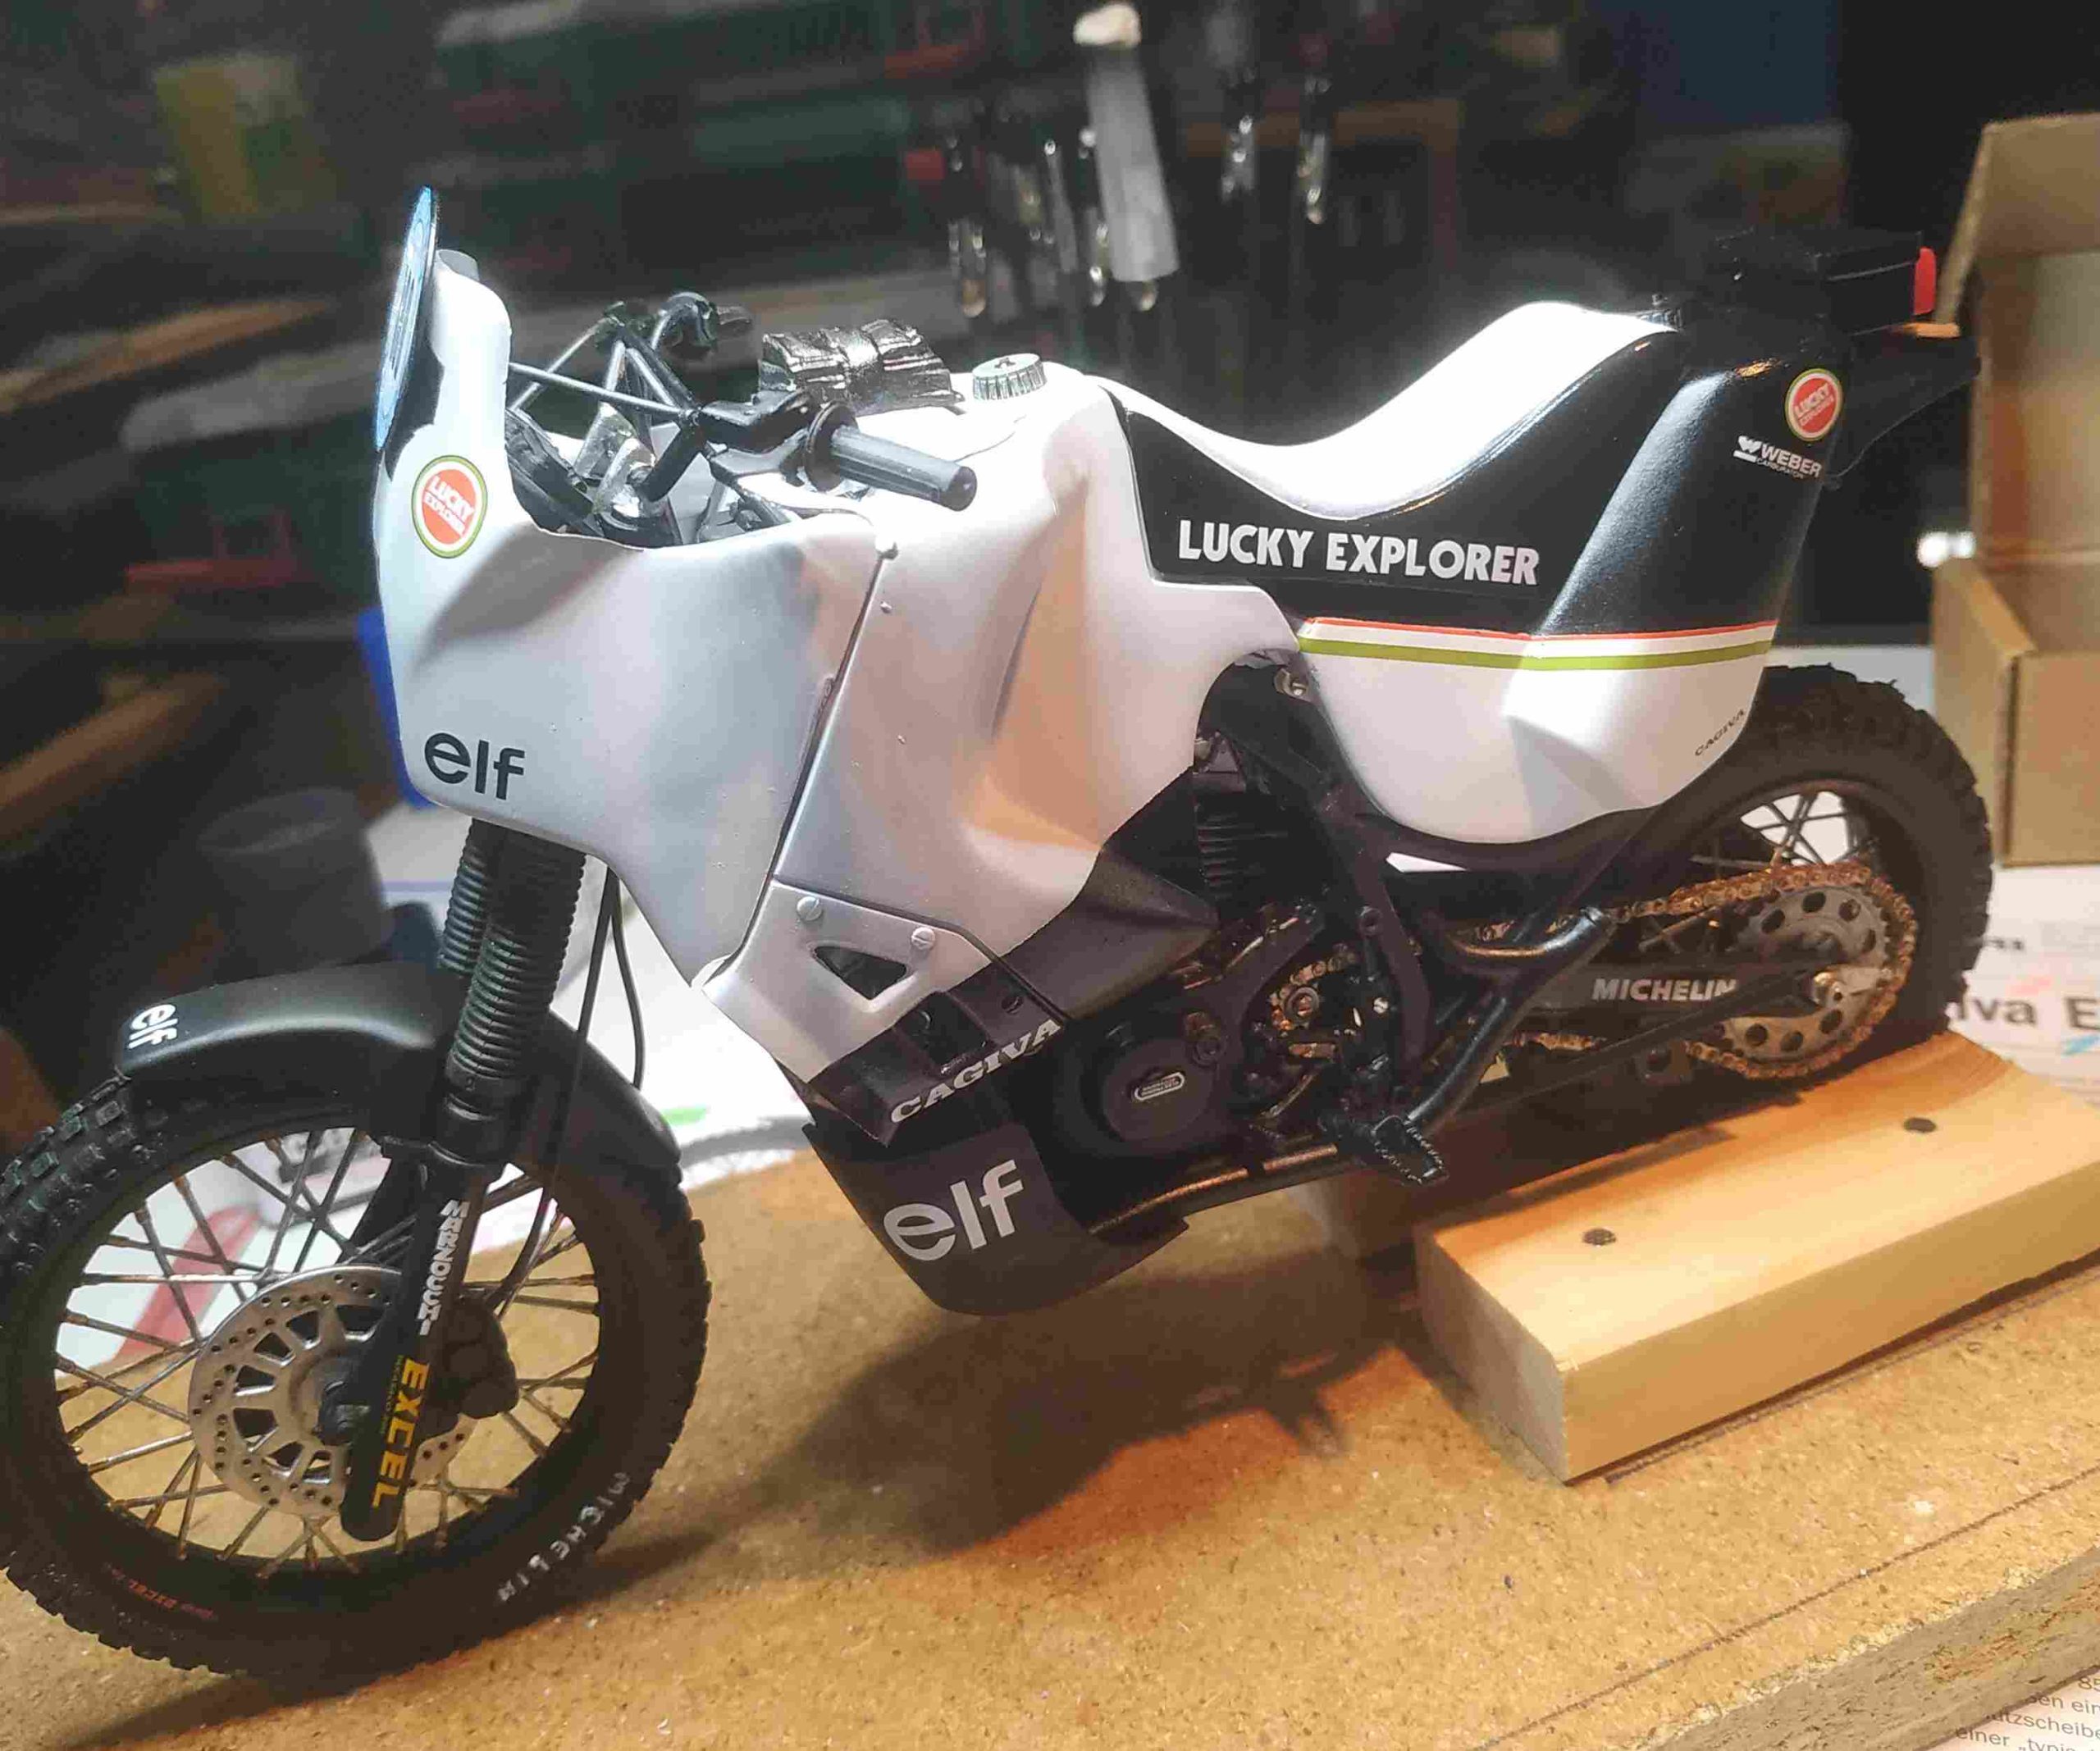
Arrive la fourche à monter. Un coup de cutter malencontreux fait sauter une fixation du pare-boue. J’en bricole une avec des chutes et avec la peinture ce n’est plus trop visible… La pose du guidon, du compteur et de la fourche est rendue fragile avec le problème rencontré sur le cadre, mais ça le fait…. La place réservée aux câbles est plus réduite et leurs nombres compliquent la pose. Faudrait pas raccorder un câble d’huile sur un disque, un accident est si vite arrivé… La dernière partie est consacrée à l’assemblage du carénage. Cette opération est sympa, mais la pose entre le cadre et le carénage révèle un petit jeu… La mise en peinture et la pose des décales ne posent pas de soucis à part les inscriptions sur les pneus… En conclusion, J’ai vraiment pris du plaisir avec cette réalisation. Il s’agit du projet où j’ai le mieux exploité la notice mais aussi pris quelques libertés (Je me comprends !). J’ai fait quelques boulettes, certaines que j’ai réussies à réparer, à masquer ou à laisser en l’état… Et pour ma petite expérience de maquettiste le résultat final me convient parfaitement. Now the fork is getting ready to be assembled. An inadvertent hit from the utility knife knocked off a fastener on the fender. I’m tinkering with one with offcuts, and with the paint it’s not too visible anymore… The installation of the handlebar, the meter, and the fork is made fragile with the problem encountered on the frame, but it does it… The space reserved for cables is smaller and their numbers complicate installation. Shouldn’t we connect an oil cable to a disc, an accident happens so quickly… The last part is dedicated to assembling the fairing. This operation is nice, but the pose between the frame and the fairing reveals a little play… The painting and installation of the decals do not cause any problems except for the inscriptions on the tires… In conclusion, I really enjoyed this achievement. This is the project where I made the best use of the instructions but also took some liberties (I understand myself!). I made a few dumplings, some of which I managed to repair, mask or leave as they were… And for my little experience as a model maker, the final result suits me perfectly
Topo, photos et montage : Mr Patrick du CAMPI