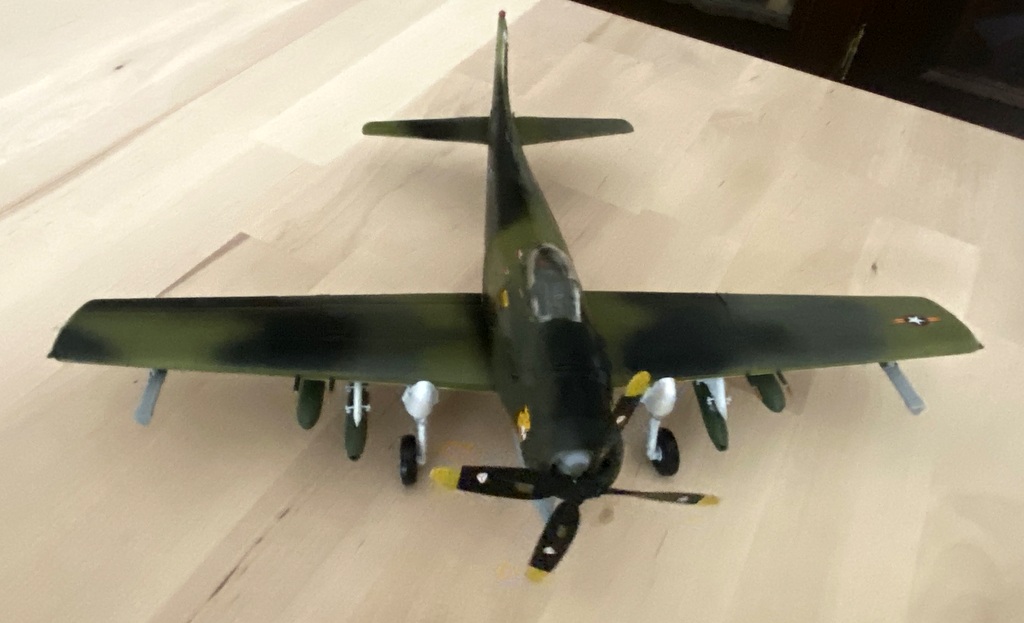
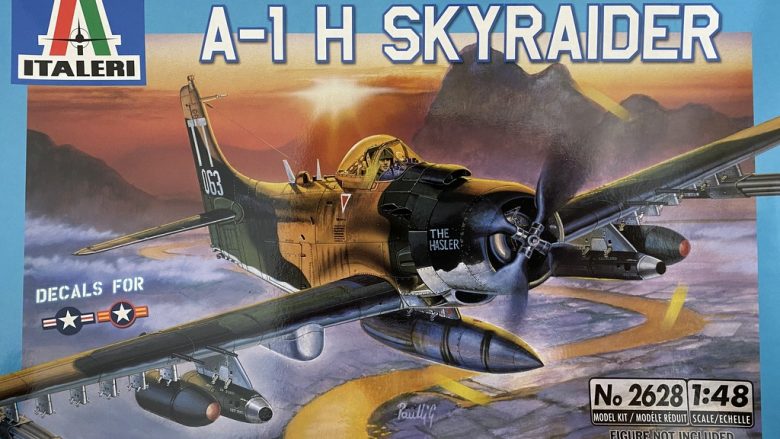
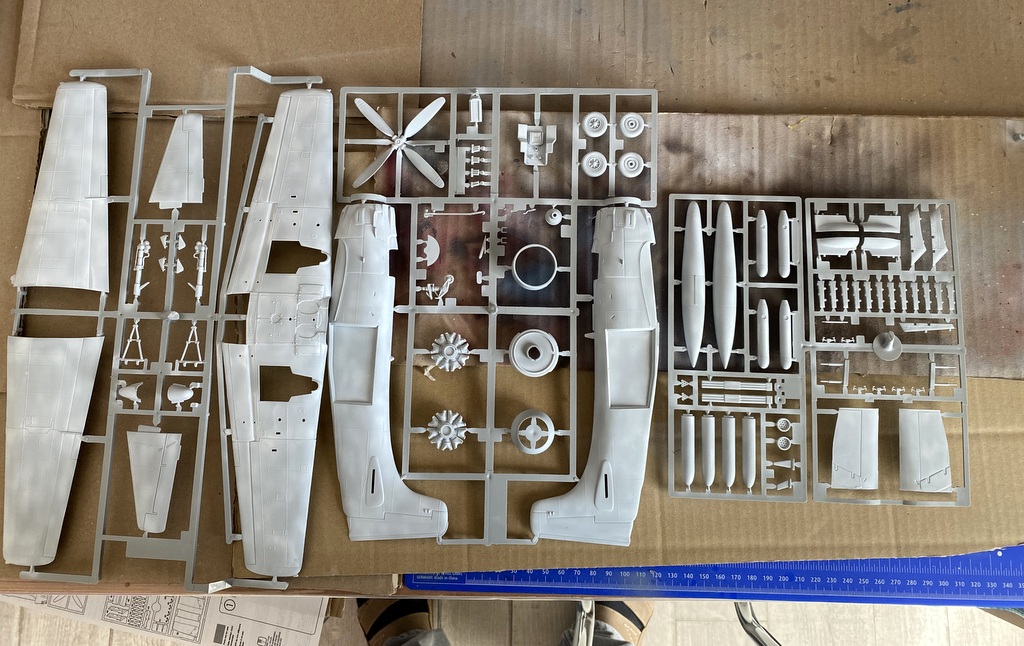
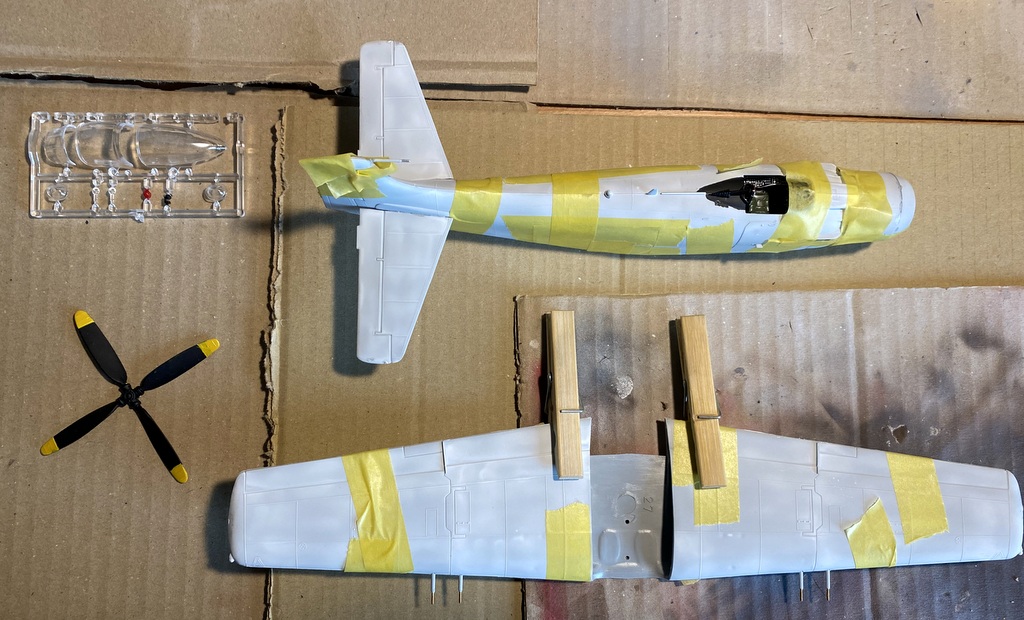
Voilà une petite maquette de chez Italeri, le Douglas AD-1 SKYRAIDER, un bombardier d’appui tactique qui est arrivé en remplacement d’un autre avion, le SDB Dauntless, après la seconde guerre mondiale. L’appellation AD venant du fait que c’était le premier avion d’attaque de chez DOUGLAS. Voilà pour la petite histoire ! Cette maquette trainait dans mes cartons depuis quelques années, et elle m’a permis de passer un bon moment ! La maquette au 1/48 ème a été très agréable à monter et à peindre. Pour le montage, j’ai comme d’habitude procédé de la même manière en mettant ma sous couche de blanc puis en assemblant les différentes parties : ailes, cockpit, roues. Ce n’est qu’une fois assemblé, que j’ai peint mon SkyRaider. J’ai juste mis de côté les supports de bombes et les bombes que je gardais pour le montage final. This is a small model from Italeri, the Douglas AD-1 SKYRAIDER, a tactical support bomber that arrived to replace another aircraft, the SDB Dauntless, after the Second World War. The name AD coming from the fact that it was the first attack aircraft of DOUGLAS. So much for the short story! This model was in my boxes for a few years, and it allowed me to have a good time! The 1/48th model was very pleasant to assemble and paint. For the assembly, I proceeded as usual in the same way by putting my white undercoat and then assembling the different parts: wings, cockpit, wheels. It was only once assembled that I painted my SkyRaider. I just put aside the bomb holders and bombs that I was saving for final assembly.
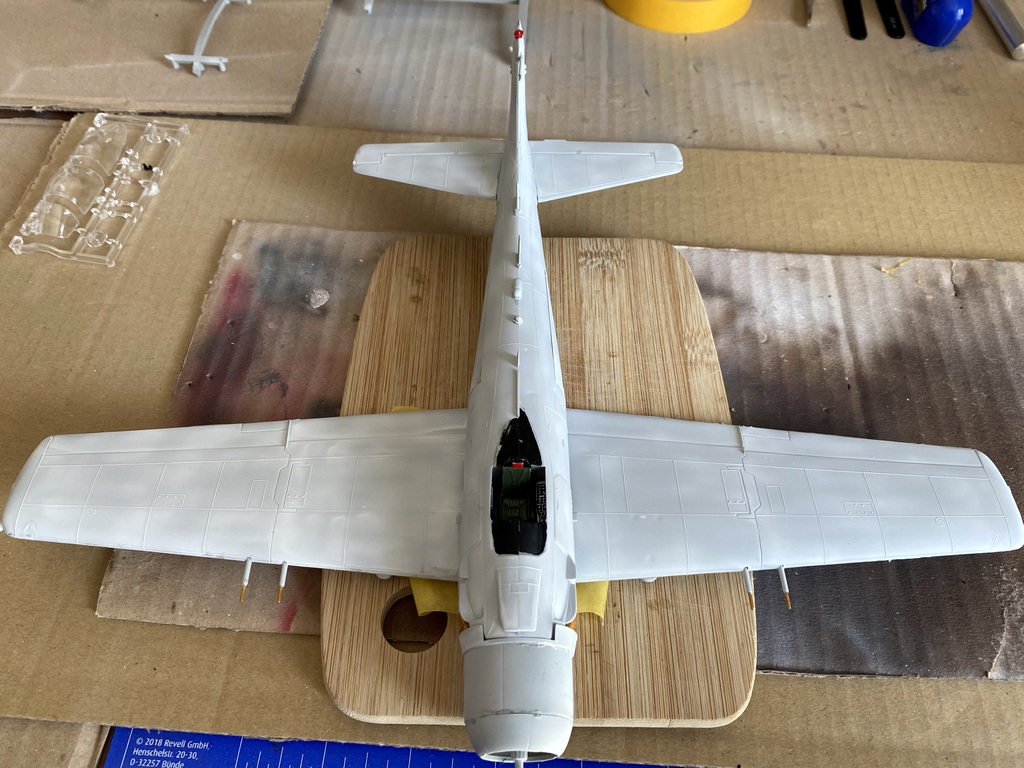
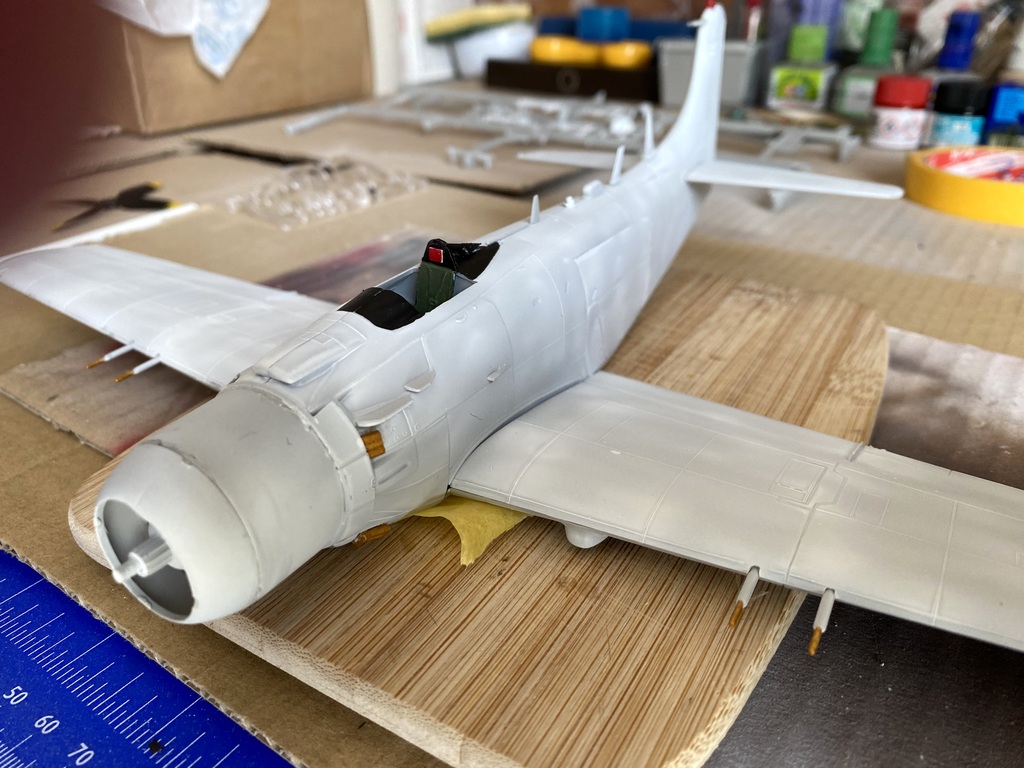
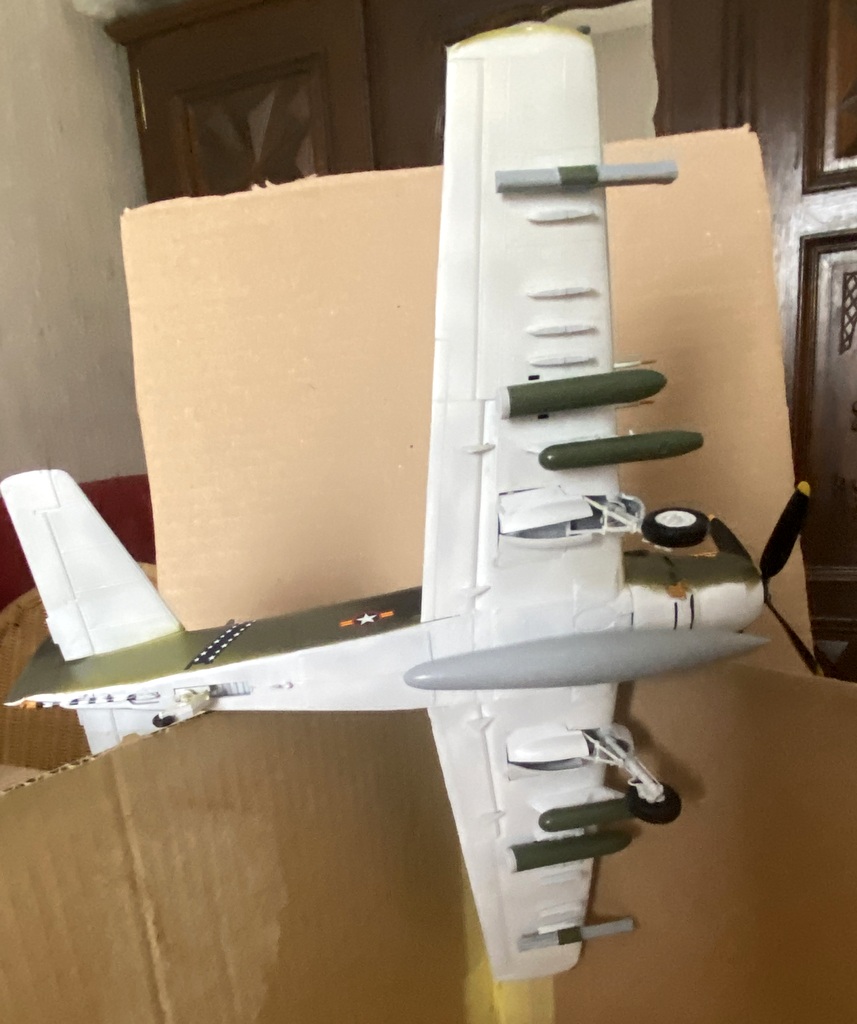
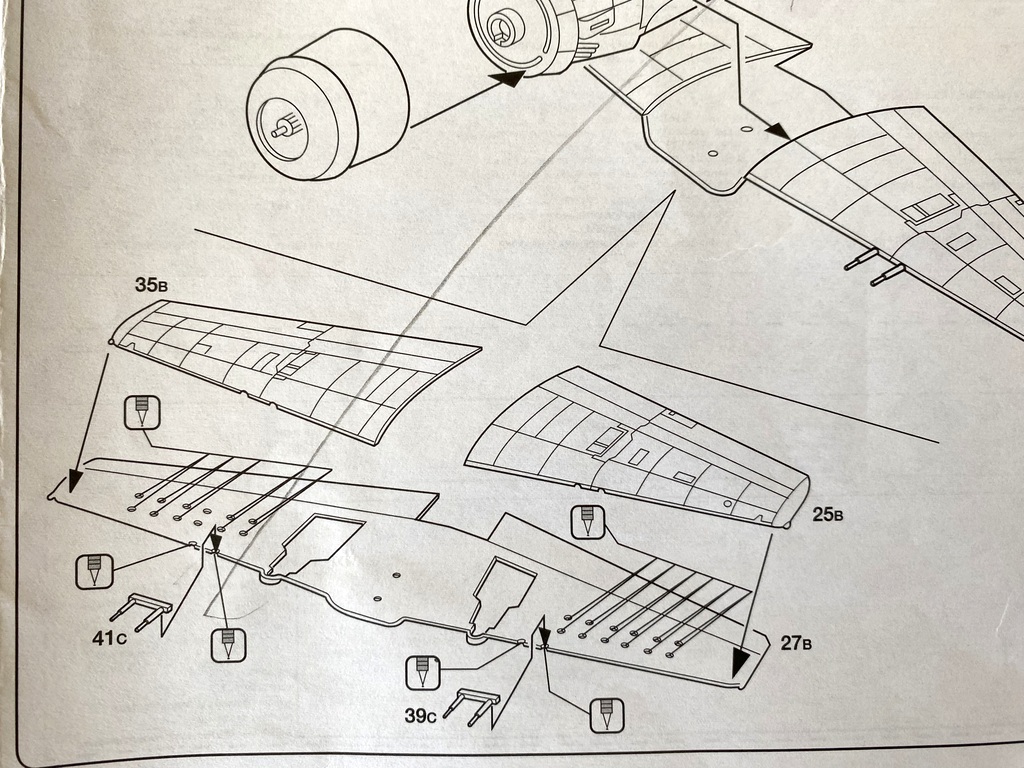
Et bien sûr, ce n’est que lorsque j’ai voulu monter, ou plutôt coller les supports de bombes que je me suis rendu compte que j’avais omis d’effectuer une petite tâche…![]() Je me disais aussi que tout se passait trop bien !!! La coquille !! Et oui, pourtant je pensais avoir bien lu le plan de montage et je suis passé à côté d’une action qu’il fallait mener avant d’assembler les 2 parties d’ailes. Le perçage des petits trous par l’intérieur de l’aile pour fixer ensuite, en dessous de l’aile, les supports pour accrocher les bombes ! Il y avait en effet des petits picots (2) sur chaque support qu’il fallait fixer dans les trous !! Donc, j’ai dû faire sauter ces picots pour coller directement les support en dessous des ailes ! Une fois collé, on ne voit rien, alors finalement il n’y a que moi qui sait que le montage n’est pas conforme !!
Je me disais aussi que tout se passait trop bien !!! La coquille !! Et oui, pourtant je pensais avoir bien lu le plan de montage et je suis passé à côté d’une action qu’il fallait mener avant d’assembler les 2 parties d’ailes. Le perçage des petits trous par l’intérieur de l’aile pour fixer ensuite, en dessous de l’aile, les supports pour accrocher les bombes ! Il y avait en effet des petits picots (2) sur chaque support qu’il fallait fixer dans les trous !! Donc, j’ai dû faire sauter ces picots pour coller directement les support en dessous des ailes ! Une fois collé, on ne voit rien, alors finalement il n’y a que moi qui sait que le montage n’est pas conforme !!![]() And of course, it was only when I wanted to mount, or rather stick the bomb holders that I realized that I had failed to perform a small task… I also thought that everything was going too well!!! The shell! And yes, I thought I had read the assembly plan well and I missed an action that had to be done before assembling the 2 parts of wings. The drilling of small holes through the inside of the wing to then fix, under the wing, the supports for hanging the bombs! There were indeed small pins (2) on each support that had to be fixed in the holes! So, I had to blow up these pins to stick the support directly under the wings! Once glued, you can’t see anything, so finally there is only me who knows that the assembly is not compliant!
And of course, it was only when I wanted to mount, or rather stick the bomb holders that I realized that I had failed to perform a small task… I also thought that everything was going too well!!! The shell! And yes, I thought I had read the assembly plan well and I missed an action that had to be done before assembling the 2 parts of wings. The drilling of small holes through the inside of the wing to then fix, under the wing, the supports for hanging the bombs! There were indeed small pins (2) on each support that had to be fixed in the holes! So, I had to blow up these pins to stick the support directly under the wings! Once glued, you can’t see anything, so finally there is only me who knows that the assembly is not compliant!

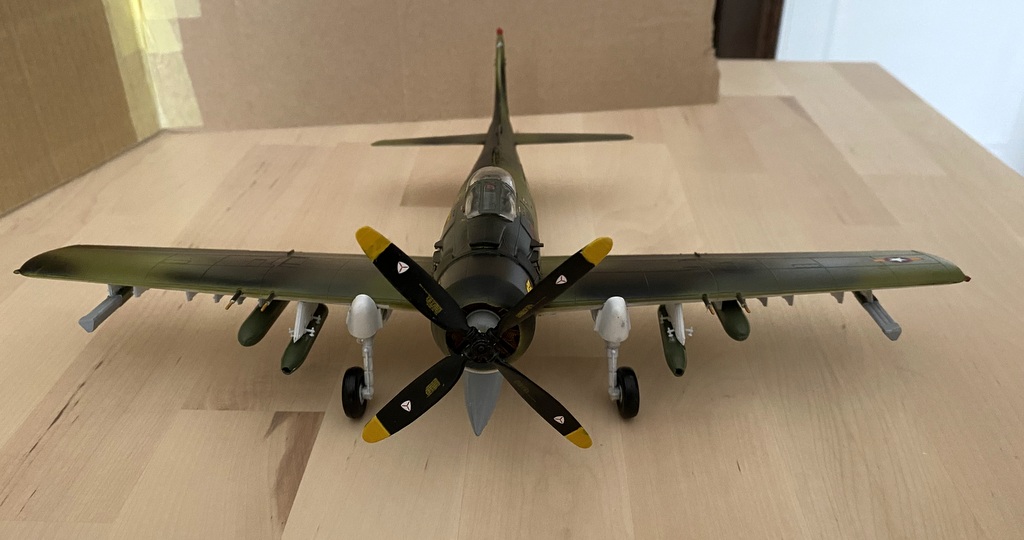
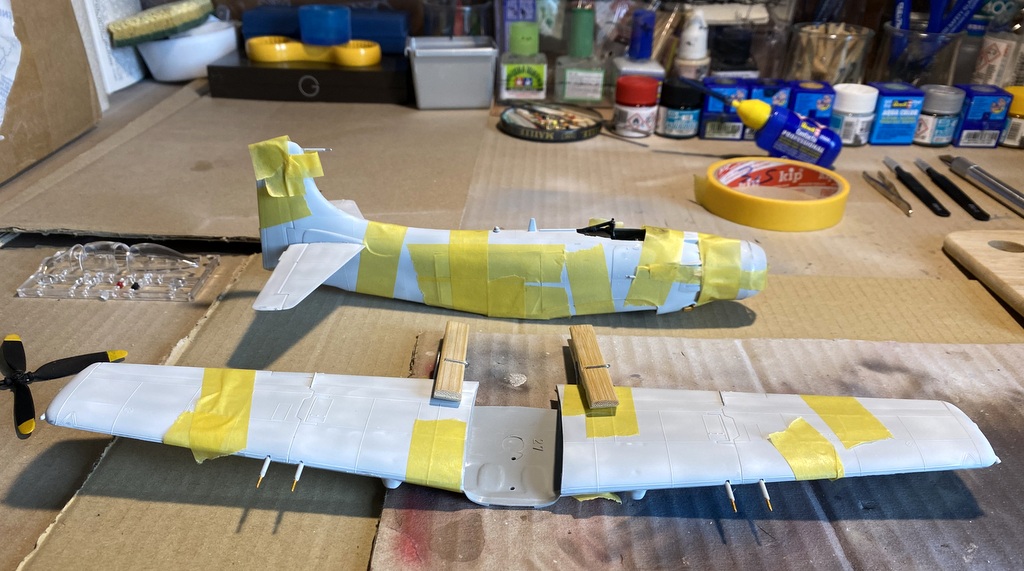
Et voilà, mon SKYRAIDER est monté, la première couche de vernis n°30 de chez Hobby est passée, les décalcomanies ont été posés en utilisant le fixateur et puis j’ai terminé par le vernis mat N° 20 toujours de chez Hobby ! Mon avion est fini et j’en suis très content ! Ah j’oubliais … L’hélice tourne ! J’ai fait attention à ne pas la coller comme j’ai pu le faire pour mes premiers avions.. ! C’était une maquette que j’ai eu plaisir à monter .. Mais cela, je l’ai déjà dit !!![]() Pour la suite, j’essayerai de donner un peu plus de vie à mes maquettes, à savoir le vieillissement, l’usure, etc etc … ! J’ai pu voir, dans les différentes photos des expos ou des articles Campi, ce que cela peut donner et vraiment, c’est une sacré technique qui demande à être abordée !! And there, my SKYRAIDER is mounted, the first coat of varnish 30 from Hobby is passed, the decals were applied using the fixative and then I finished with the matt varnish 20 always from Hobby! My plane is finished and I am very happy! Ah I forgot … The propeller turns! I took care not to stick it as I could do for my first planes.. ! It was a model that I had fun to build .. But that, I have already said! For the rest, I will try to give a little more life to my models, namely aging, wear, etc etc… ! I could see, in the different photos of the exhibitions or Campi articles, what it can give and really, it is a sacred technique that needs to be approached!
Pour la suite, j’essayerai de donner un peu plus de vie à mes maquettes, à savoir le vieillissement, l’usure, etc etc … ! J’ai pu voir, dans les différentes photos des expos ou des articles Campi, ce que cela peut donner et vraiment, c’est une sacré technique qui demande à être abordée !! And there, my SKYRAIDER is mounted, the first coat of varnish 30 from Hobby is passed, the decals were applied using the fixative and then I finished with the matt varnish 20 always from Hobby! My plane is finished and I am very happy! Ah I forgot … The propeller turns! I took care not to stick it as I could do for my first planes.. ! It was a model that I had fun to build .. But that, I have already said! For the rest, I will try to give a little more life to my models, namely aging, wear, etc etc… ! I could see, in the different photos of the exhibitions or Campi articles, what it can give and really, it is a sacred technique that needs to be approached!
Topo, photos et montage : Guy